Lately I have been so (sew!) busy, that I haven’t had time to write as much as I would like. I have a bunch of ideas strewn about my sewing room on scrap pieces of paper, of ideas for blog posts and tutorials, as well as some free pattern shares for you all. As I find them I will start working my way through them. Well, those still legible despite cat teeth marks and copious amounts of peanut butter fingerprints (those only happen ONCE, and he knows it!)
Today it’s all about paper piecing, which is perfect because I have a couple of patterns coming out very soon that use paper piecing!

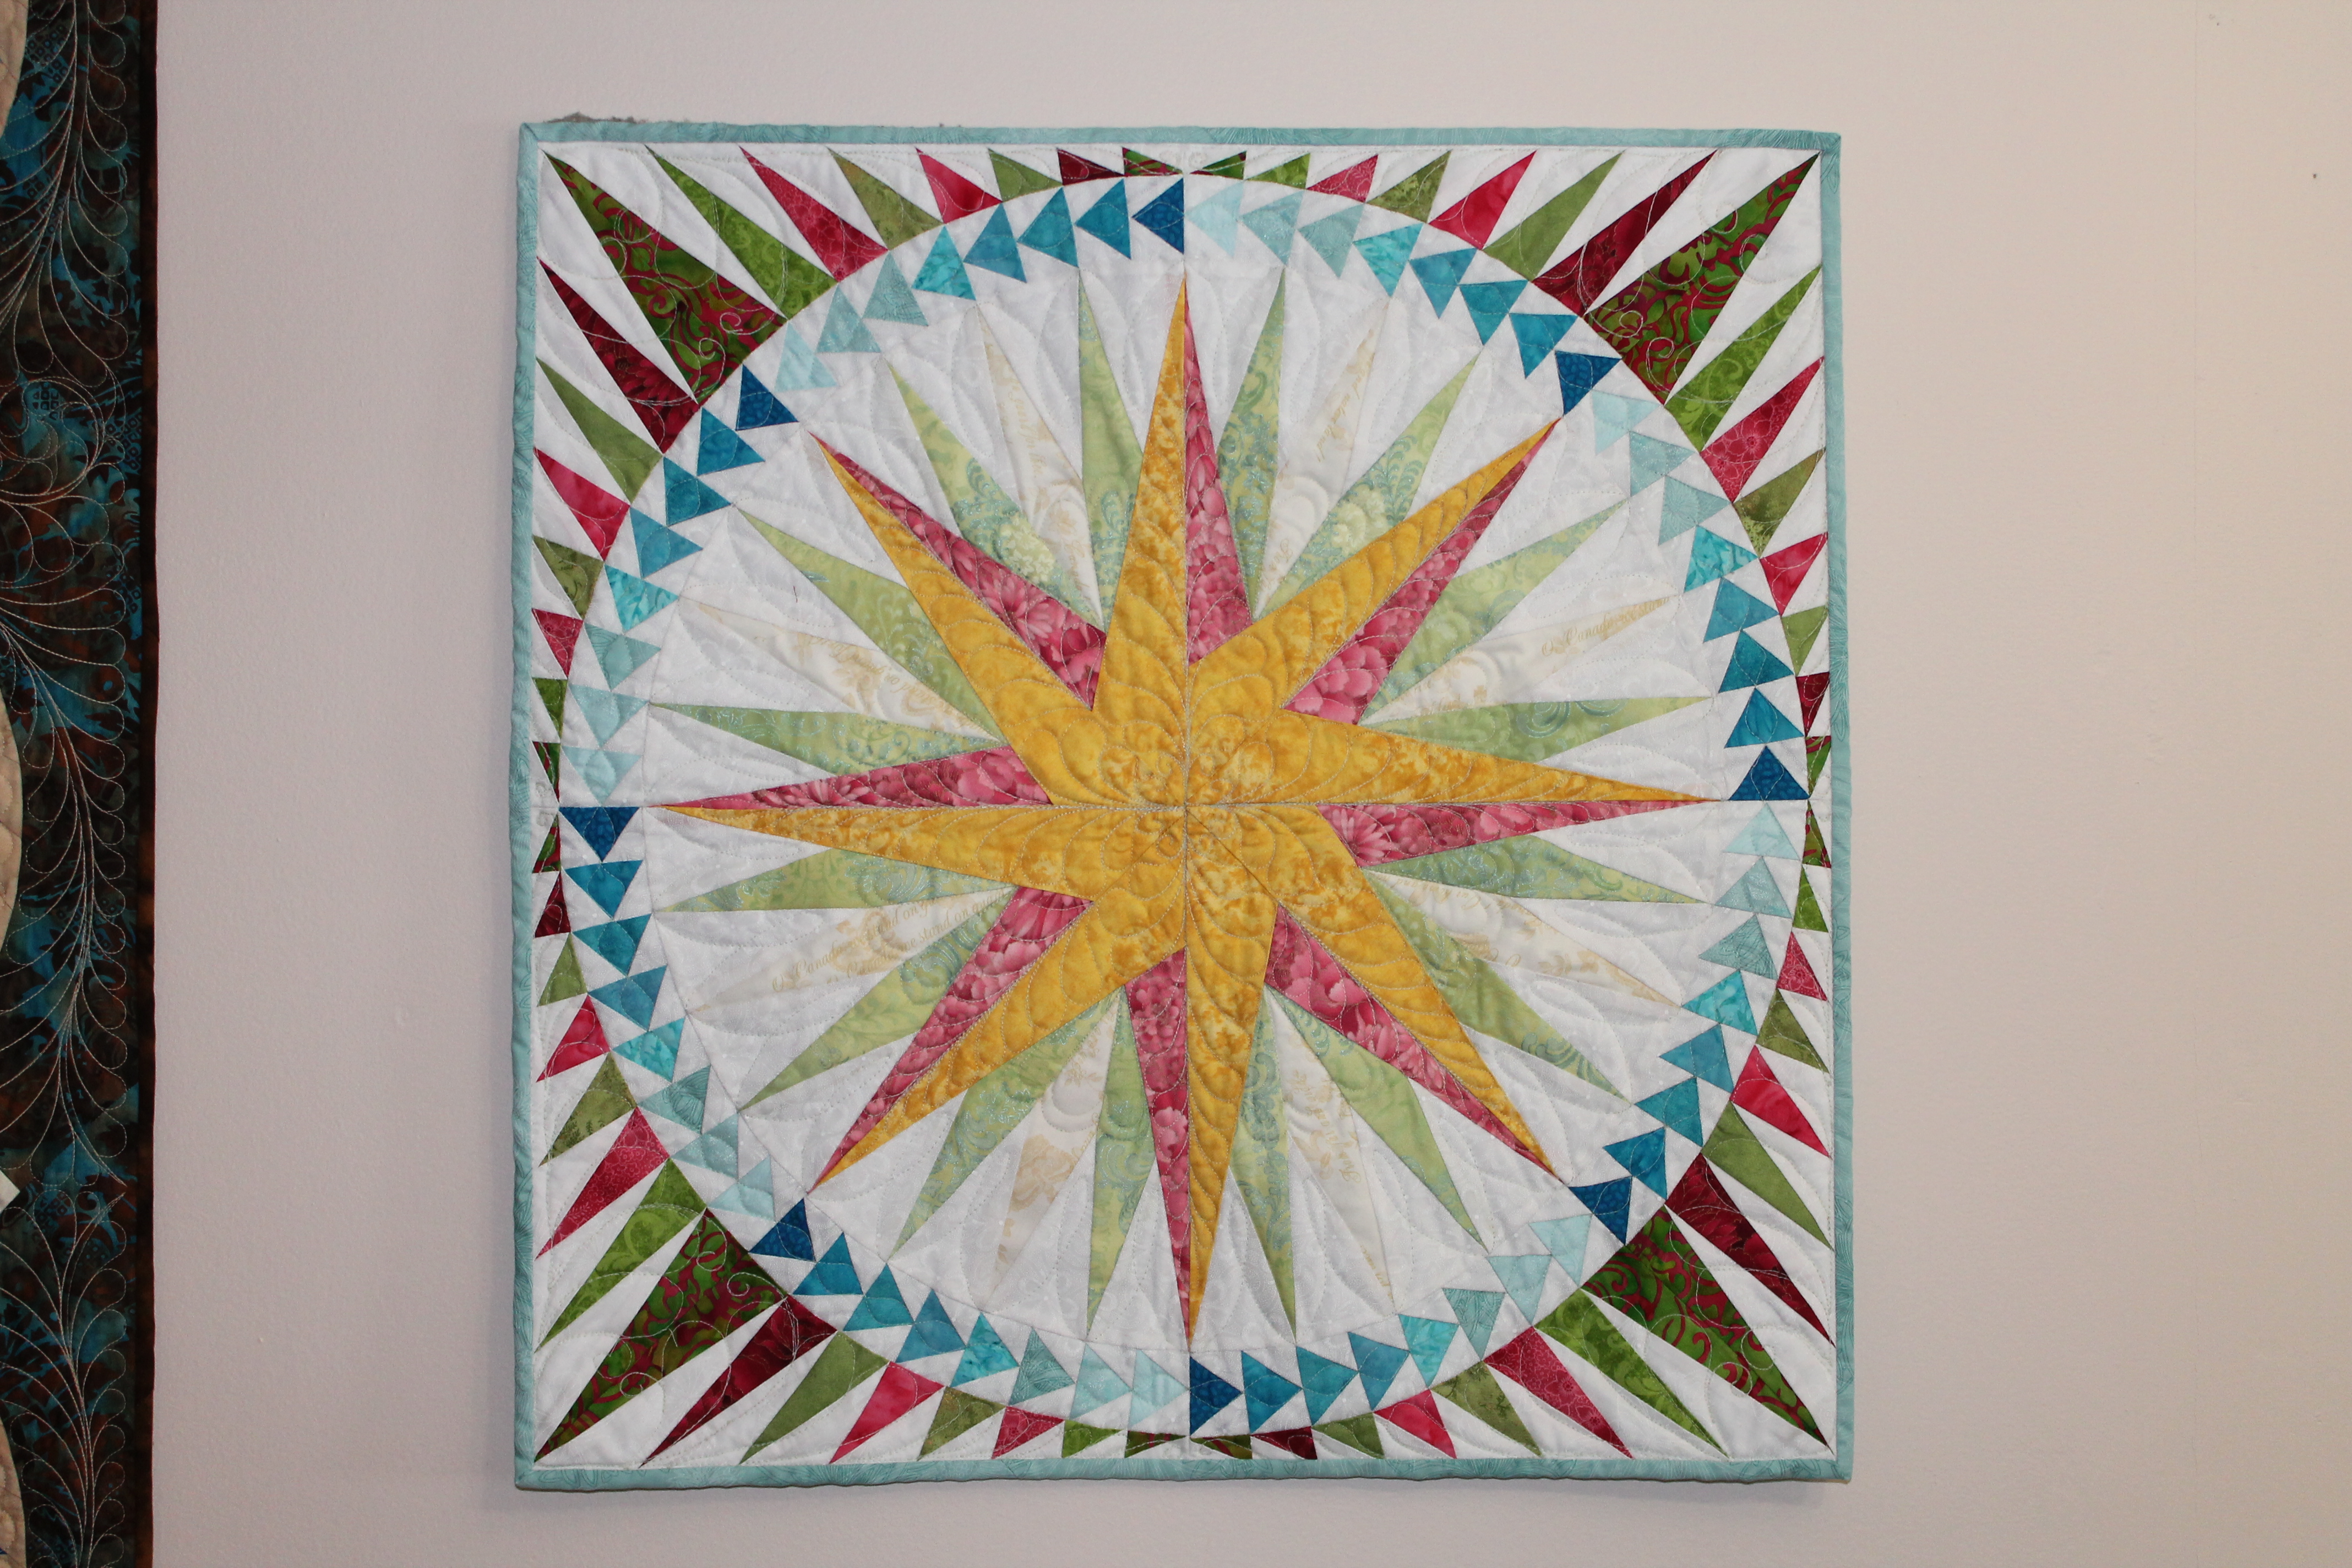
Cartwheel Mini-Adapted from Cartwheel COnstellation published in AQS magazine January 2010
Paper piecing, also known as foundation piecing, is a method of sewing your fabric to the wrong side of a piece of paper, stitching down the printed lines on the right side of the paper. It makes piecing irregular angles and tiny shapes a breeze, and you don’t have to worry about your straight and bias grain as much as if you were piecing normally. You can also paper piece blocks made from templates or blocks you could piece normally, it makes for very accurate points and corners.

Supernova
My favourite method for paper piecing is a combination of a couple different techniques I have learned over the years. The tutorial works for all manner of foundation patterns, simple, complex, pictorial…

Rainbow Star
When I paper peice ( I am sure you noticed that I interchange the terminology) I like to pre cut my fabrics. This is how I know that a) my pieces will be large enough to cover the entire area of the foundation section, and b) that I actually have enough fabric to make all the pieces. There is nothing worse than cutting a piece too small or not having enough fabric to make all the pieces!
When foundation piecing it is important to pay careful attention to the sewing order of the peices. The sewing order is laid out so that the next seam sewn always covers the first.
To determine the size of strips to use:
Lay the foundation printed side up on your work area. Find the sewing line between the first and second section of the foundation pattern. This line will be the first line you stitch down, so you use this line to find the length of the fabric strips.
*NOTE* If the first section is a triangle shape, or has a long edge that is also the seam allowance, like the triangle of a flying geese block, then you want to use that edge as the length of your first piece plus seam allowance, and then determine the width. I cut Half Square Triangles for triangle shapes, that way there is less waste fabric.

Take a large clear acrylic grid ruler and place it over the template, with the 1/4″ line on the stitching line and the bulk of the ruler covering the first section. Adjust the ruler so that it starts at least a 1/4″ past the end of the stitching line. Find the end of the stitching line, and the measurement on the ruler that corresponds with it. Add 1/4″ to that number. This is the length of your piece with seam allowances included.

Now without moving your ruler, find the outer edge of the first section and the measurement that corresponds with it. Add 1/4″ to that number. This gives you the width of the piece with seam allowances included. Write down the two measurements inside the foundation section, this helps avoid a million measurements on a single piece and avoids confusion. As a general rule, I will add an extra 1/4″ to each measurement as a safety net-sometimes fabric shifts as you are sewing.

Now move your ruler so that the bulk is covering the second section of the foundation pattern, again with the 1/4″ line of the ruler on the same stitching line. Using the same method as above, find the length and width of the piece. Continue across the foundation, from section to section in the order they are sewn, until you have mapped out the measurements of each section.
To determine the amount of fabric you need:
I use this calculation to determine how much fabric I need:
42″ (the average usable Width of Fabric) divided by the length of the piece = the number of pieces per strip (always round this number DOWN to the nearest whole number)
I then divide the number of pieces needed by the number of pieces per strip, and round the answer UP.
Finally, take the number of strips needed and multiply it by the width of the pieces, then divide by 36 ( the number of inches in a yard). The final sum is the required yardage.
So for example:
I need 16 white rectangles 2 1/2″x 7 1/2″
42/7.5= 5.6, rounded down to 5
16 pieces/ 5 pieces per strip =3.2, rounded up to 4 strips
4 strips x 2.5 wide=10″
10/36= 0.2777777 , rounded up to the nearest whole cut of fabric, which is 0.3333333, or 1/3 yard.
Here is a handy chart for you to reference!
0.125 = 1/8 yard
0.250 = 1/4 yard
0.333 = 1/3 yard
0.375 = 3/8 yard
0.5 = 1/2 yard
0.625 = 5/8 yard
0.666 = 2/3 yard
0.75 = 3/4 yard
0.875 = 7/8 yard
1 = 1 yard
I like to label my fabrics in the order they are pieced, that way I don’t confuse myself if there are lots of little pieces.
Now that we have our fabric pieces cut we can start piecing the foundations.
1. Lay the first fabric strip right side up on the wrong side of the paper over the first section of the pattern. Hold the fabric to the paper and look through the printed side of the pattern, holding it up to a light in, to make sure the fabric is covering the entire section and there is approx 1/4″ extending into the second section for seam allowance. Pin in place.

2.Place the fabric labelled #2 right sides together on top of the first, matching the raw edges in the seam allowance. Secure the second piece of fabric, turn the foundation over and stitch down the line between the first and second sections of the pattern, extending your stitching through the printed seam allowance.


*Note* Sometimes it’s easy to misjudge the placement of your fabrics when foundation piecing. When this happens you will have to remove the stitches. The cleanest way to do this is with a sharp seam ripper. Place the seam ripper between the paper and the base layer of the fabric and ripe the stitches. The thread on the paper side will remain intact, all you have to do is pull it off and it will take all the extra thread bits out as well.
3. Press open with a hot, dry iron. Fold the paper back along the second stitching line, where piece 2 and three meet, and trim the seam allowance to 1/4”. I use a piece of template plastic and an Add-A-Quarter Ruler to make this quick and easy.


4. Place the third fabric RST with the second, matching the raw edges to the seam allowance and stitch as before, making sure to stitch at least 1/4″ past the next line or through the outside seam allowance, depending on where the piece is on your template. Continue stitching, pressing, and trimming until all the pieces are sewn.


5. Trim around the pieces, leaving a 1/4” seam allowance. Often the seam allowance is marked as an outline around your shapes.

Some people swear by leaving the paper in when sewing. With simple shapes-squares and rectangles- I will remove the paper before sewing the shapes together. This gives a tighter, stronger stitch, I can easily match seams, and the fabric feeds evenly through the machine. For complex shapes, such as wedges and triangles, I will first pin the pieces with the foundations intact to make sure my seam allowances line up, and then remove the paper from the bottom piece, the one that is going to be at the feed dogs. That way I have a line to follow, and I know my pieces will line up. I find that when I leave both layers of paper I get slippage and the fabrics shift inside the paper.

Poppin’ Pillow
I use this same technique for pretty well all of my paper piecing. You can make so many awesome blocks with it, I really hope you find it helpful!
Happy Stitching!
![]()