
So many of you not might know, but I used to be a seamstress. I have a diploma in Fashion Production from Olds College, where I had the best two years ever! I started out with lofty goals, but as I settled more and more into myself, I realized that I was very happy sewing what I wanted to sew. I worked for a mascot company at the time, which was a fun job. I even modeled for them. Though you wouldn’t know it was me 😉 Unfortunately life (and a future husband) happened, and I had to leave the company, but I kept up my sewing skills by quilting more and more. Our small northern town didn’t have a garment fabric place, but there were some amazing quilt shops, one about a block from my house and another that was totally worth the scary drive down the back roads to the barn of awesome quilty goodness. I don’t know if it is still there, it was basically a plywood sign with an arrow that said Quilt Shop on the side of the highway.
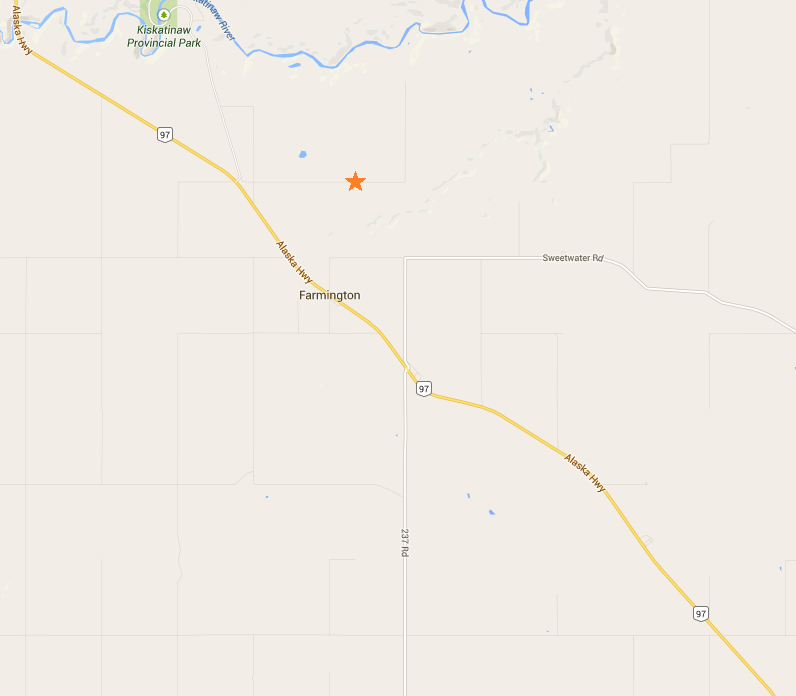
Yup, that says Alaska Highway! The star is an approximation…
Garment sewing is a whole ‘nother thing compared to quilting. If you cut your quilting fabric off grain, you can usually steam it in place and stitch the heck over it to make sure it stays there once its quilted. If you cut a dress off grain, after about 24 hours of hanger time will leave you with an uneven hem. Gah! Hems!! And then there is zippers, buttons, holes, understitching, stay stitching, armholes, sleeve caps, pleats, easing, gathers the proper way….you get the drift. I fell away from garments for a while, picked it up here and there again, but for the most part I gravitated towards quilting.
A couple months ago my best friend started her blog about all the things she sews for herself and her daughter, and it really fed those embers of garment sewing that were laying dormant in my brain. I was super inspired, so just before Quiltcon I reached out to Windham Fabrics. I was making a quilt for their upcoming Flora Collection by Kelly Ventura, and they have a cotton lawn in the main print that I really felt the need to sew with. I was also lucky enough to receive yardage in the new Low Country Indigo linen. I figure might as well jump right back in with both feet. As I was sewing, I decided to jot down some notes, for when I finally got around to blogging about them.
For the Flora fabric I chose a classic skirt pattern that I have had for ages, McCalls M5430 Misses Wrap Skirt. The weight of the lawn was perfect for this pattern. I wore it 4 times on my 5 day trip to quilt con. Thats how much I love it! The pattern is relatively easy, my paper pattern cover says its a 1 Hour Easy project, but it certainly takes longer than that. Especially when cutting it out properly. 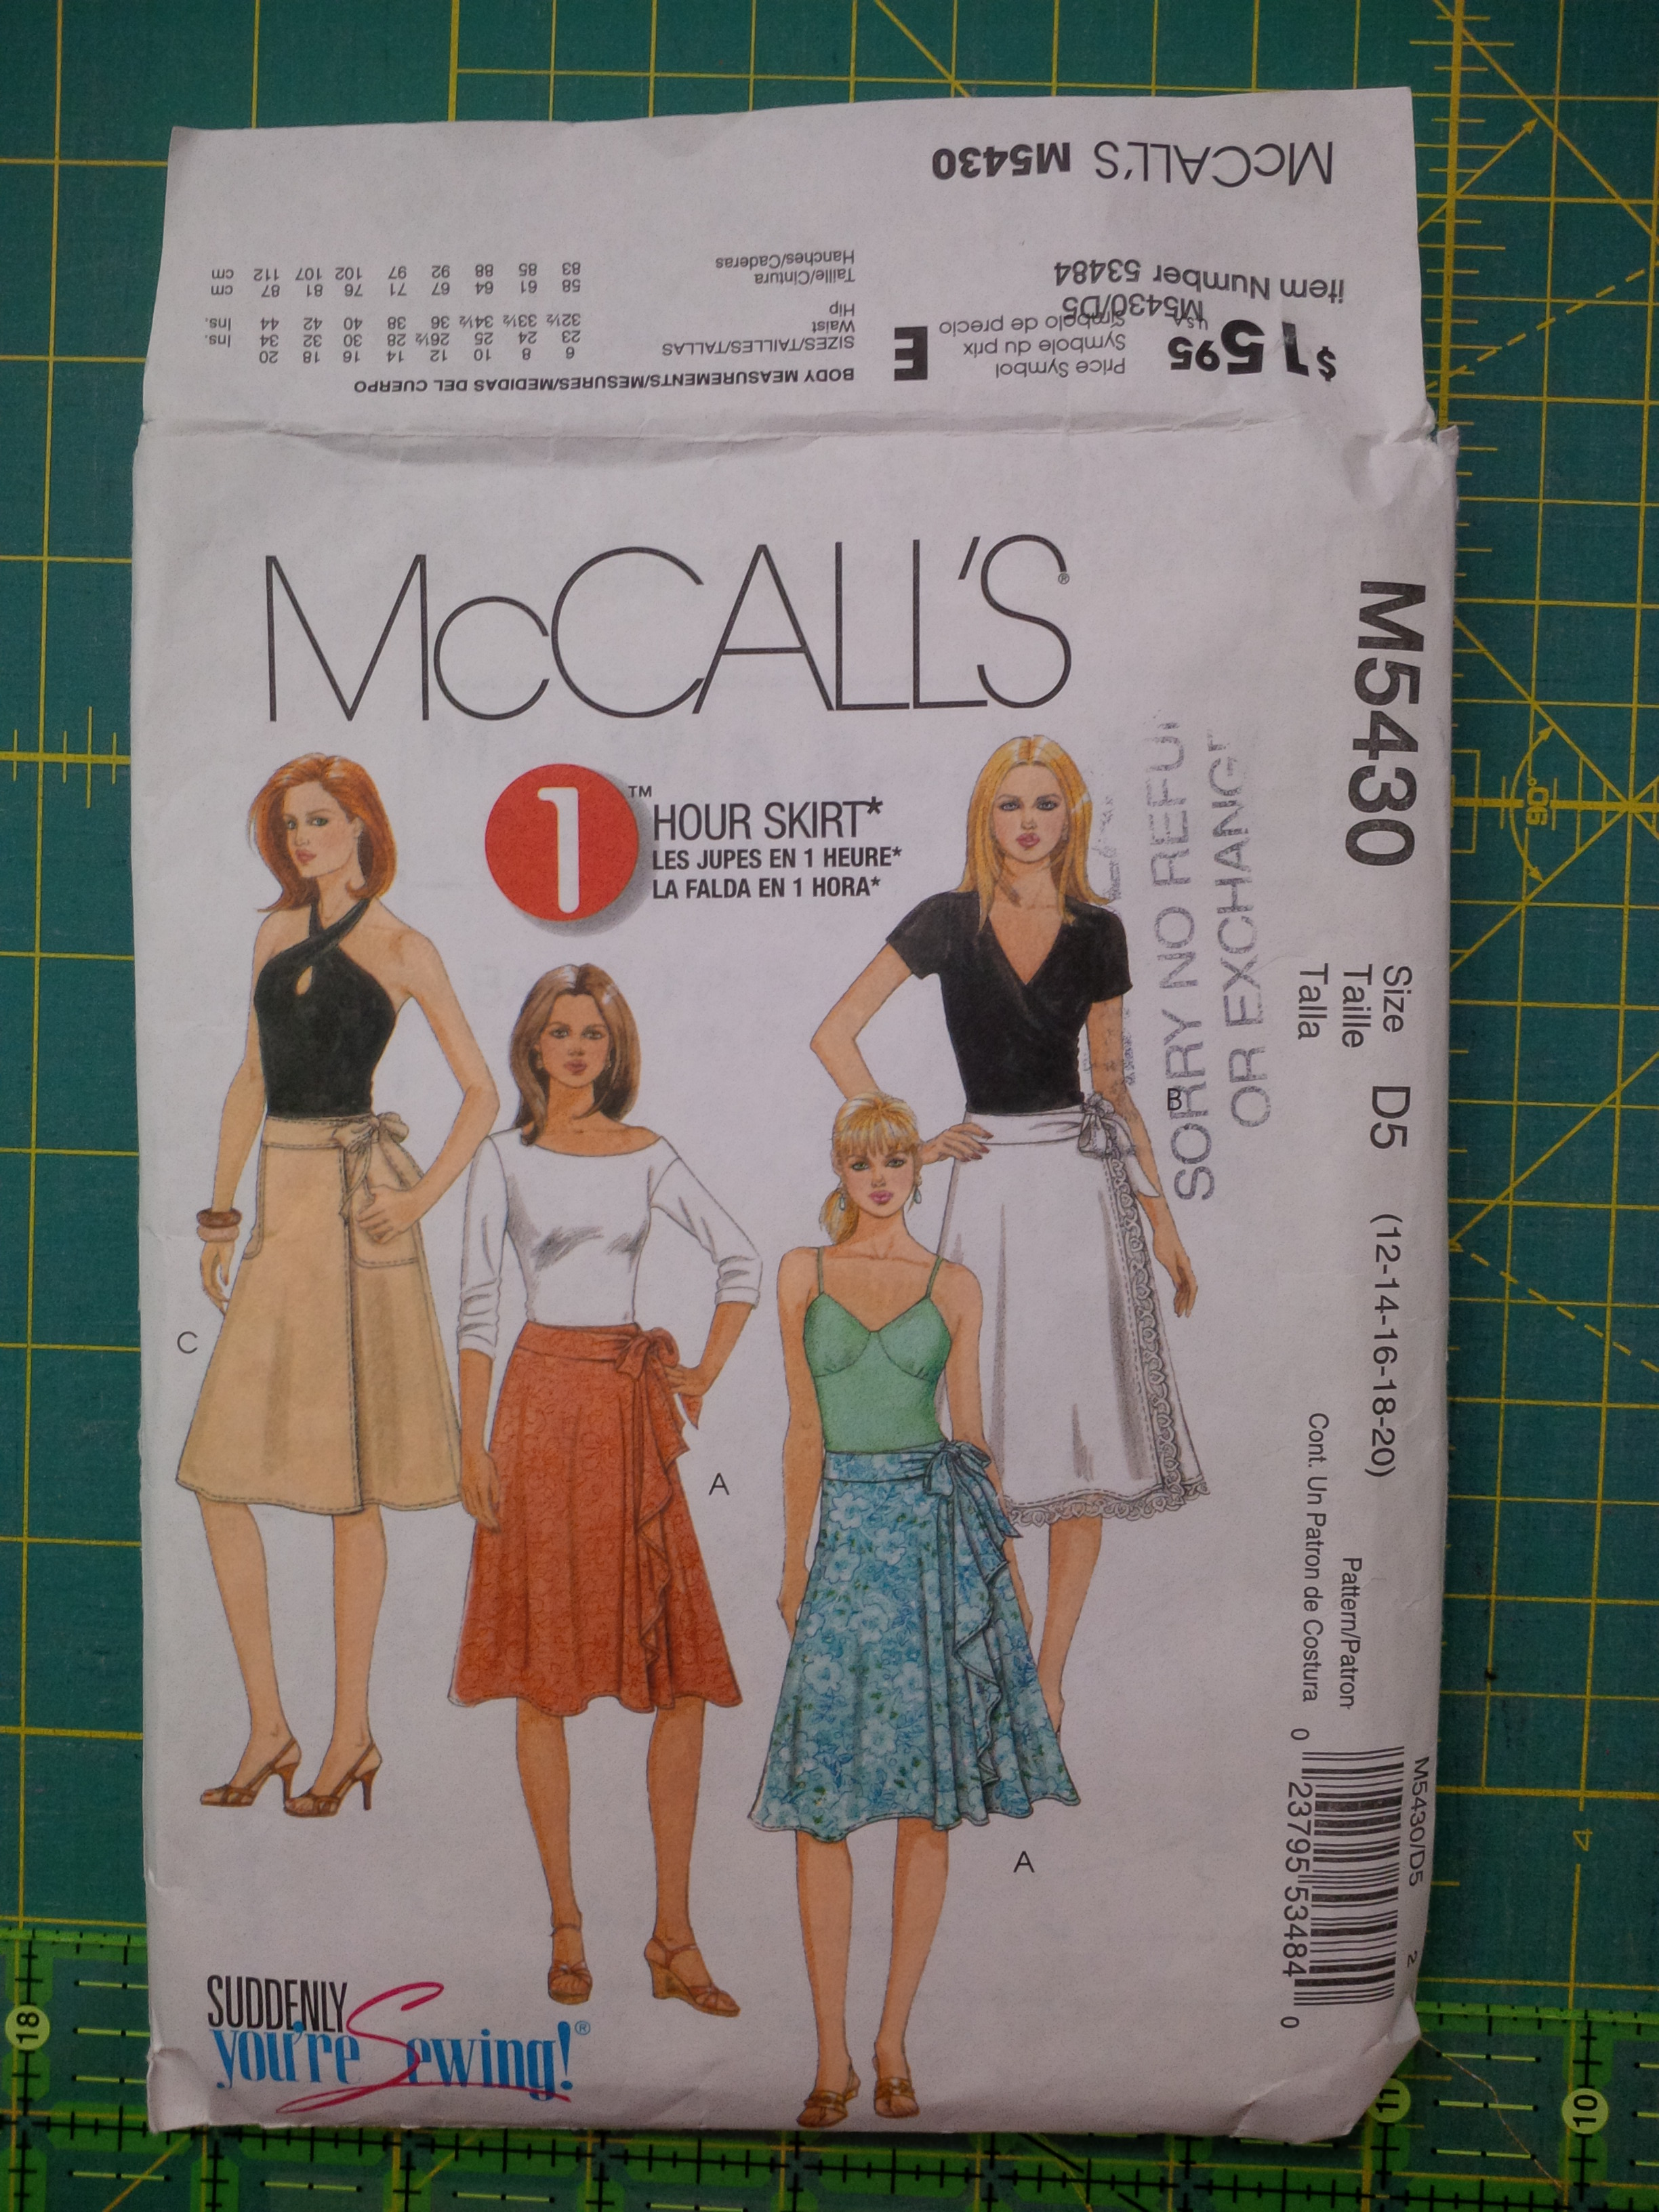
I made version A with the pockets from C. One day I might make myself a normal C, but I love the front ruffle from A. It definitely takes patience if you aren’t a garment sewing person, the gathering was a little wonky on the pieces (as in, didn’t fit and I think it was a marking issue from this pattern. Again, its an oldie but a goodie!) Windham liked it so much that they took my little skirt and photographed it all professional like and put it in the Look Book for Flora! They have a much more flattering picture of it. I can’t wait to get it back and wear it again!

The pattern I chose for the Low Country Indigo was from Butterick Retro, B5603. This pattern is one of my favorites, the only problem was how BIG that skirt is. The pattern is made for a crinoline to go beneath it and hold out the skirt. I was NOT making a crinoline (or buying one for that matter) and the linen was a heavier fabric than the recommended fabrics for the pattern. So I had to pull out my more than slightly rusty skills and alter it myself. I don’t recommend altering patterns unless you have either done it before or are with someone who has, it is really easy to jumble things up. You really need to keep an eye on the grain lines, make sure the lengths of the seams still match (not the outside edge, but the 5/8″ in from the edge where you actually do the sewing), and know where its okay to take the extra out. What I did probably constitutes as grading rather than altering, and i was running a lot off the little instinctive voice in the back of my head, but I was successfully able to remove just over 40″ of circumference from the skirt while maintaining the drape and shape of the waist, skirt panels and hemline. Woot!
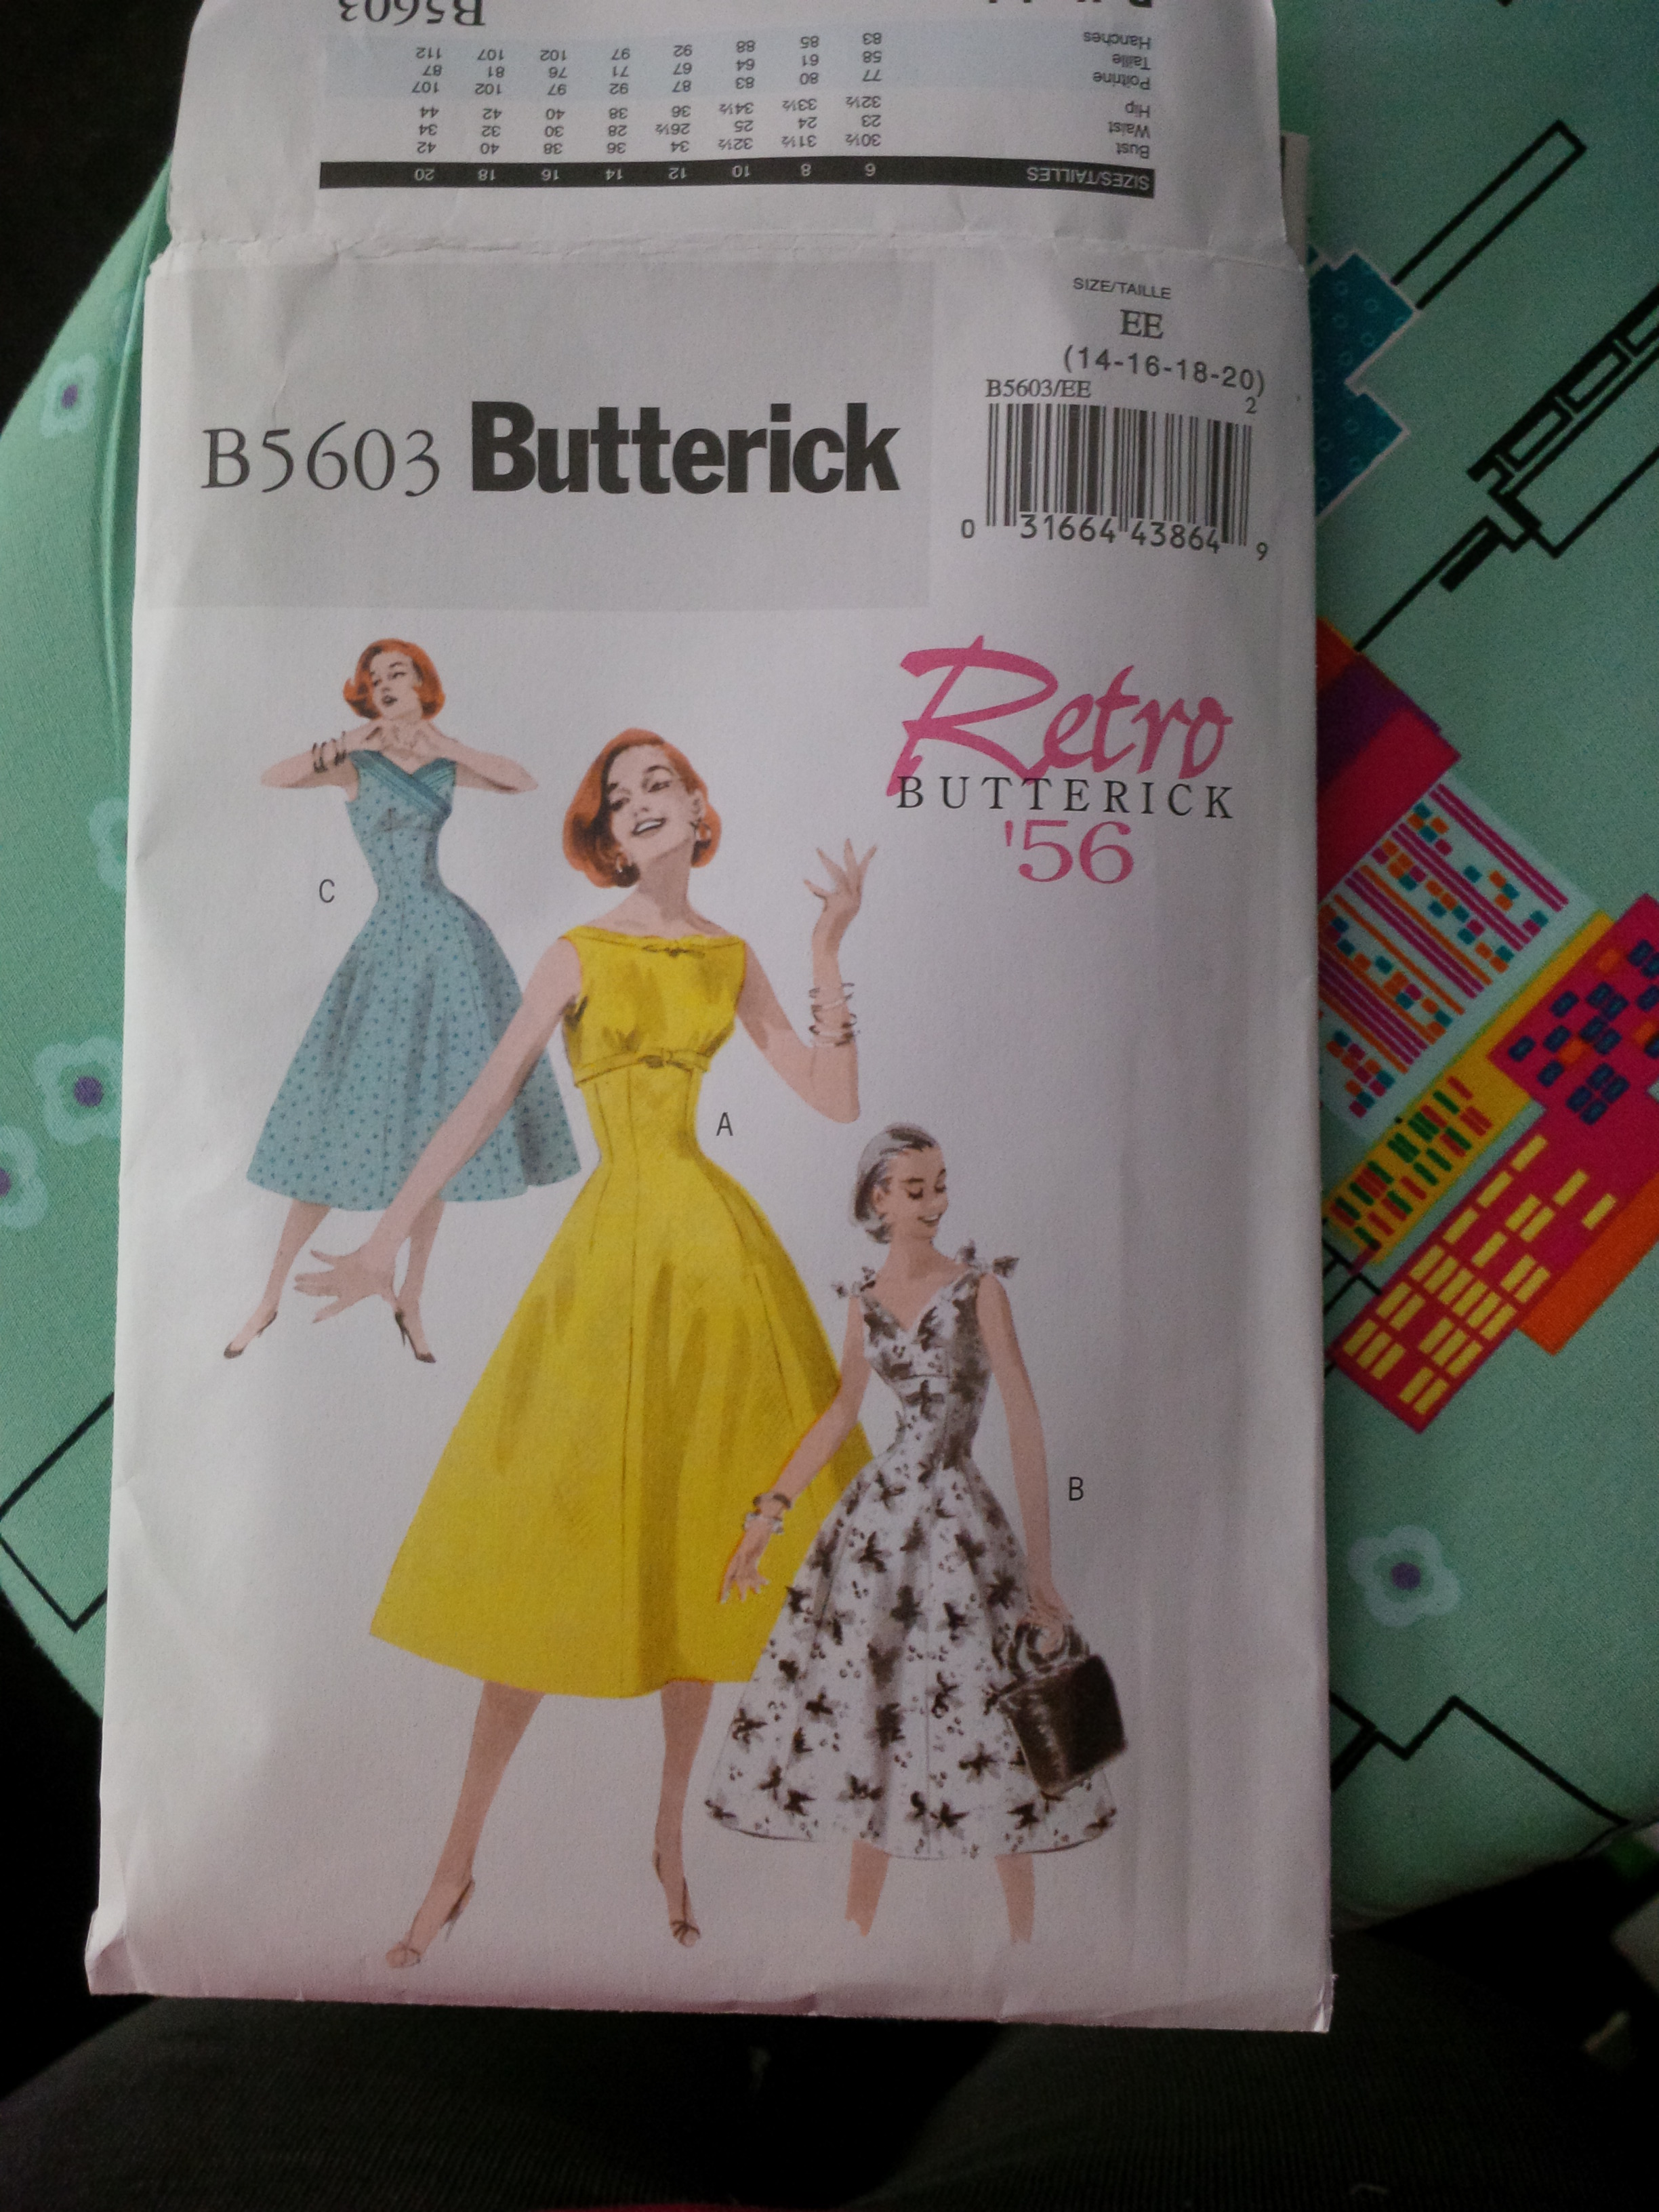
I made version C, I love a crossover neckline. On me though, that particular neckline sits higher than I normally wear, so when I make this again I am going to tweak that as well. I also changed the wrap over back ( which looks just like the front) into a single piece to save fabric.
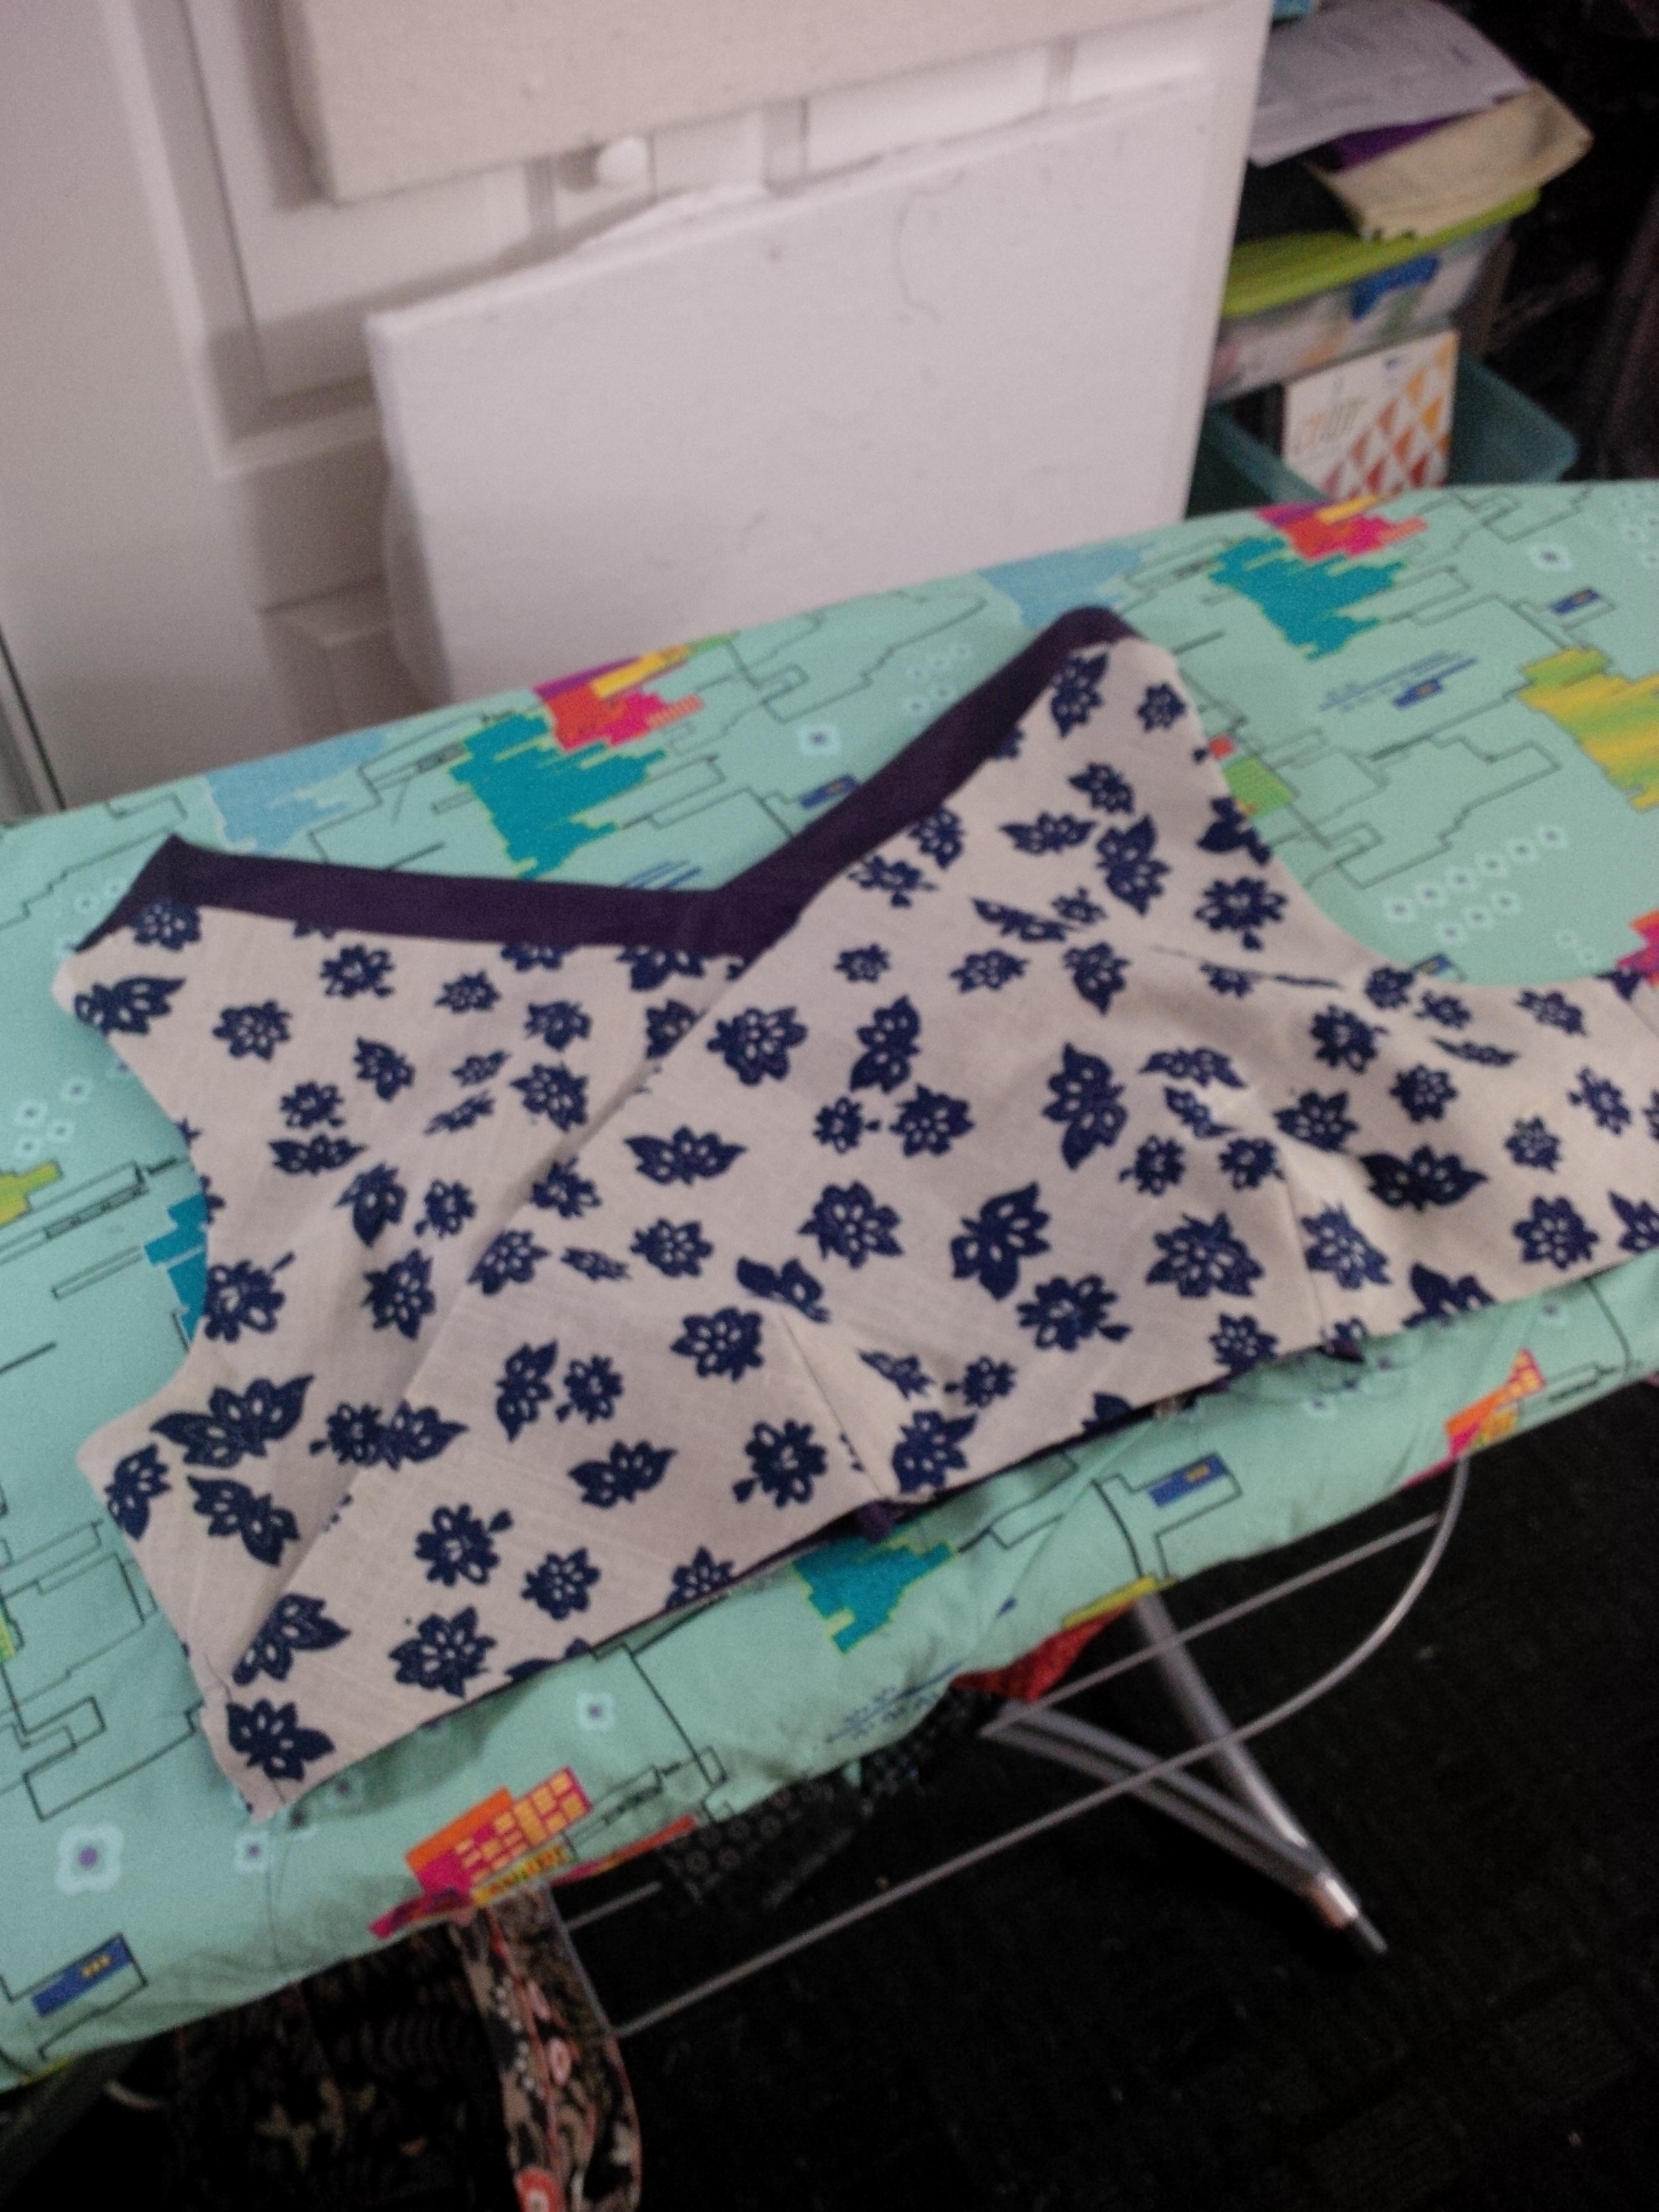
I Just love the top print!
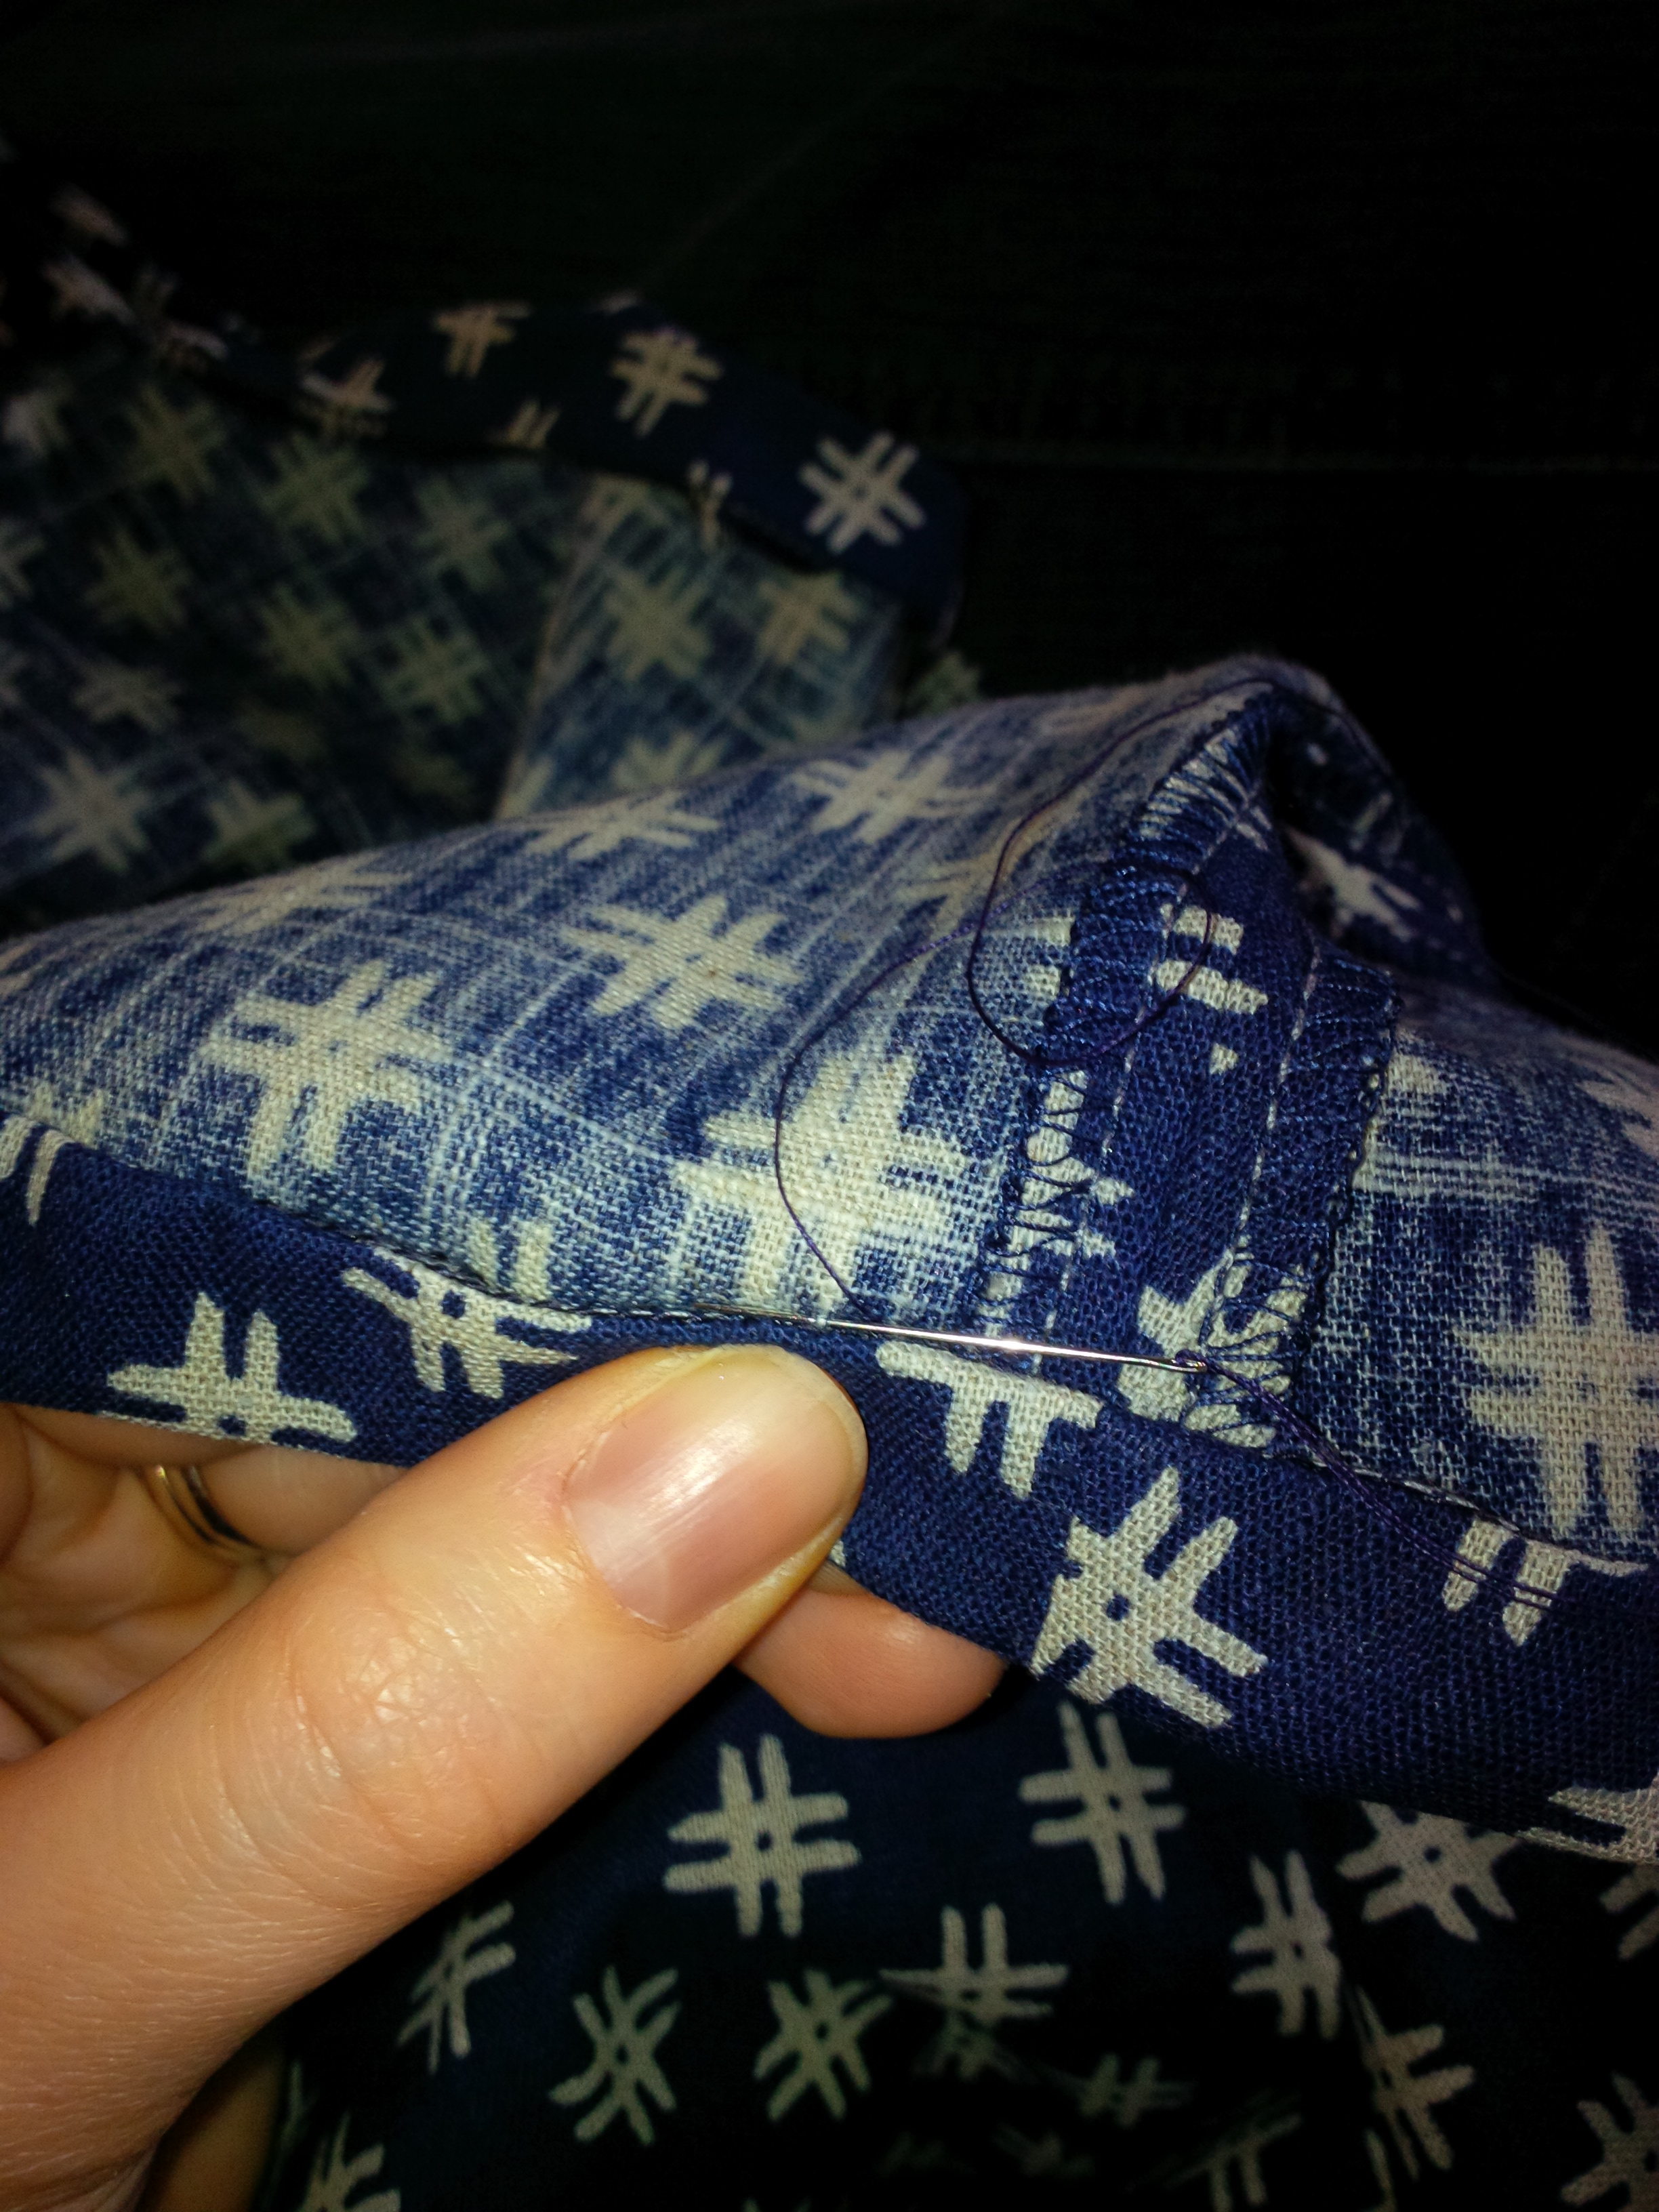
I have a serger that I used to finish all my seams, and hid the rest by hand sewing the bodice lining over the seam of the skirt join. I love a clean look inside, even if no one will see it but me. I know it there, and along with clean underwear, clean seams are something you want in a garment in case you ever have to go to the hospital. No Sloppy Seamstress Syndrome! My serger was polite enough to ease the hem as I finished it ( a combination of tension tweaks meeting off grain hem) so that took a whole lot of work off the finishing.
Those hash tags!!! YES PLEASE!!!

I make a better mascot model, but here you go!
I love my dress and skirt SO MUCH! The Low Country Indigo also comes in quilting cotton on a white background, its pretty gorgeous. And Flora is going to be shipping out soon. I love it a lot! I have two patterns coming out with Flora, and the quilt I made will be hanging at the Windham booth at Spring Quilt Market! I will write about that quilt later, but in the meantime, here are the little notes I wrote while sewing:
-MOCKING!! Mock up are important to check the fit and structure of a garment. usually broadcloth works to mimic the lightweight to sheer fabric, and muslin for the heavier fabrics. Baste the seams of the mock up, and once it fits how you want, transfer the alterations to the pattern.
– Make the pattern for your bust size and then adjust the rest. The bust line dictated everything from where the waistline sits, to the armholes, neck size, and shoulders. So if your bust is a 12 and your waist is a 14, make the 12. Waist and hip are straight forward, you just add an equal amount to each seam to achieve the size you need (remember to split the amount between both sides fo the pattern piece. So a half inch to each seam means a quarter inch to either side of the pattern piece)
-Tissue patterns have stretch. Cure them before pinning by pressing them with an iron on the nlon setting. this adds a little static, so they cling to the fabric, reduces the wrinkles and you don’t get nearly as much stretching.
-If you use a rotary cutter to cut garments, use the smallest one possible and a straight ruler ( I use a 1″x 12″ grid ruler) The ruler will protect your fingers, and the smaller rotary wheel has less surface area, so the fabric won’t be pushed as far off grain as it does with a larger wheel, which has a larger surface area per turn.
These are some very basic notes, if you are a first time garment sewer, I would recommend finding tutorials or books to help. I still have all my books from college, but a really great resource is The Sewtionary. Tasia is a local Vancouver designer, and she has a great pattern line that is perfect for first time garment makers, Sewaholic. Each pattern has a how to on the site, as well as a sew along that you can follow to answer any questions. I have a number of her patterns, and I am going to be getting some more Flora to make the dress from for summer.
Happy Stitching!
![]()

Love the skirt and the top and skirt. I have not made clothing for myself in years but love what you did. I may look today at the quilt shop and hobby lobby. Thank you
Lovely dress and great that you make the time ,and take the time to continue to sew clothes that fit and that you will keep on doing this for yourself .
Love the project. Thanks for the link to the sewing dictionary. I know it will be helpful to me! Love your dress!
How am I just reading this now?!?!?! I had no idea that my new-found blogging and sewing inspired you. I am so touched considering I honestly feel like you’ve been literally the biggest influence on me and my sewing! Oh, and your tips? Genius! I’ve read a ton of books (of course) and some of those tips you have mentioned I have not ONCE come along! Oh, and speaking of Sewaholic – me thinks we have a jacket yet to complete… I think we have our first vacation meet up project 🙂