Quilt Market wrapped up this past Monday, and in between basement reno’s and Halloween prep and a family visit, I found some time to follow along on Instagram and check out all the new awesomeness that was released. I was also stalking patiently to see pictures of the quilts I made for Market.
I have been sitting on my hands waiting patiently for the official release so that I can show off my new designs. I LOVE the new collections, and and super excited and happy with how everything turned out. My sewing room is finally set up the way I want it, and that includes the home for my new longarm!
That’s correct, I am now the proud owner of a Tin Lizzie Apprentice. I love my machine! She still needs a name (if I go that route, which I likely will). She stitched beautifully and works with my favorite threads – Glide and Aurifil – without issue. The best part is now I don’t have to get a quilt done all in one sitting! I have been getting more creative with my quilting as a result and I am seriously excited as all heck about the future. I can see it getting a lot more productive around here!
Now it’s time for quilts!
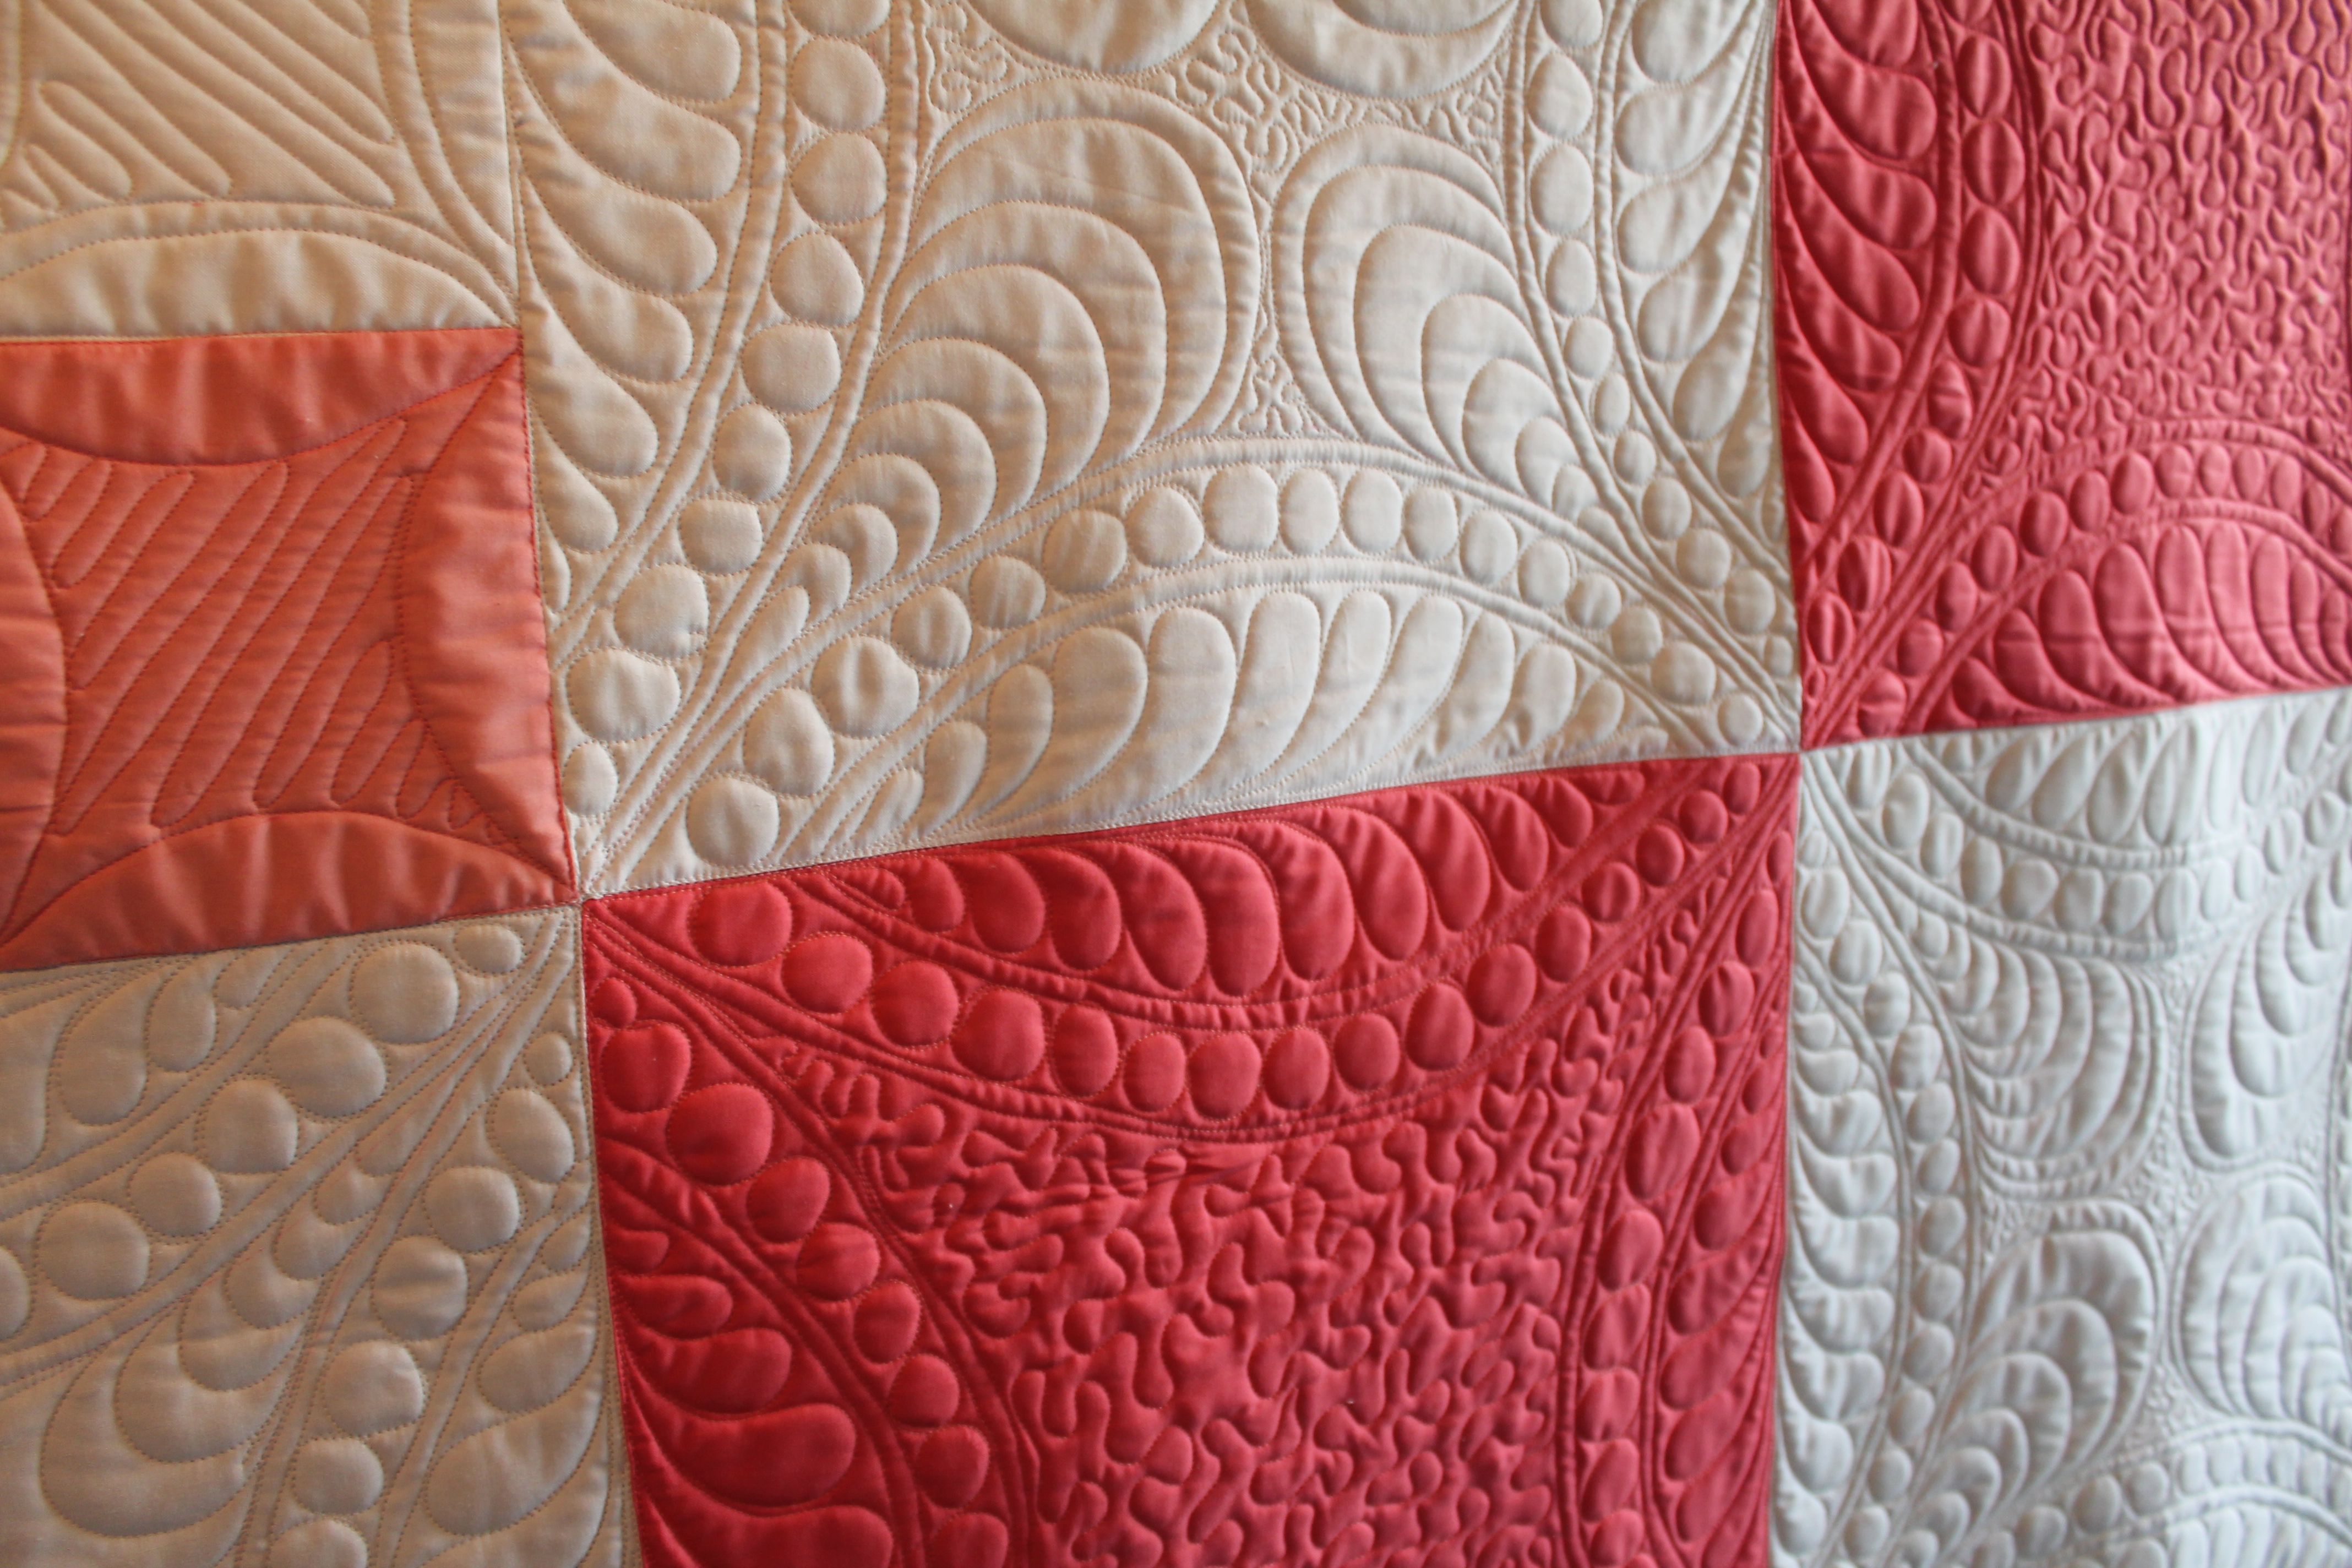
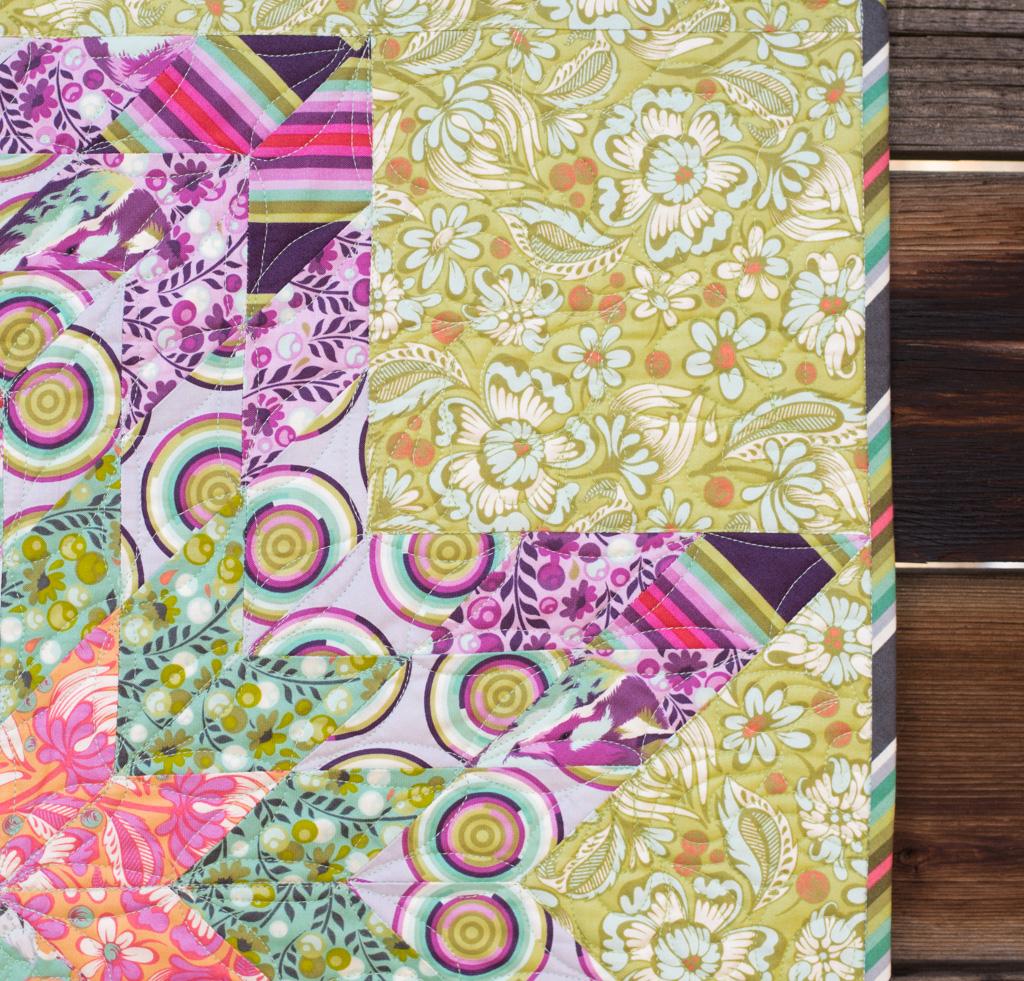
Fleur-de-Lis is an applique quilt using Joel Dewberry True Colors. It was a gloomy rainy day when I finished this one up, but @freespiritfabrics has a great picture on their IG account. I quilted it with the extended piano key on the outside borders, and an all over stipple in white Glide between the applique pieces. I outlined each piece in a matching Aurifil thread to quilt. This is going to be a free pattern from FreeSpirit Fabrics.

Fleur De Lis

Fleur de Lis
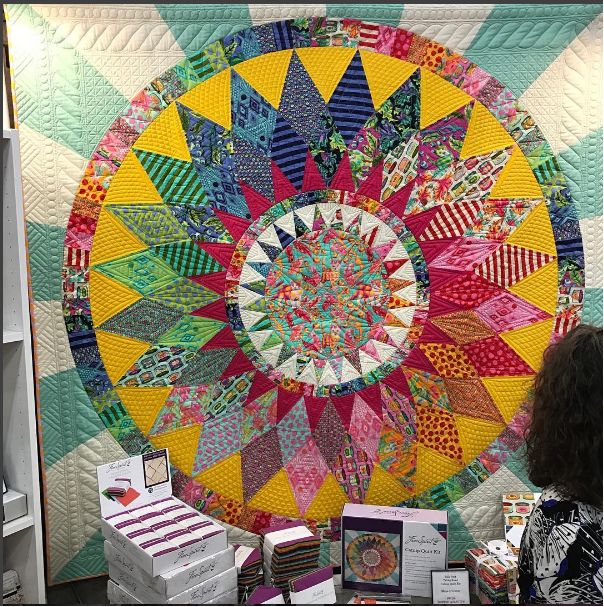
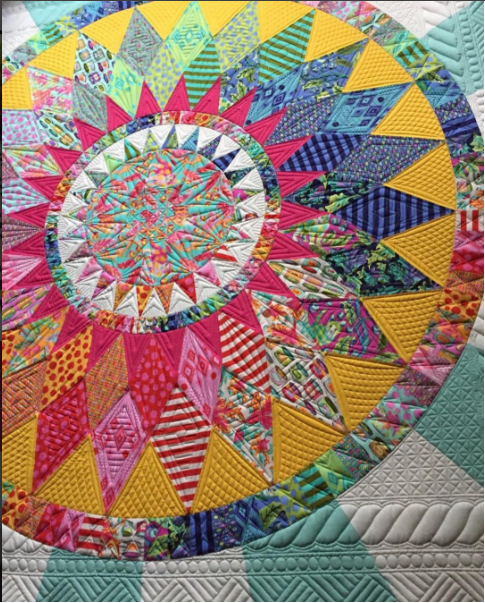
Next up is another True Colors quilt using Tula Pinks collection of prints. This one is going to be a Craftsy kit. It was hanging front and center in the FreeSpirit Gallery at market, what an honor! I quilted it with an all over swirl in a pretty aqua thread. The aqua pretty well went with everything.

Rainbow Bargello

And then there were two quilts for Amy Butler’s new collection, Splendor. Zen Garden was designed by myself and sewn by Kerri Thomson. Clematis was quilted on my Lizzie, and I am so proud of it! I was able to take mytime over a couple evenings and really get creative with my quilting. Clematis and Zen Garden are both going to be free patterns. These are the mini versions of the quilts, just wait until you see the full size! I haven’t shown a full size of Clematis because it wasn’t actually pictured yet, but once it’s been released, I will. But sneak peeks of the fabric have been posted to Amy Butler’s IG feed, so I can share the quilting details. These are slated to be free patterns as far as I know. A big thank you to Amy Butler for choosing my designs!

Zen Garden – image from @freespiritfabrics on instagram Sewn and quilted by Kerri Thomson

Clematis-Details

Clematis-Details

Clematis-Details
Finally, I am super pleased to share the Catnip quilt, which is a collaborative design between myself and Tula Pink for her new collection, Tabby Road. I am not entirely sure who did the quilting on it, either Angela Walters or Tula herself, but it is fantastic! Tula pieced the quilt. This quilt is the new exclusive quilt kit, which will be available from your local quilt shops and online retailers in March 2017, which is when the collection hits the stores. I already have a full yard bundle on pre-order!

Thh Catnip Quilt- Image from @tulapink
The Catnip Quilt- Image from @tulapink
There are going to be a couple more quilts for this collection eventually, so I will keep you posted.
Until next time, Happy Stitching!


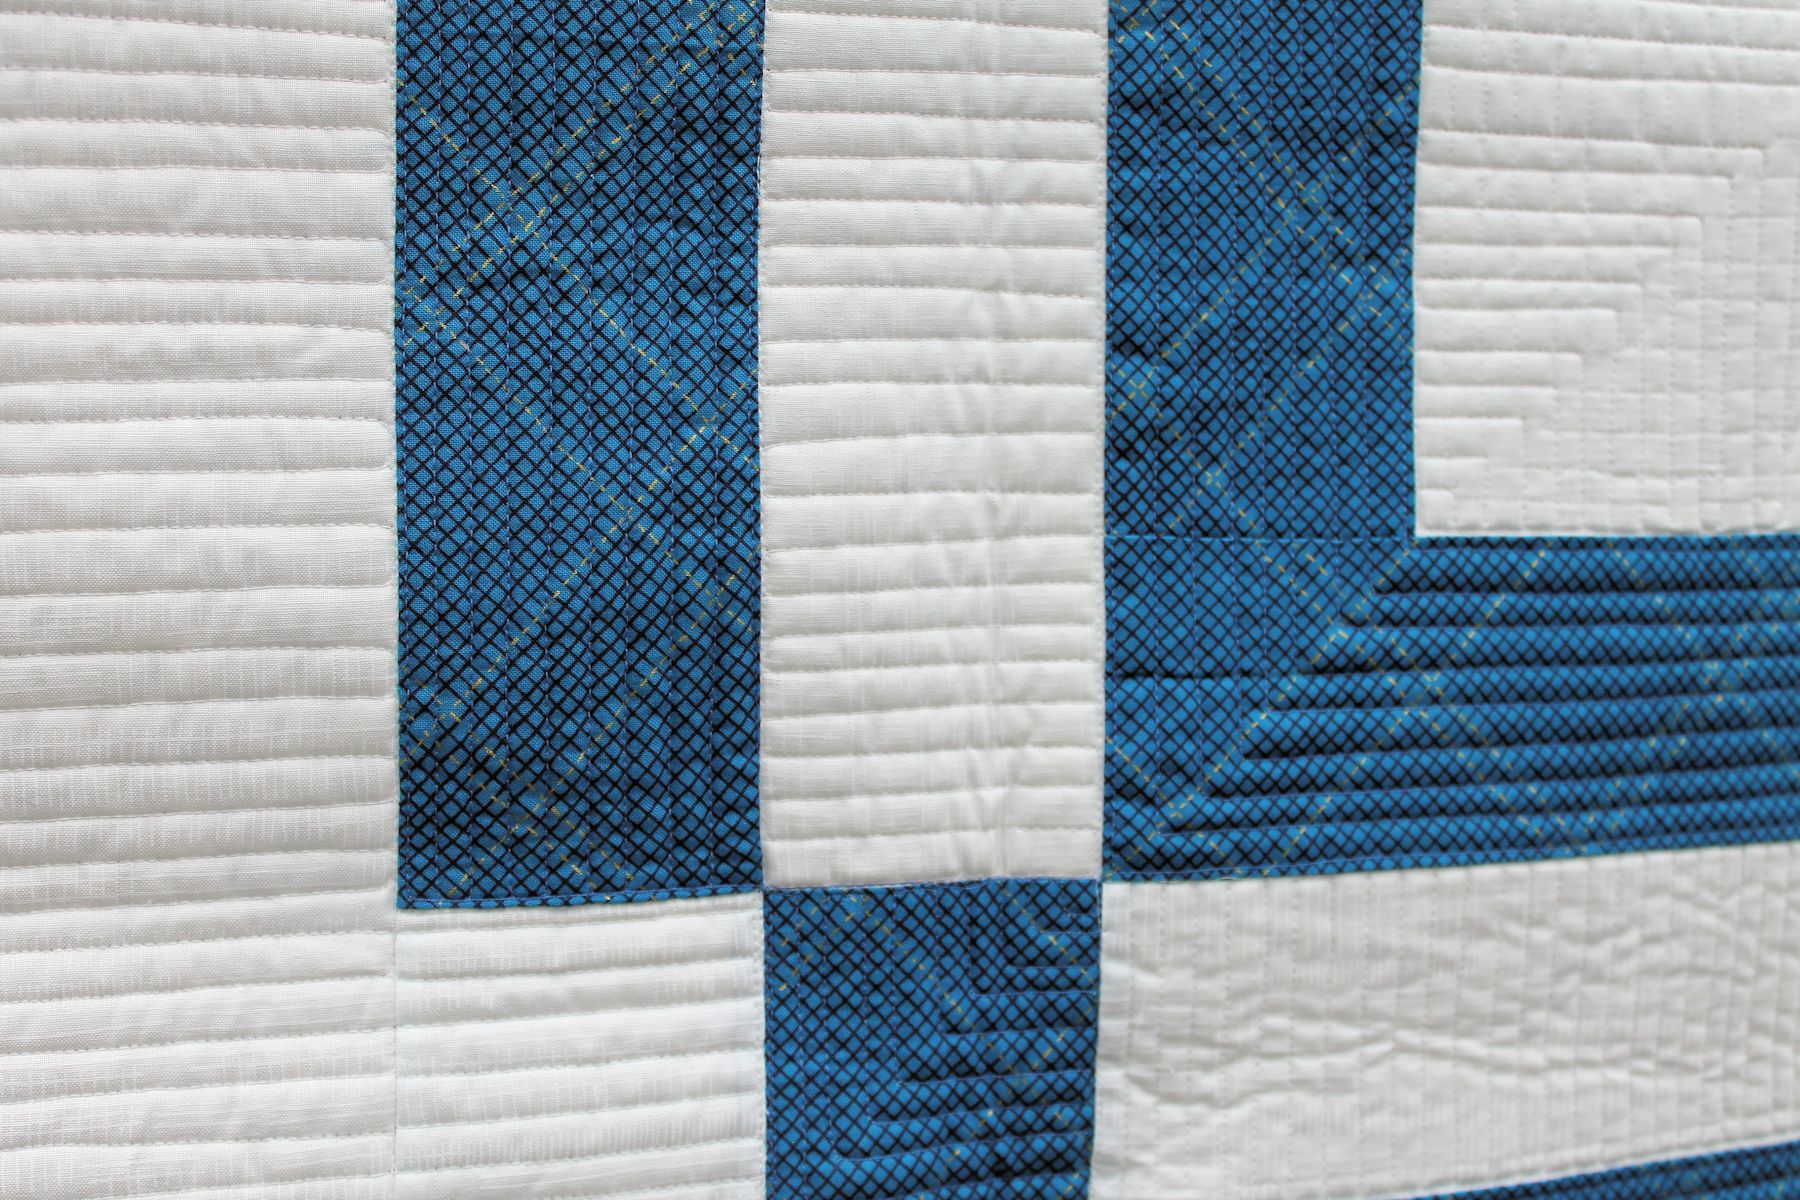
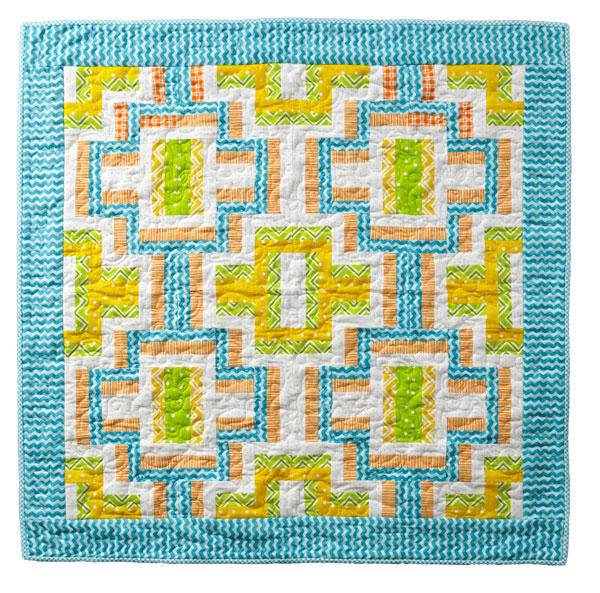
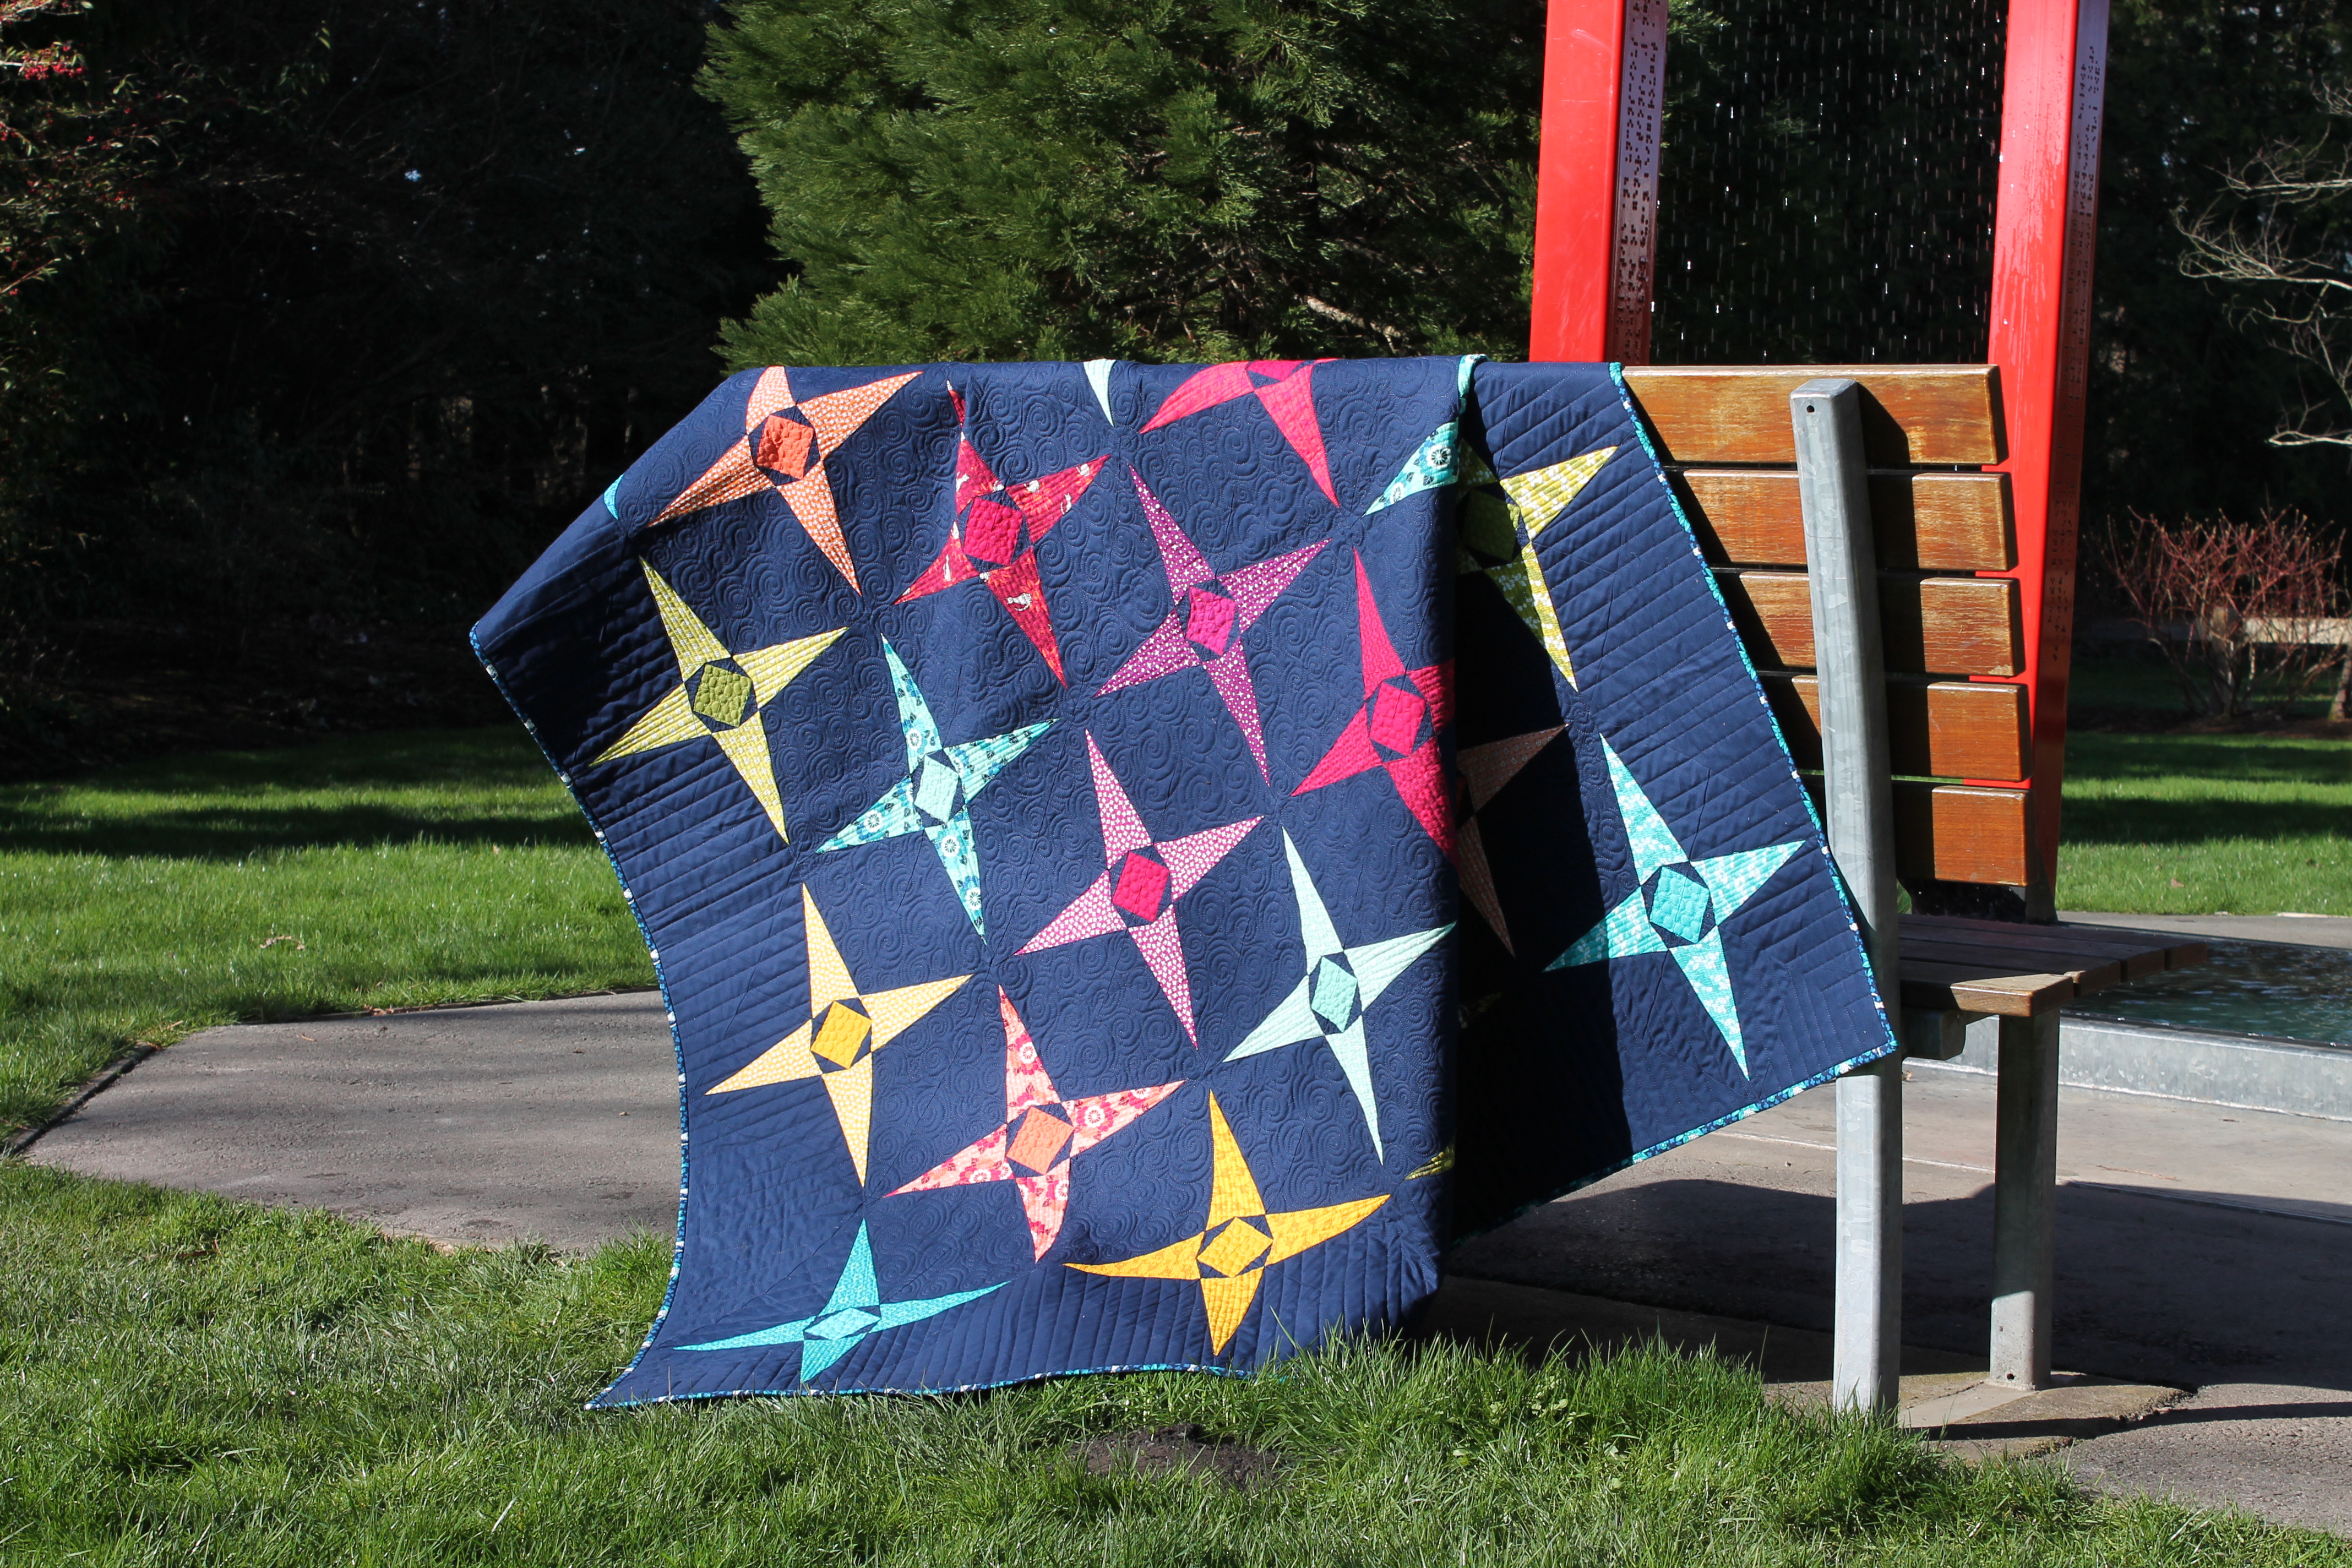
 In my minds eye, as I was playing with shape and color, I kept seeing a skyline at night. The colors of the lights in the city blending and blurring together. I kept circling back to that, and started adding in some negative space using a deep indigo solid. the warm contrast of the indigo pulled new life out of the colors, and it meshed perfectly with my mental image.