Hoffman Challenge 2013-DONE!

Holy Moly!

The last 3 weeks have been a whirlwind of sewing and ironing and quilting. Spare time has been practically non-existent. I have been so wrapped up in this challenge, its been mind boggling. To make matters even more exciting, I got a second job, and I thought the deadline for entry was next week. Turns out its Friday. Thankfully my quilt is winging its way to Colorado as we speak on the back of a UPS truck! Guaranteed to be there on time, hurray!

I could fill your ears with all the tales of trial and error, hard work and late nights, but I am so thankful that I was able to finish on time. I could not have done it without the support of my family and friends. My husband, who barely saw me, my mom for coming for a weekend so i could work 10 in a row, and my friend Naomi who babysits for me so I can work and sew.

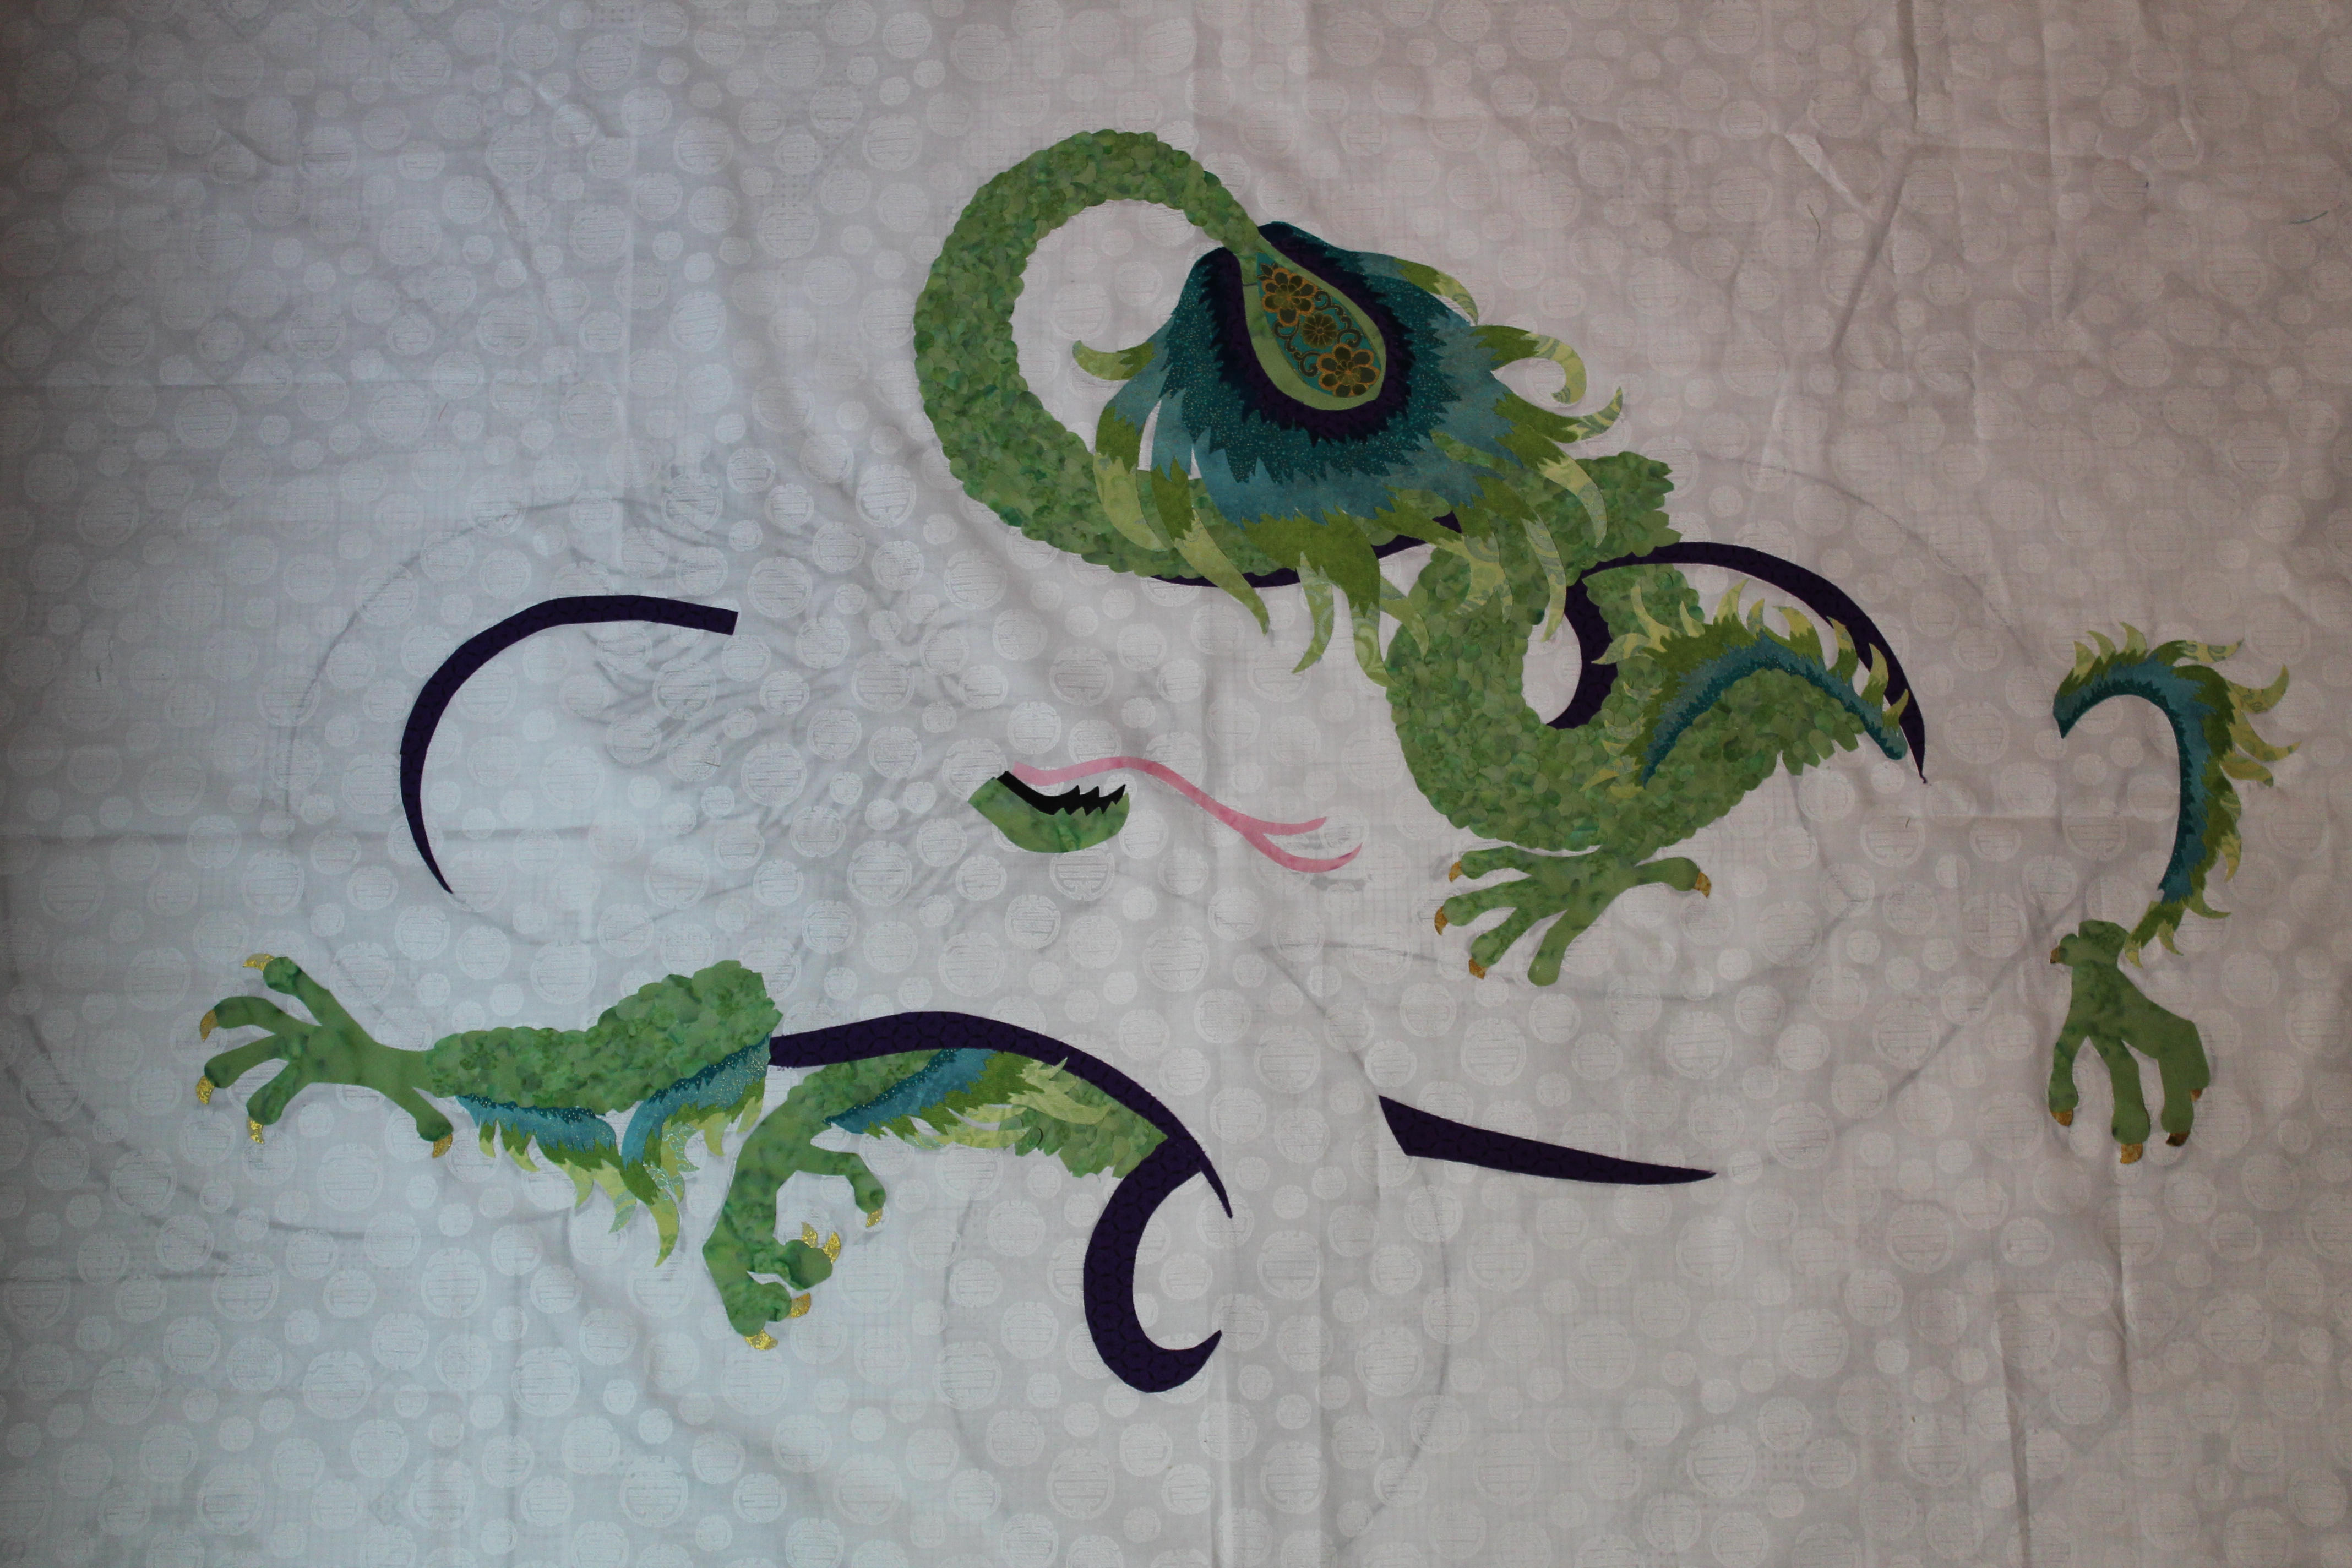
This years fabric was my favorite out of all the challenge fabrics to date. I knew from the moment I saw it that I would be making the Imperial Dragon Quilt. I had always wanted to make it again. There were many things I wanted to tweak, and new techniques I wanted to try. I was able to do them all.

Imperial Splendor

Imperial Splendor

Imperial Splendor!

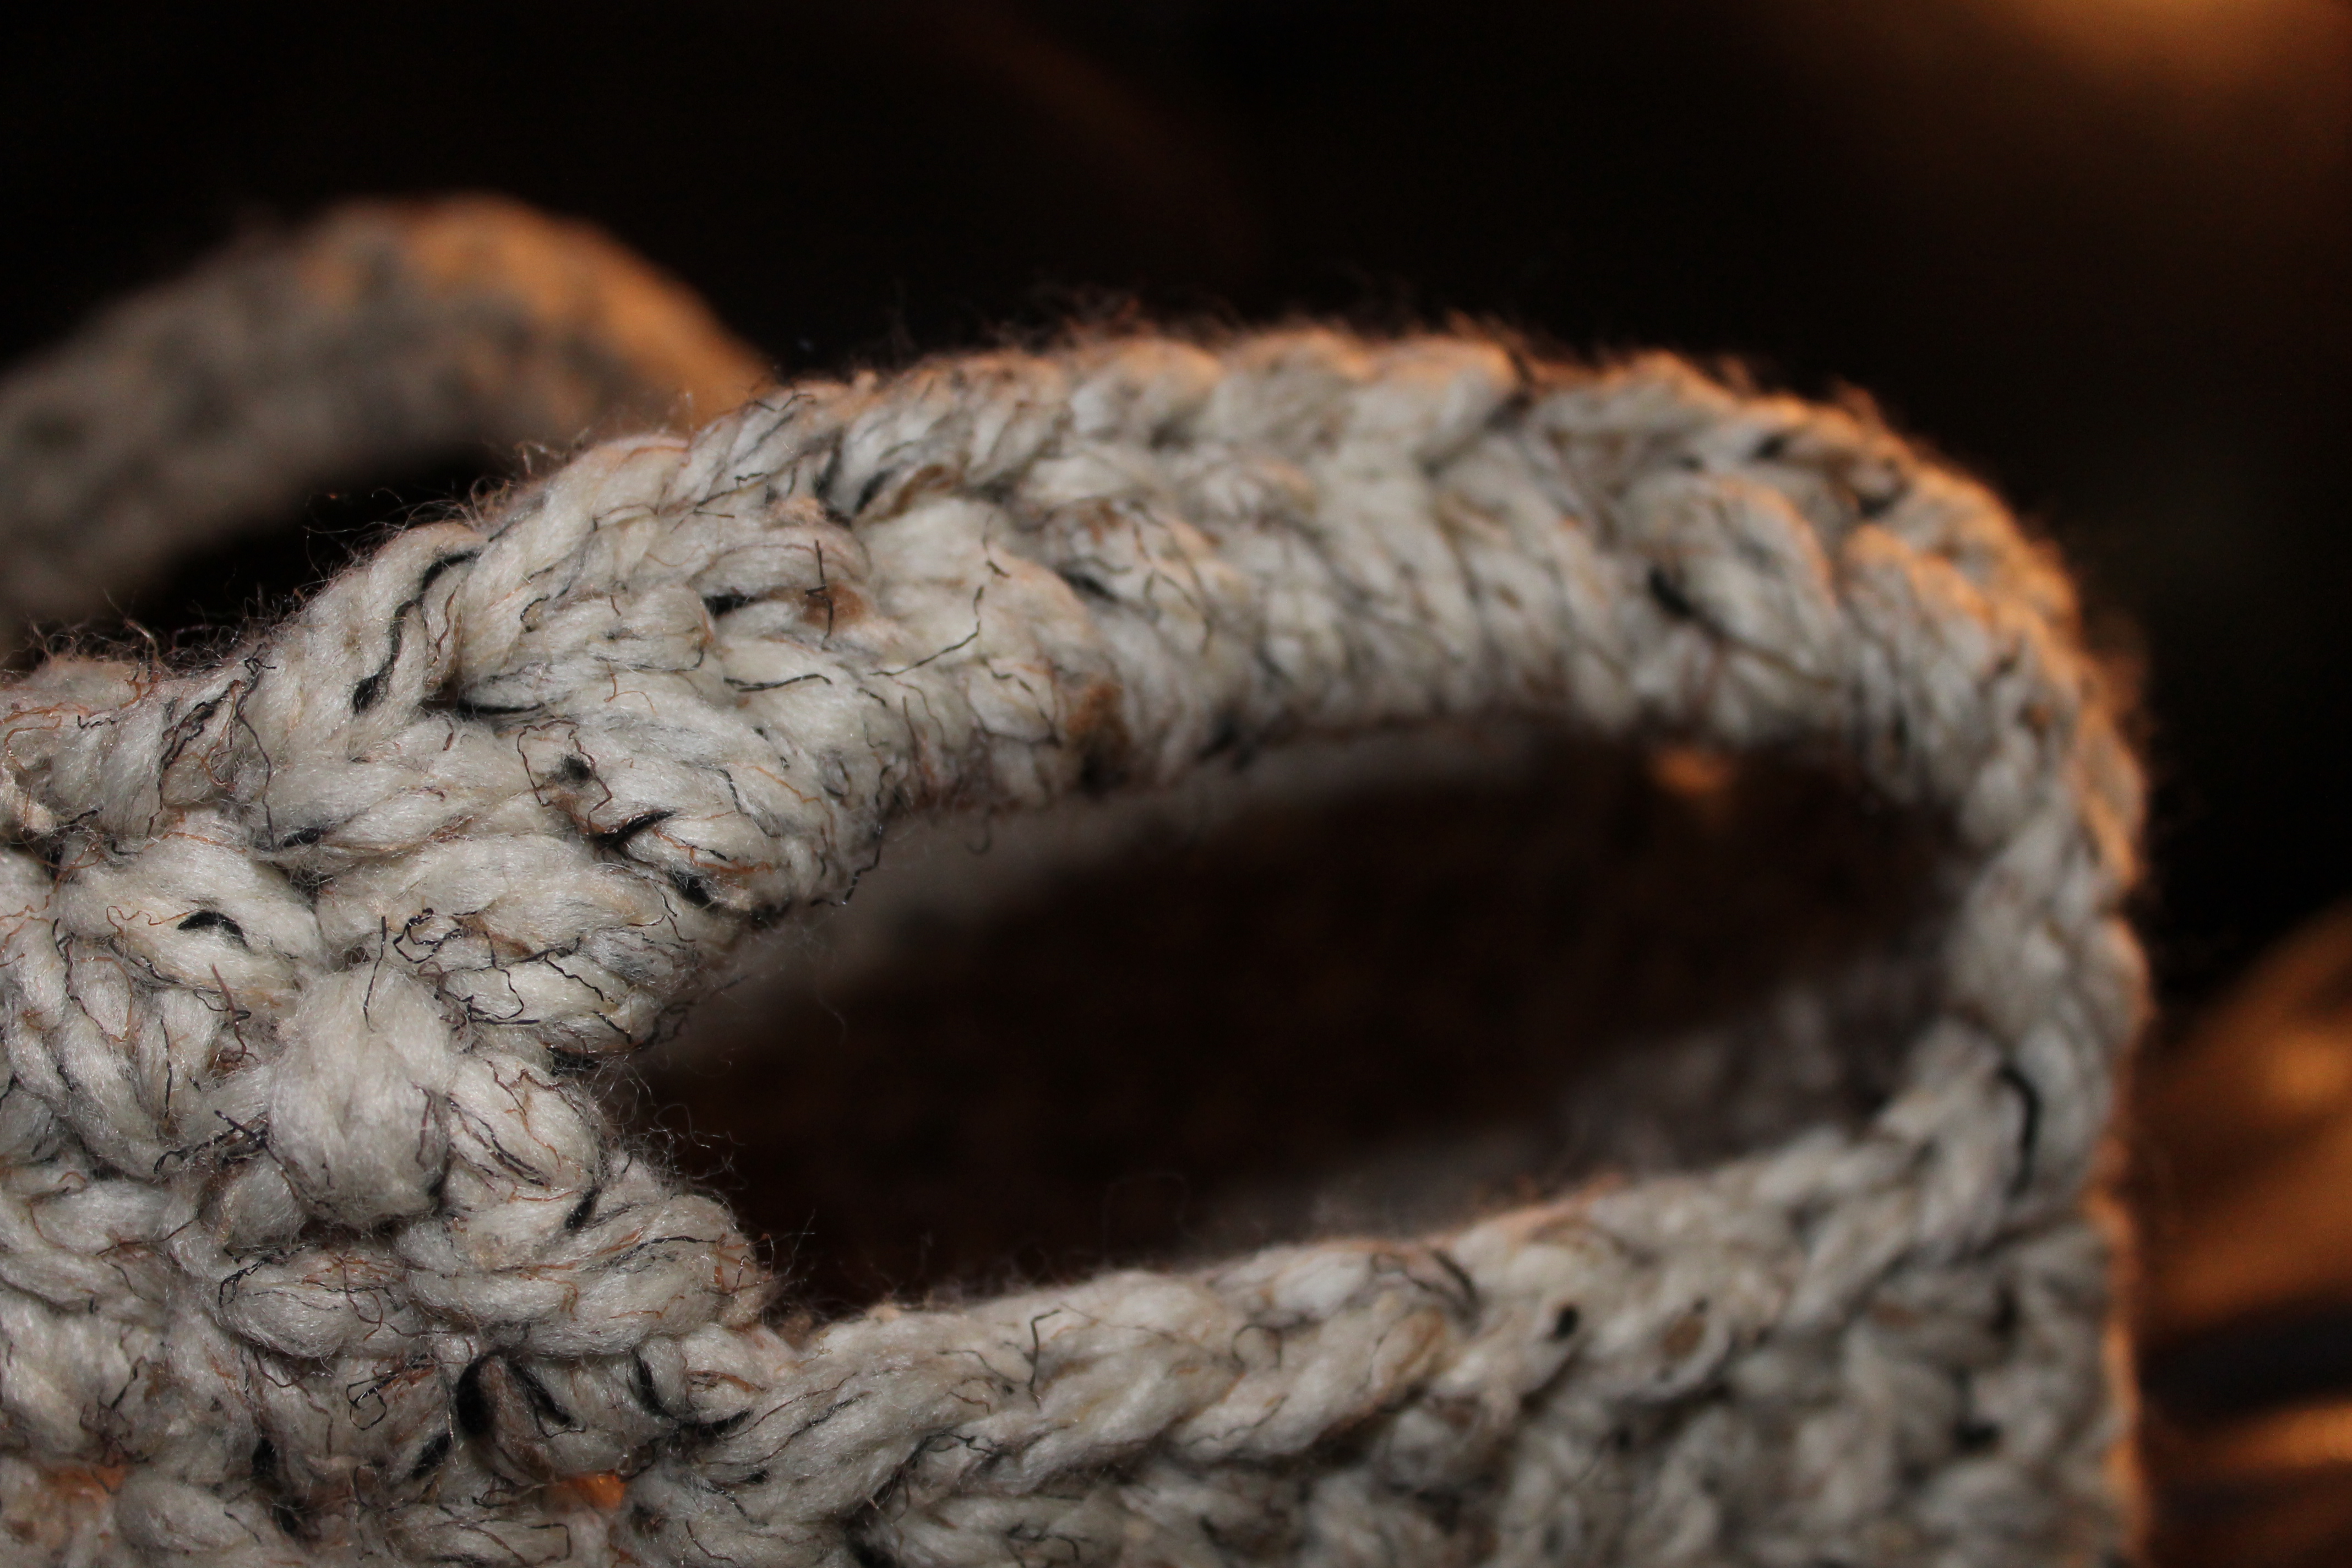
I used Shiva Paintsticks to add highlights and shading to the dragons body. The mane is an eyelash yarn that I chain stitched with a 3mm crochet needle into a long rope, careful to keep the ‘eyelashes’ all to one side. It worked out very well because the eyelashes lay directional naturally.

Highlights

Highlights

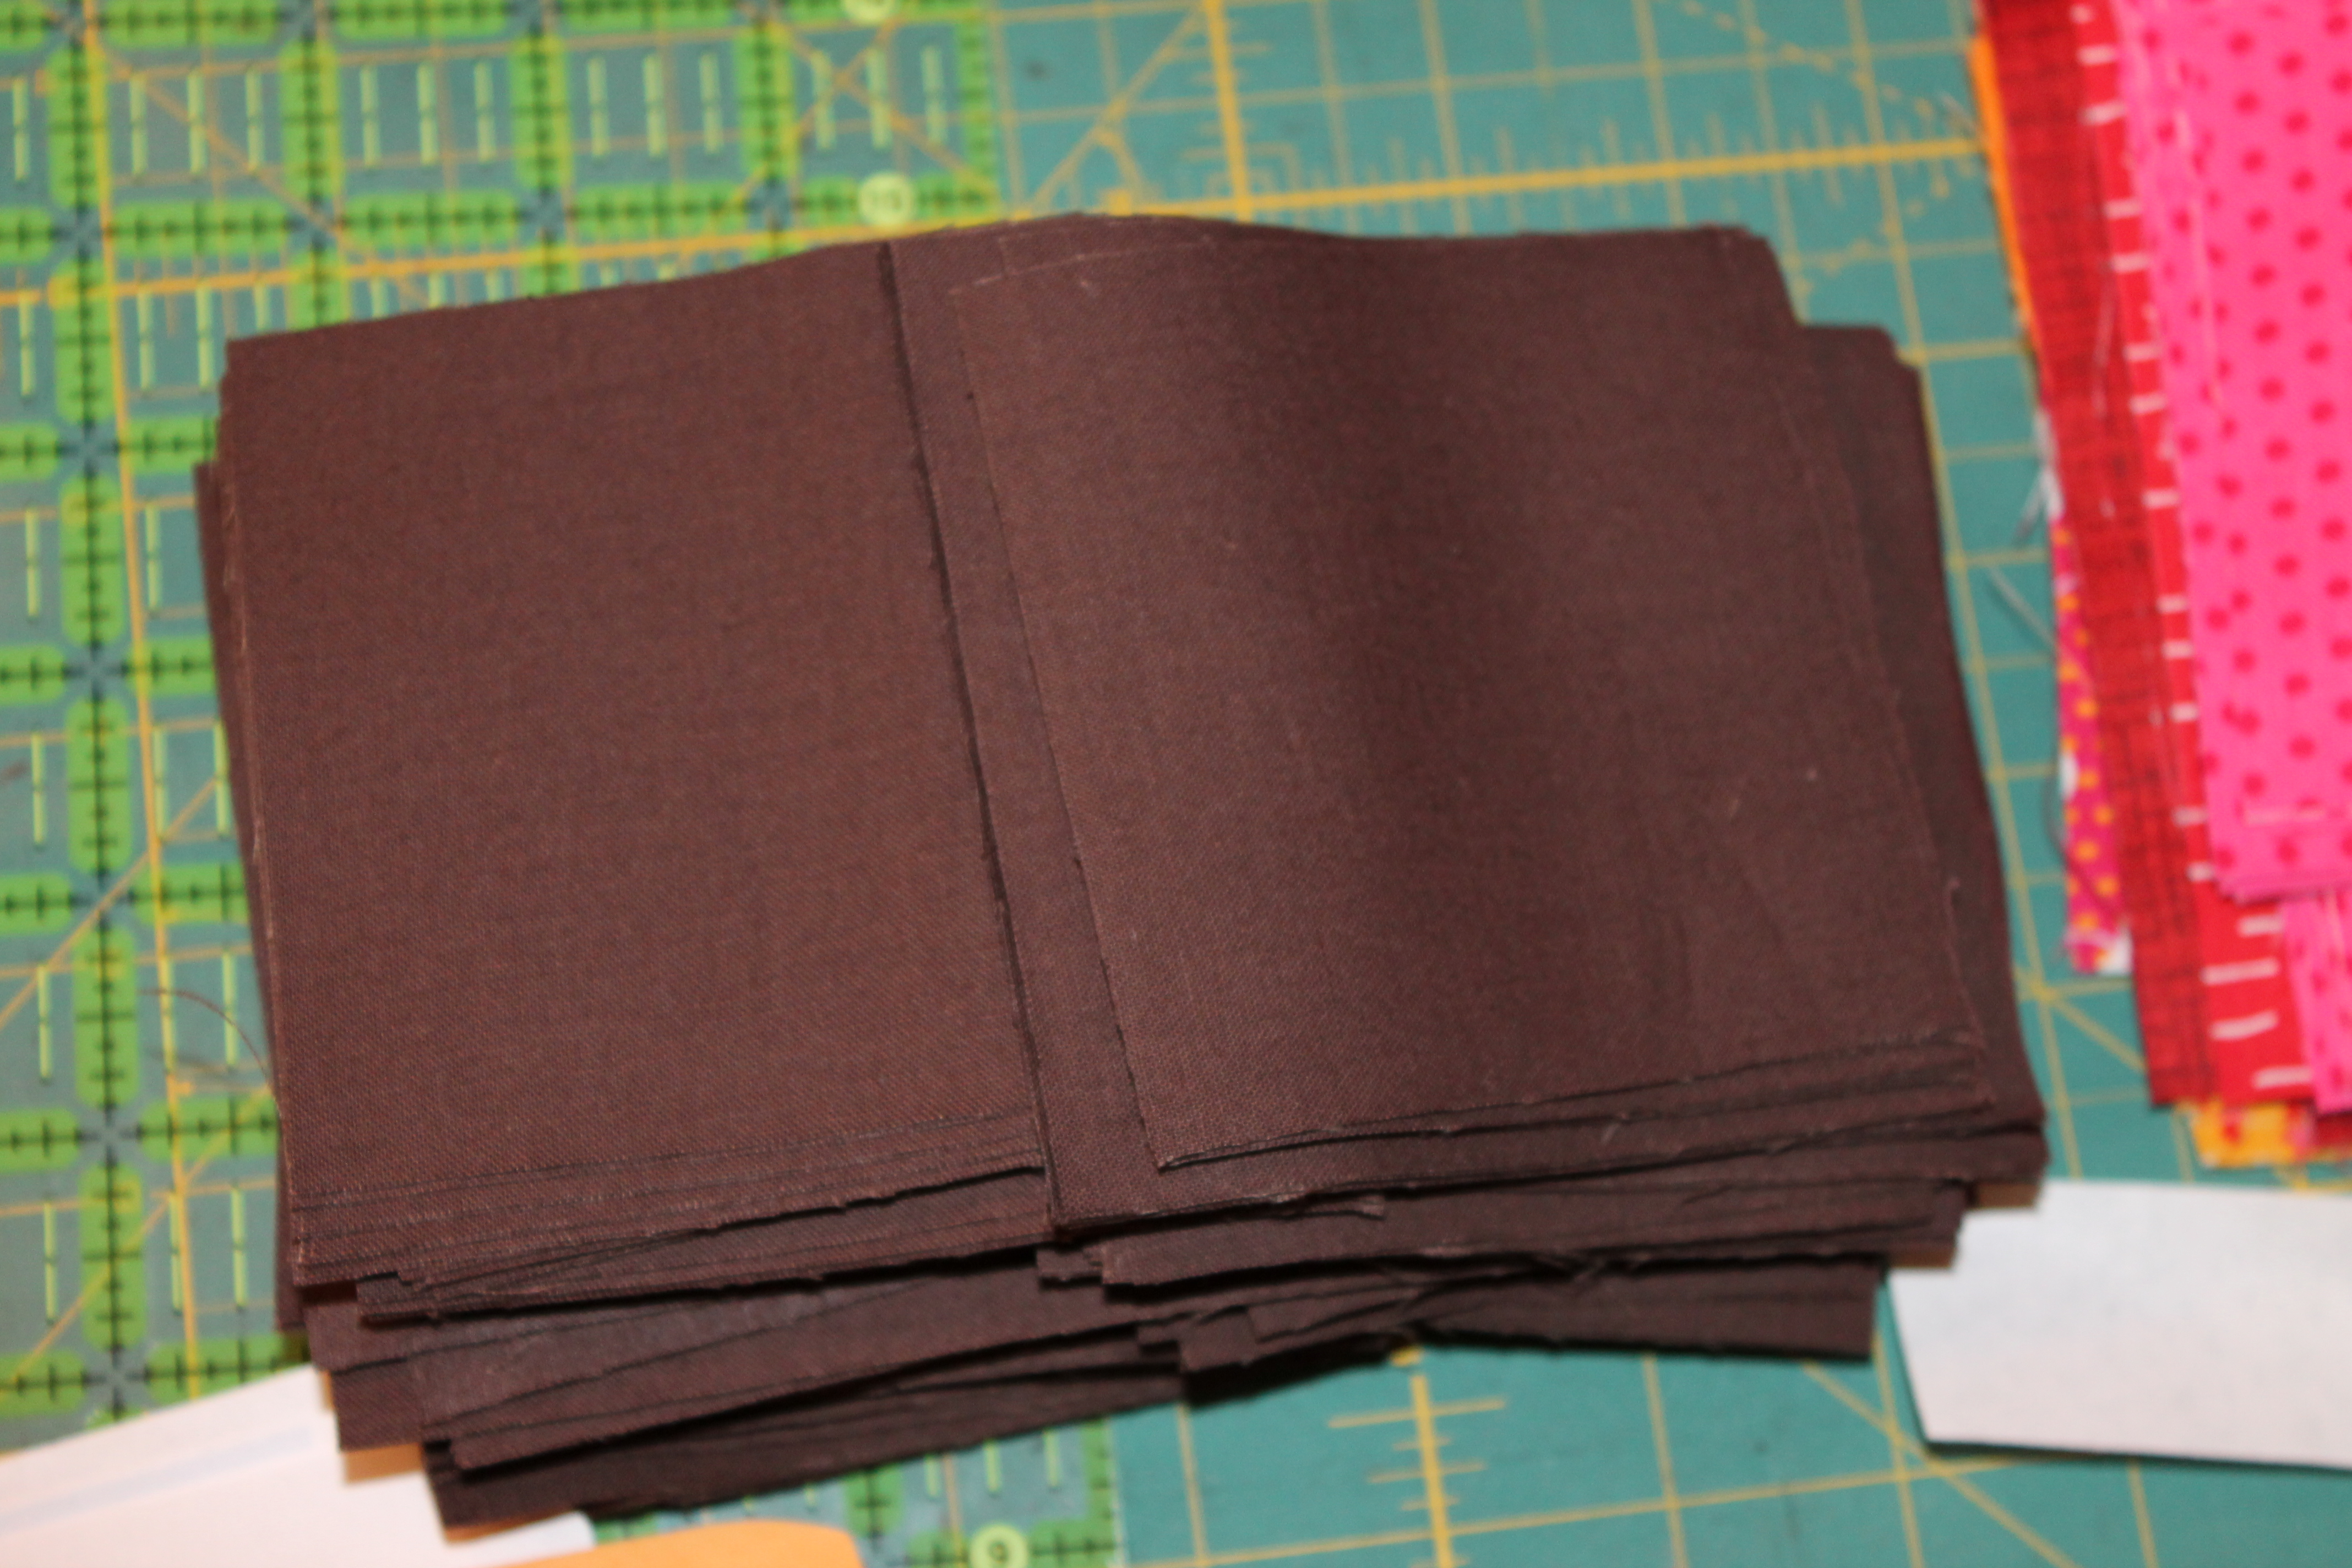
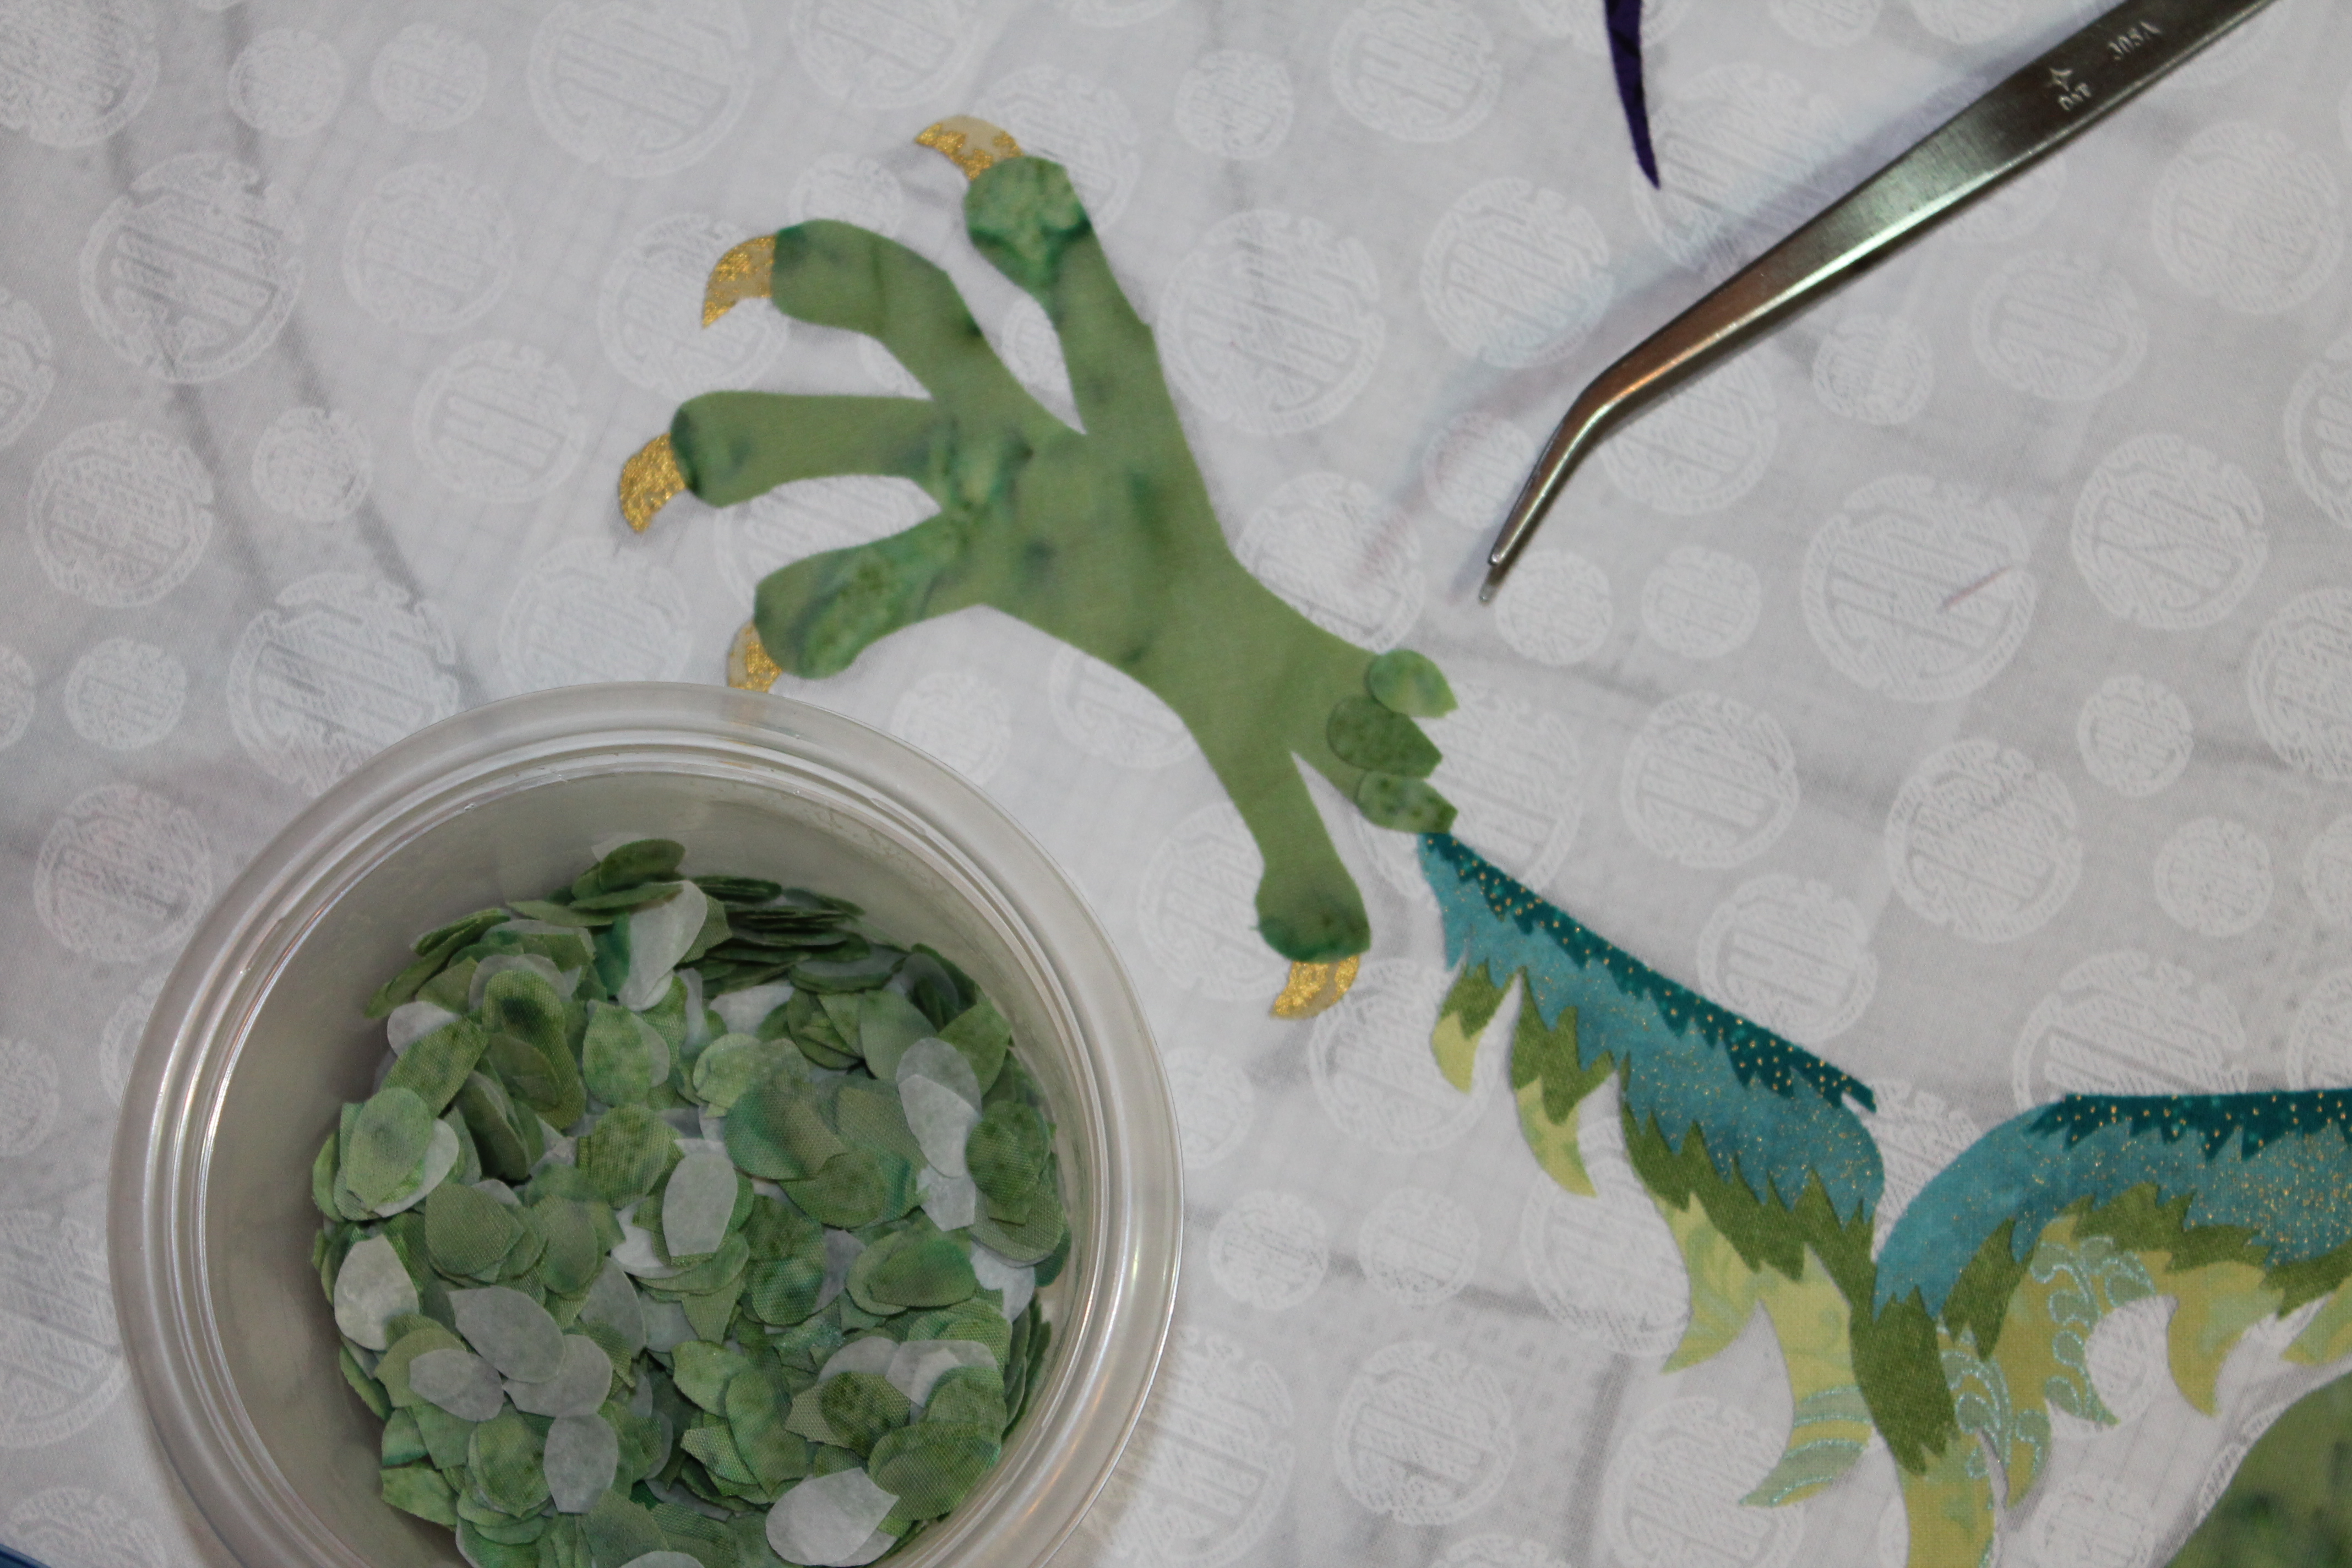
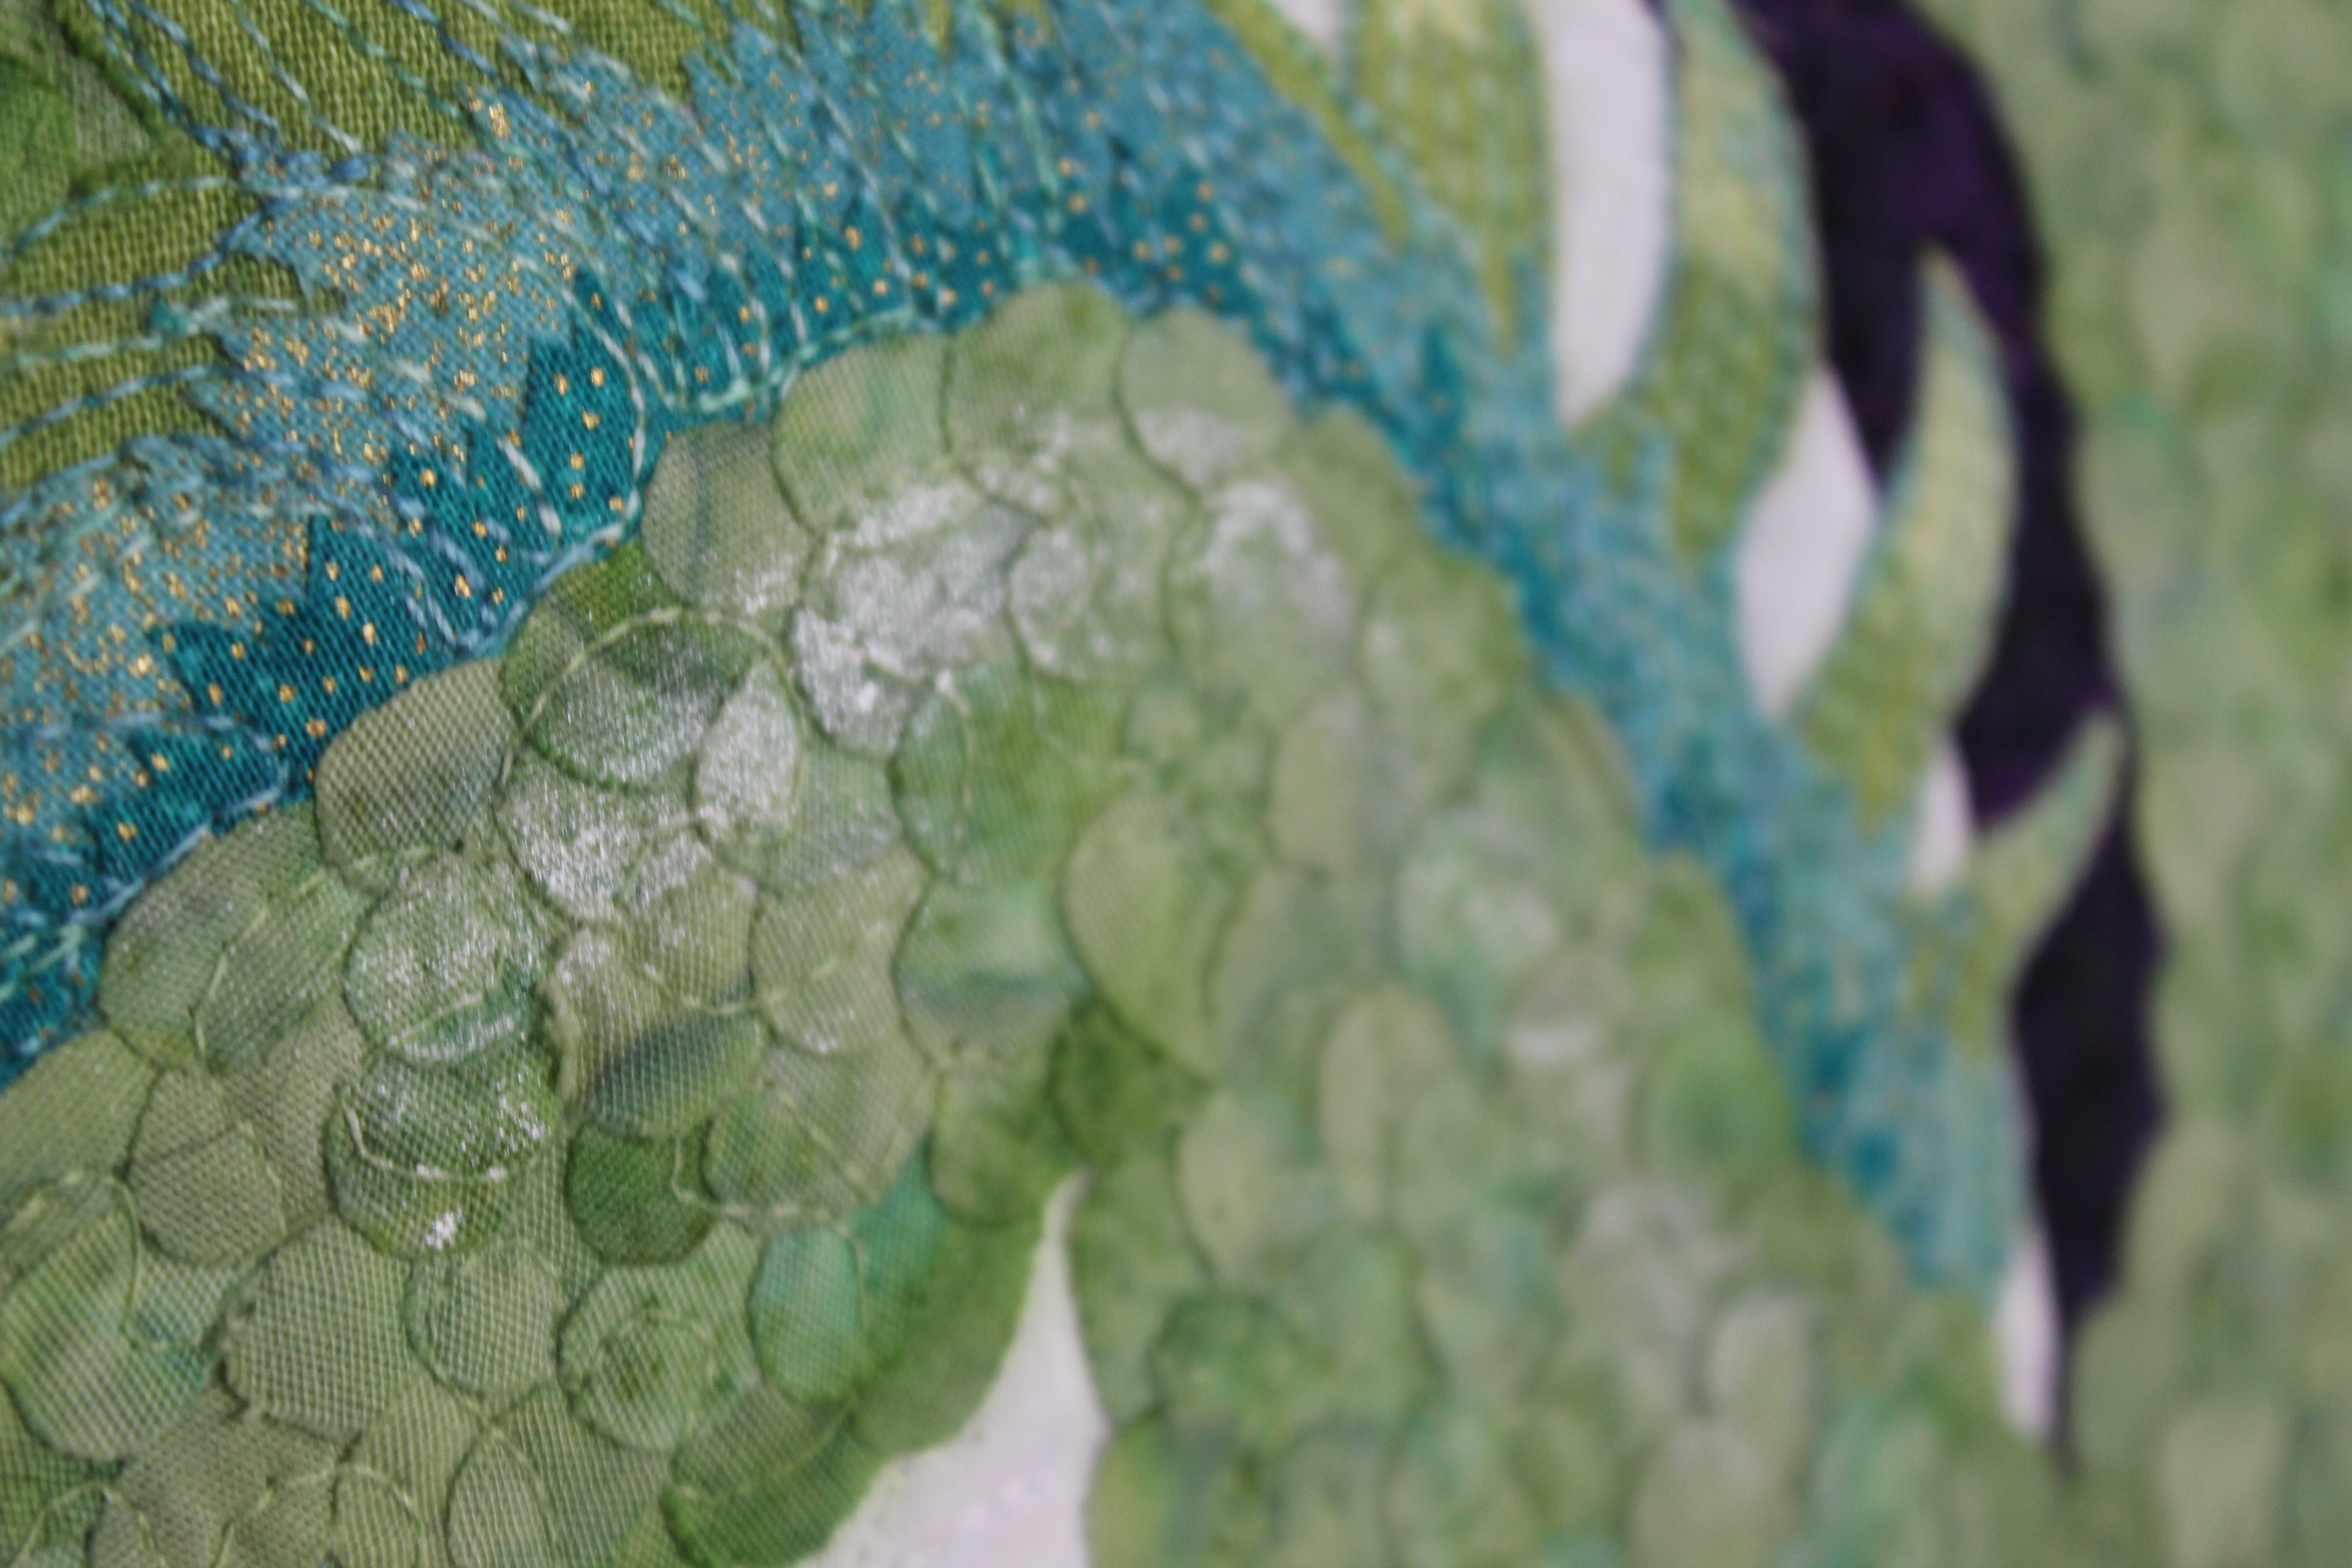
I used a Hoffman 1985 Watercolors batik for the dragons body, and cut each scale out individually. Then I fused them all down. There are more than 500 scales in the whole dragon. I quilted his body with a meandering stipple in a matching color. The leg, head and tail feathers were layered and quilted using a variegated aqua to green, then a dark plum in the darkest parts of the tail and head.

Dragon tail detail

Dragon tail detail

Dragon head detail

Dragon head detail

I quilted the background to mimic the tail, using the large leaves as the base for each.

quilting detail

Quilting Detail

For the white background I used the back side of a tone on tone white fabric, the motif was really overwhelming, but looks really good  from the back, quilted with an orange peel motif.

July 040

I am so super duper happy with how this quilt turned out. I think it is my all time favorite ever!


Keep on Sewing!!


Stacey

Busy Busy Bee!

Its been a busy busy month here at Stacey In Stitches. Between custom orders, bees and personal projects, I find time to go to work and clean the house somehow. I am lucky that my husband knows how to do dishes and laundry, or we would be wearing paper bags stuffed with newspaper, because it has been so cold and rainy here lately.

I ordered and received my Tula Pink City Sampler book. I ‘need’ to get some more fabric for it, and even though I haven’t started any blocks yet it is on my list. Right after the Dragon Quilt, a couple custom orders, and my Bee blocks.

For the Star Block Bee, I chose Swoon blocks. All my Hive-mates agreed to make one for me. I am very excited for this one, its going to be a large quilt. I chose a pallet based on the Broken Herringbone print from Madrona Road in Citrus. I ordered them online, and the colors coordinate really really well.

The bundle I compiled for the Swoon Quilt.

The bundle I compiled for the Swoon Quilt.

I am using a Free Spirit Designer Solid in Chona Brown for my background, it really makes the colors stand out. It is warm and the color is rich and saturated. I have never worked with a FreeSpirit solid, but so far I am very happy with it. The hand is quite soft and it irons nicely, the weight is really good, not as thick as a Kona, and a nice tight weave like an Art Gallery.

Background cut and ready to go

Background cut and ready to go

I have also been working my tail off with this years Hoffman Challenge Quilt. The challenge fabric is much more vibrant in person, the online swatches really do not do it justice.  I decided to do another Dragon Quilt, this one on a smaller scale than before. The progress is good, everything is cut out, it just takes time to lay it all out. I will keep updating as it gets closer to the deadline.

End of Day One

End of Day One

End of Day 2

End of Day 2

Tools of the trade....

Tools of the trade….

I also participated in a side swap with my DQS partner on Flicker. She make me a beautiful crochet basket. Its massive and holds all my quilt books from the visit with my grandmother this weekend.

Crochet Basket from AnnaMichelleQuilts

Crochet Basket from AnnaMichelleQuilts

Lovely Large Handles

Lovely Large Handles

I made her a scrappy pillowcase. I used the Inverted Star Tutorial by Common Threads and enlarged it to make a 14″ pillowcase. The inside is lined and the zipper tape is enclosed. I forgot to take pictures of the inside/back before I sent it off. I used a large scrap of Grunge by Basic Grey for the background. It makes a nice background for a scrappy project, with just a hint of color and some great tone on tone movement. I free motion quilted the entire pillowcase.

Scrappy Pillowcase- Inverted Star Block

Scrappy Pillowcase- Inverted Star Block

Quilting Detail

Quilting Detail

I also had the great fortune to make it to the Free Motion Quilting workshop set up by the Vancouver Modern Quilt Guild. I spent lots of time fiddling with my machine until the tension was just right, then away we go! I finished that project, more on it later.

I also made a Custom Toddler Backpack (back in May!) I don’t know how I forgot to write about it, but it turned out super cute and she is really happy with it. The fox applique I made myself, as well as the piping. The lining and piping is a Timeless Treasures print, and the canvas is water repellent. Very important when making things for little ones! I used the Toddler Backpack Tutorial from Crazy Little Projects and modified it slightlyby adding inside pockets, padded straps with webbing, and piping. You do have to be careful when cutting out the side panels, you want to measure the diameter of the bag before cutting to make sure they are long enough. It will vary depending on your curves.

Foxy Toddler Backpack

Foxy Toddler Backpack

Foxy Toddler Backpack

Foxy Toddler Backpack

Foxy Toddler Backpack

Foxy Toddler Backpack

Foxy Toddler Backpack

Foxy Toddler Backpack

Phew! Nice long recap! Lots of big stuff happening around here. Hopefully I will have much more progress on the Dragon Quilt to show you, and perhaps some Tula Pink blocks as well!

Until then, Happy Stitching!

Stacey