Its been a week since the giveaway, I hope everyone had fun. I don’t know where the time went, but I am finally back with enough time to say hello.
*Ahem*
Hello!
I am super excited this week, I am picking up my mom from the airport and heading on up to their house with the little guy for some well deserved rest. There is a box of Tula Pink Birds and The Bees fabric, as well as some Frog Prince and a Valori Wells Wrenly print from waiting for me there. I ordered it on Boxing Day (Dec. 26 for my friends south of the 49th) and due to some weird cutting/shipping backlog it didn’t arrive until mid-January, long after we had left for home. So now I get to drool all over it again. Yippee!!
FYI the Wrenly collection is on sale at Fabric.com for a sinfully low price and there is a full stock of it. Just Sayin’….
I also got a new camera from my parents this last week so I have been having a lot of fun learning how to use it and loving the pictures that come out. Gotta love parents and Airmiles! Be prepared for a significant increase in picture quality here at Stacey In Stitches.
I managed to accomplish a few things this week, which has been interesting at best and terrifyingly hectic at worst. I received my first fabric bundle from the February Queen Bee in my new Star Block Bee. They had a drop out and were kind enough to let me join. Many of the bee-mates are from the UK, and one from Australia. I think I might send back a bottle of real Maple Syrup (carefully packages of course) with my returned blocks. The fabrics were a pair of gorgeous Cusco prints in the orchid colorway. I am going to fussy cut some of the pieces and paper piece others. I love Stars, don’t you!
I finally completed a baby quilt for my friend. Her little one was born in October. better late than never. She got her first baby’s quilt a month early, so the two even out *the math works in my head, just carry a two somewhere, its all good* I had picked up a really cute panel back in July with some coordinating prints and I pieced it all together, and then it sat until Sunday when I finally changed up my thread and free-motion quilted around all the little animals. I am a fan of this panel, very very cute!


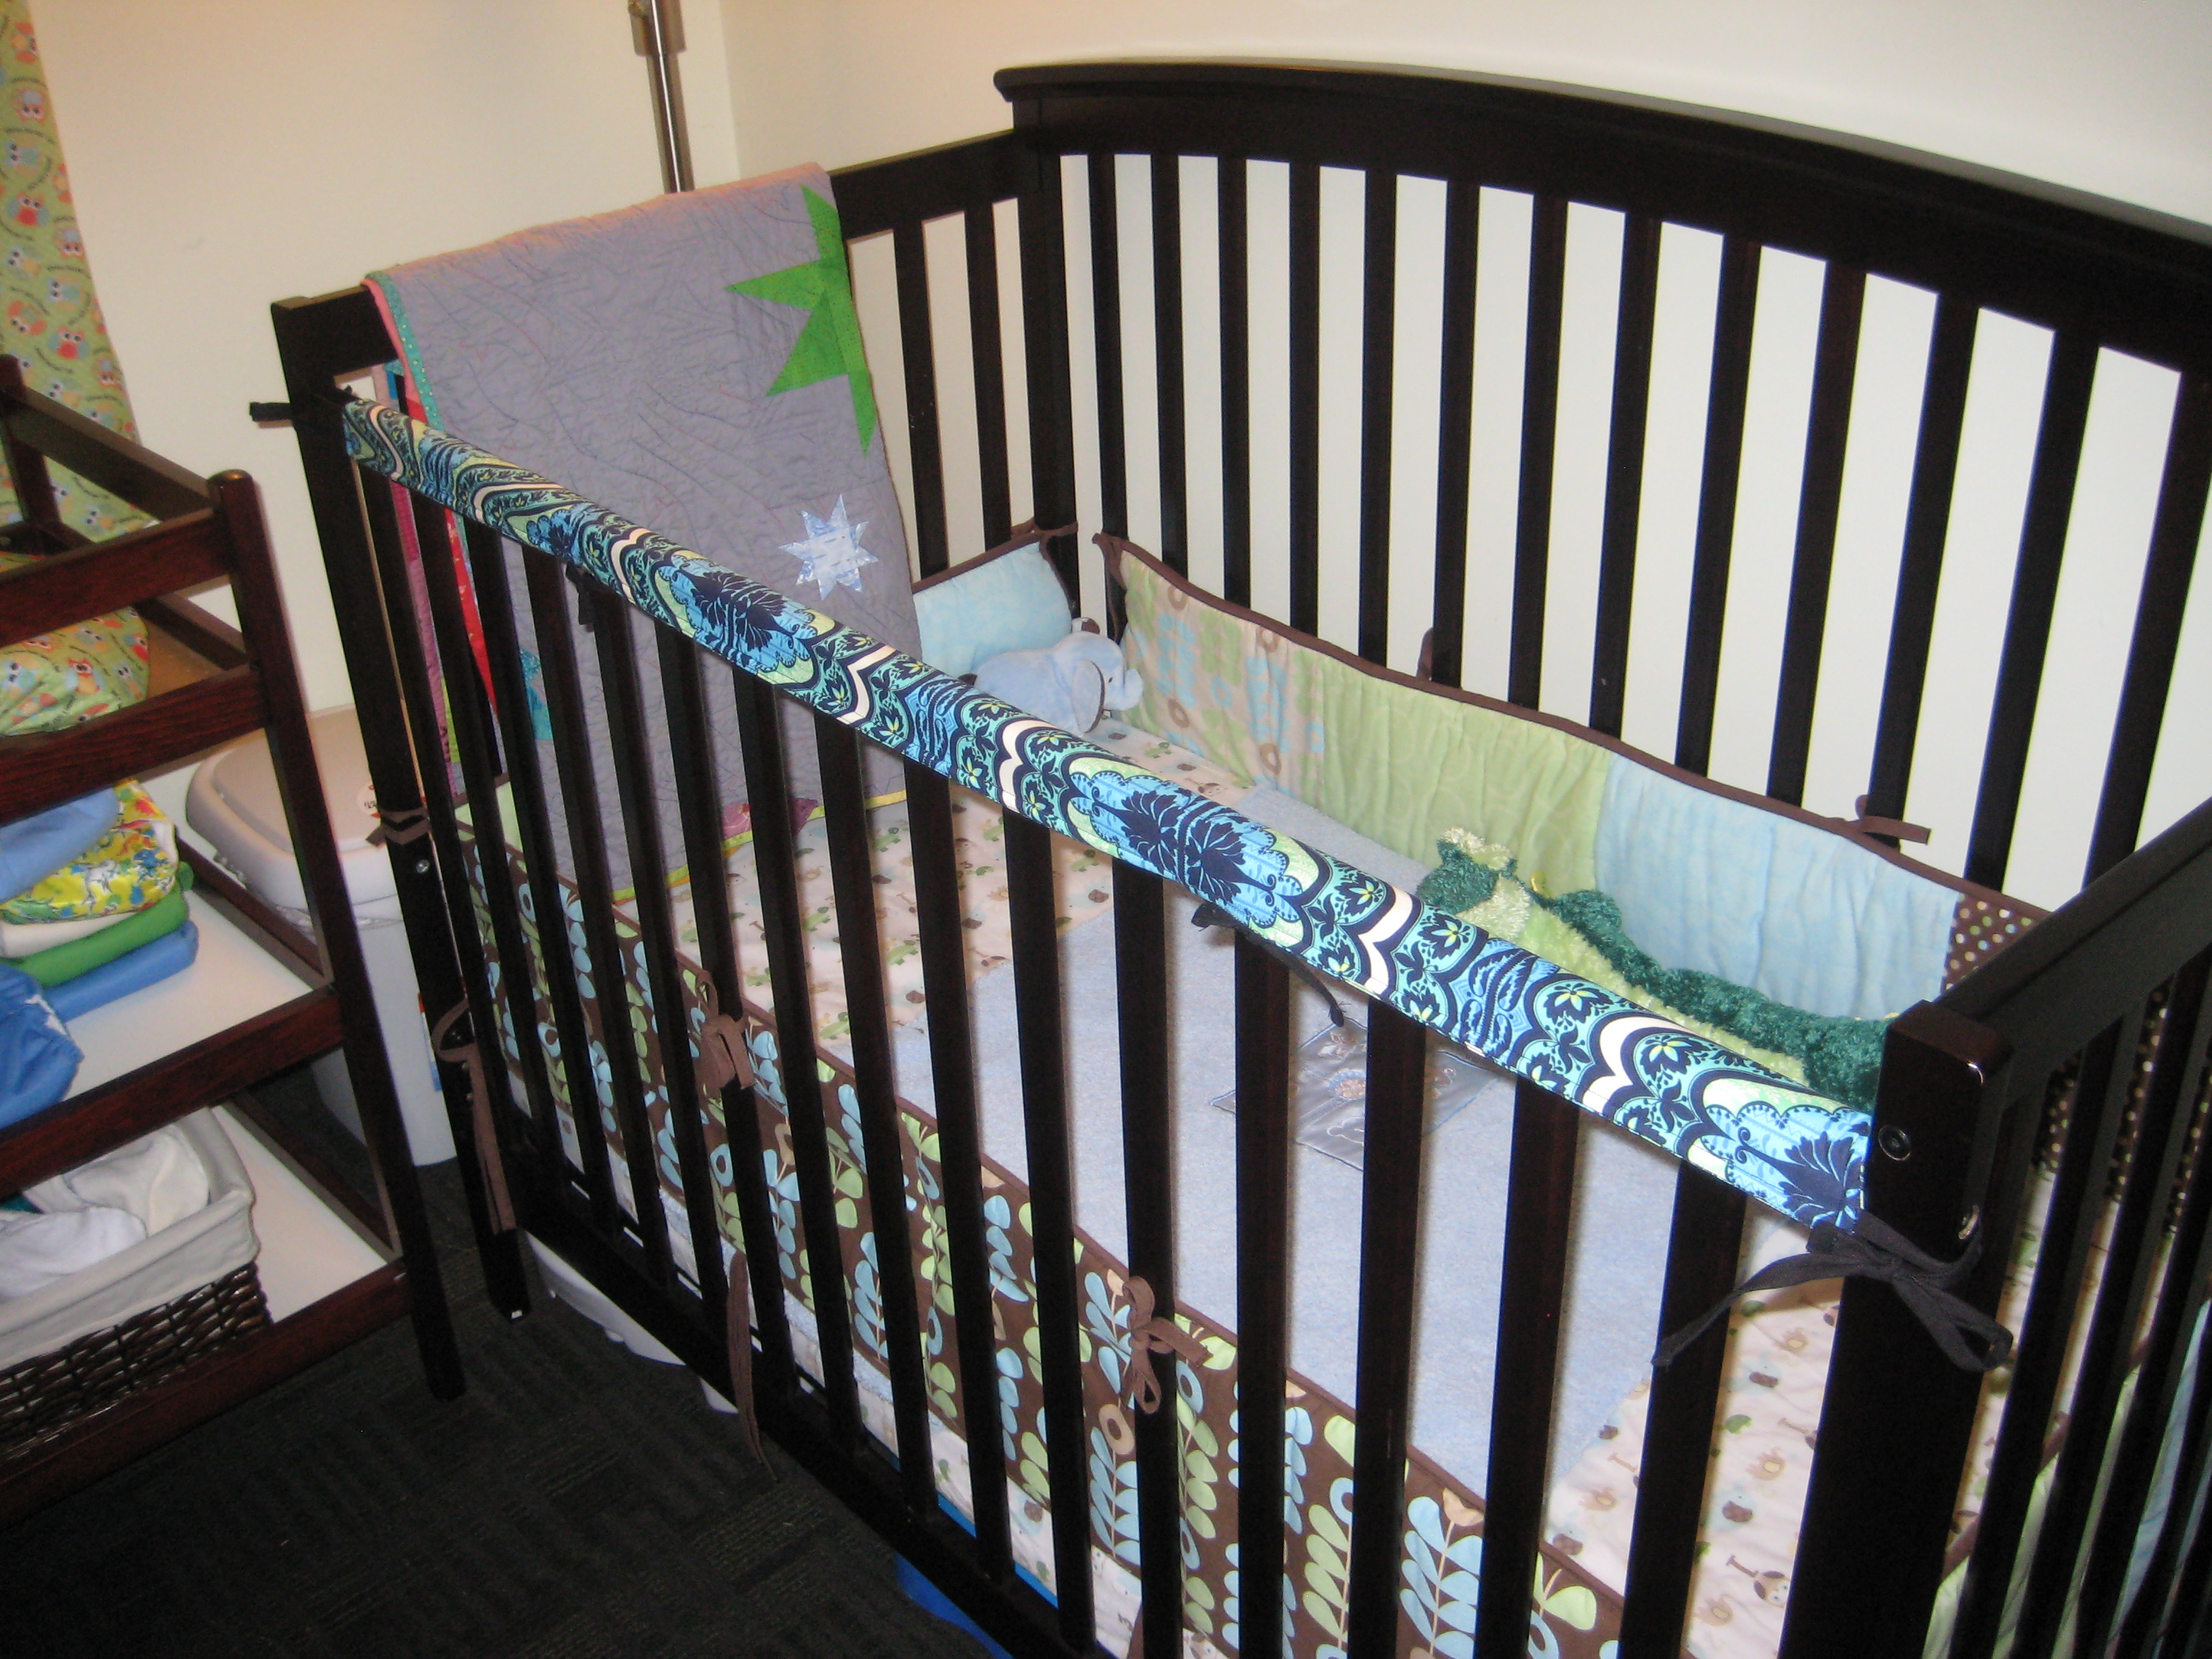
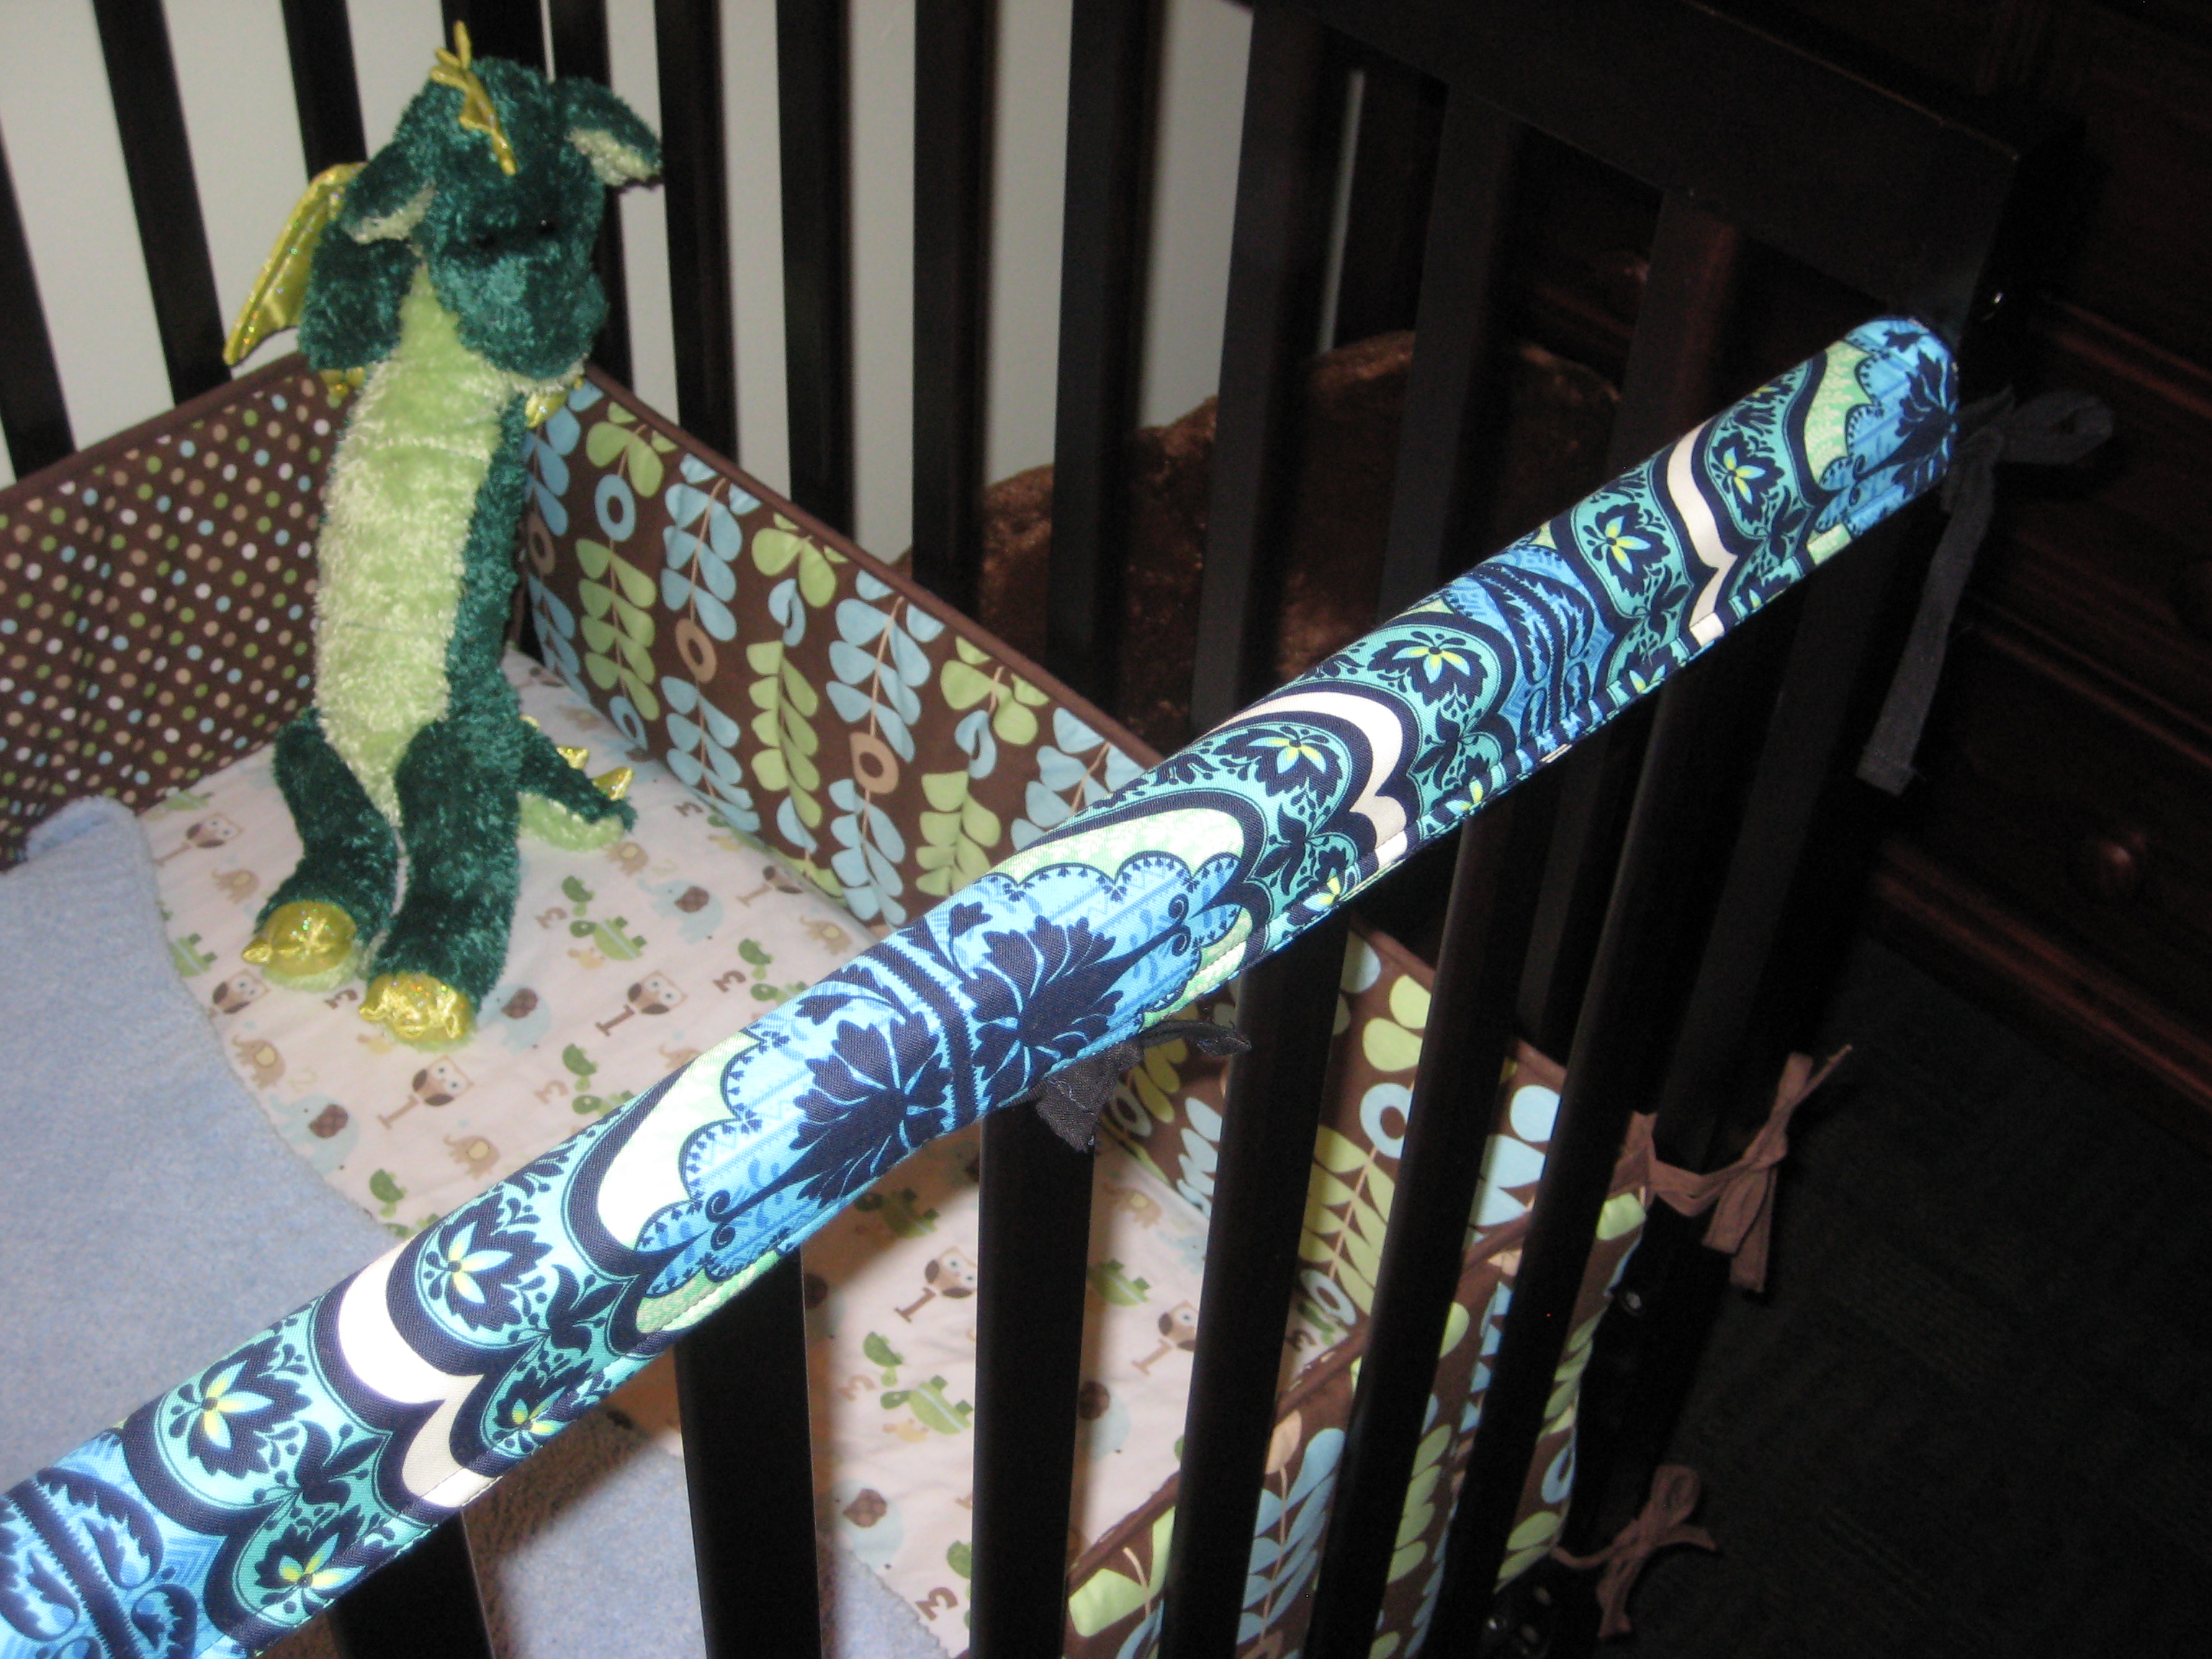
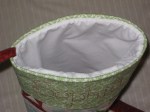
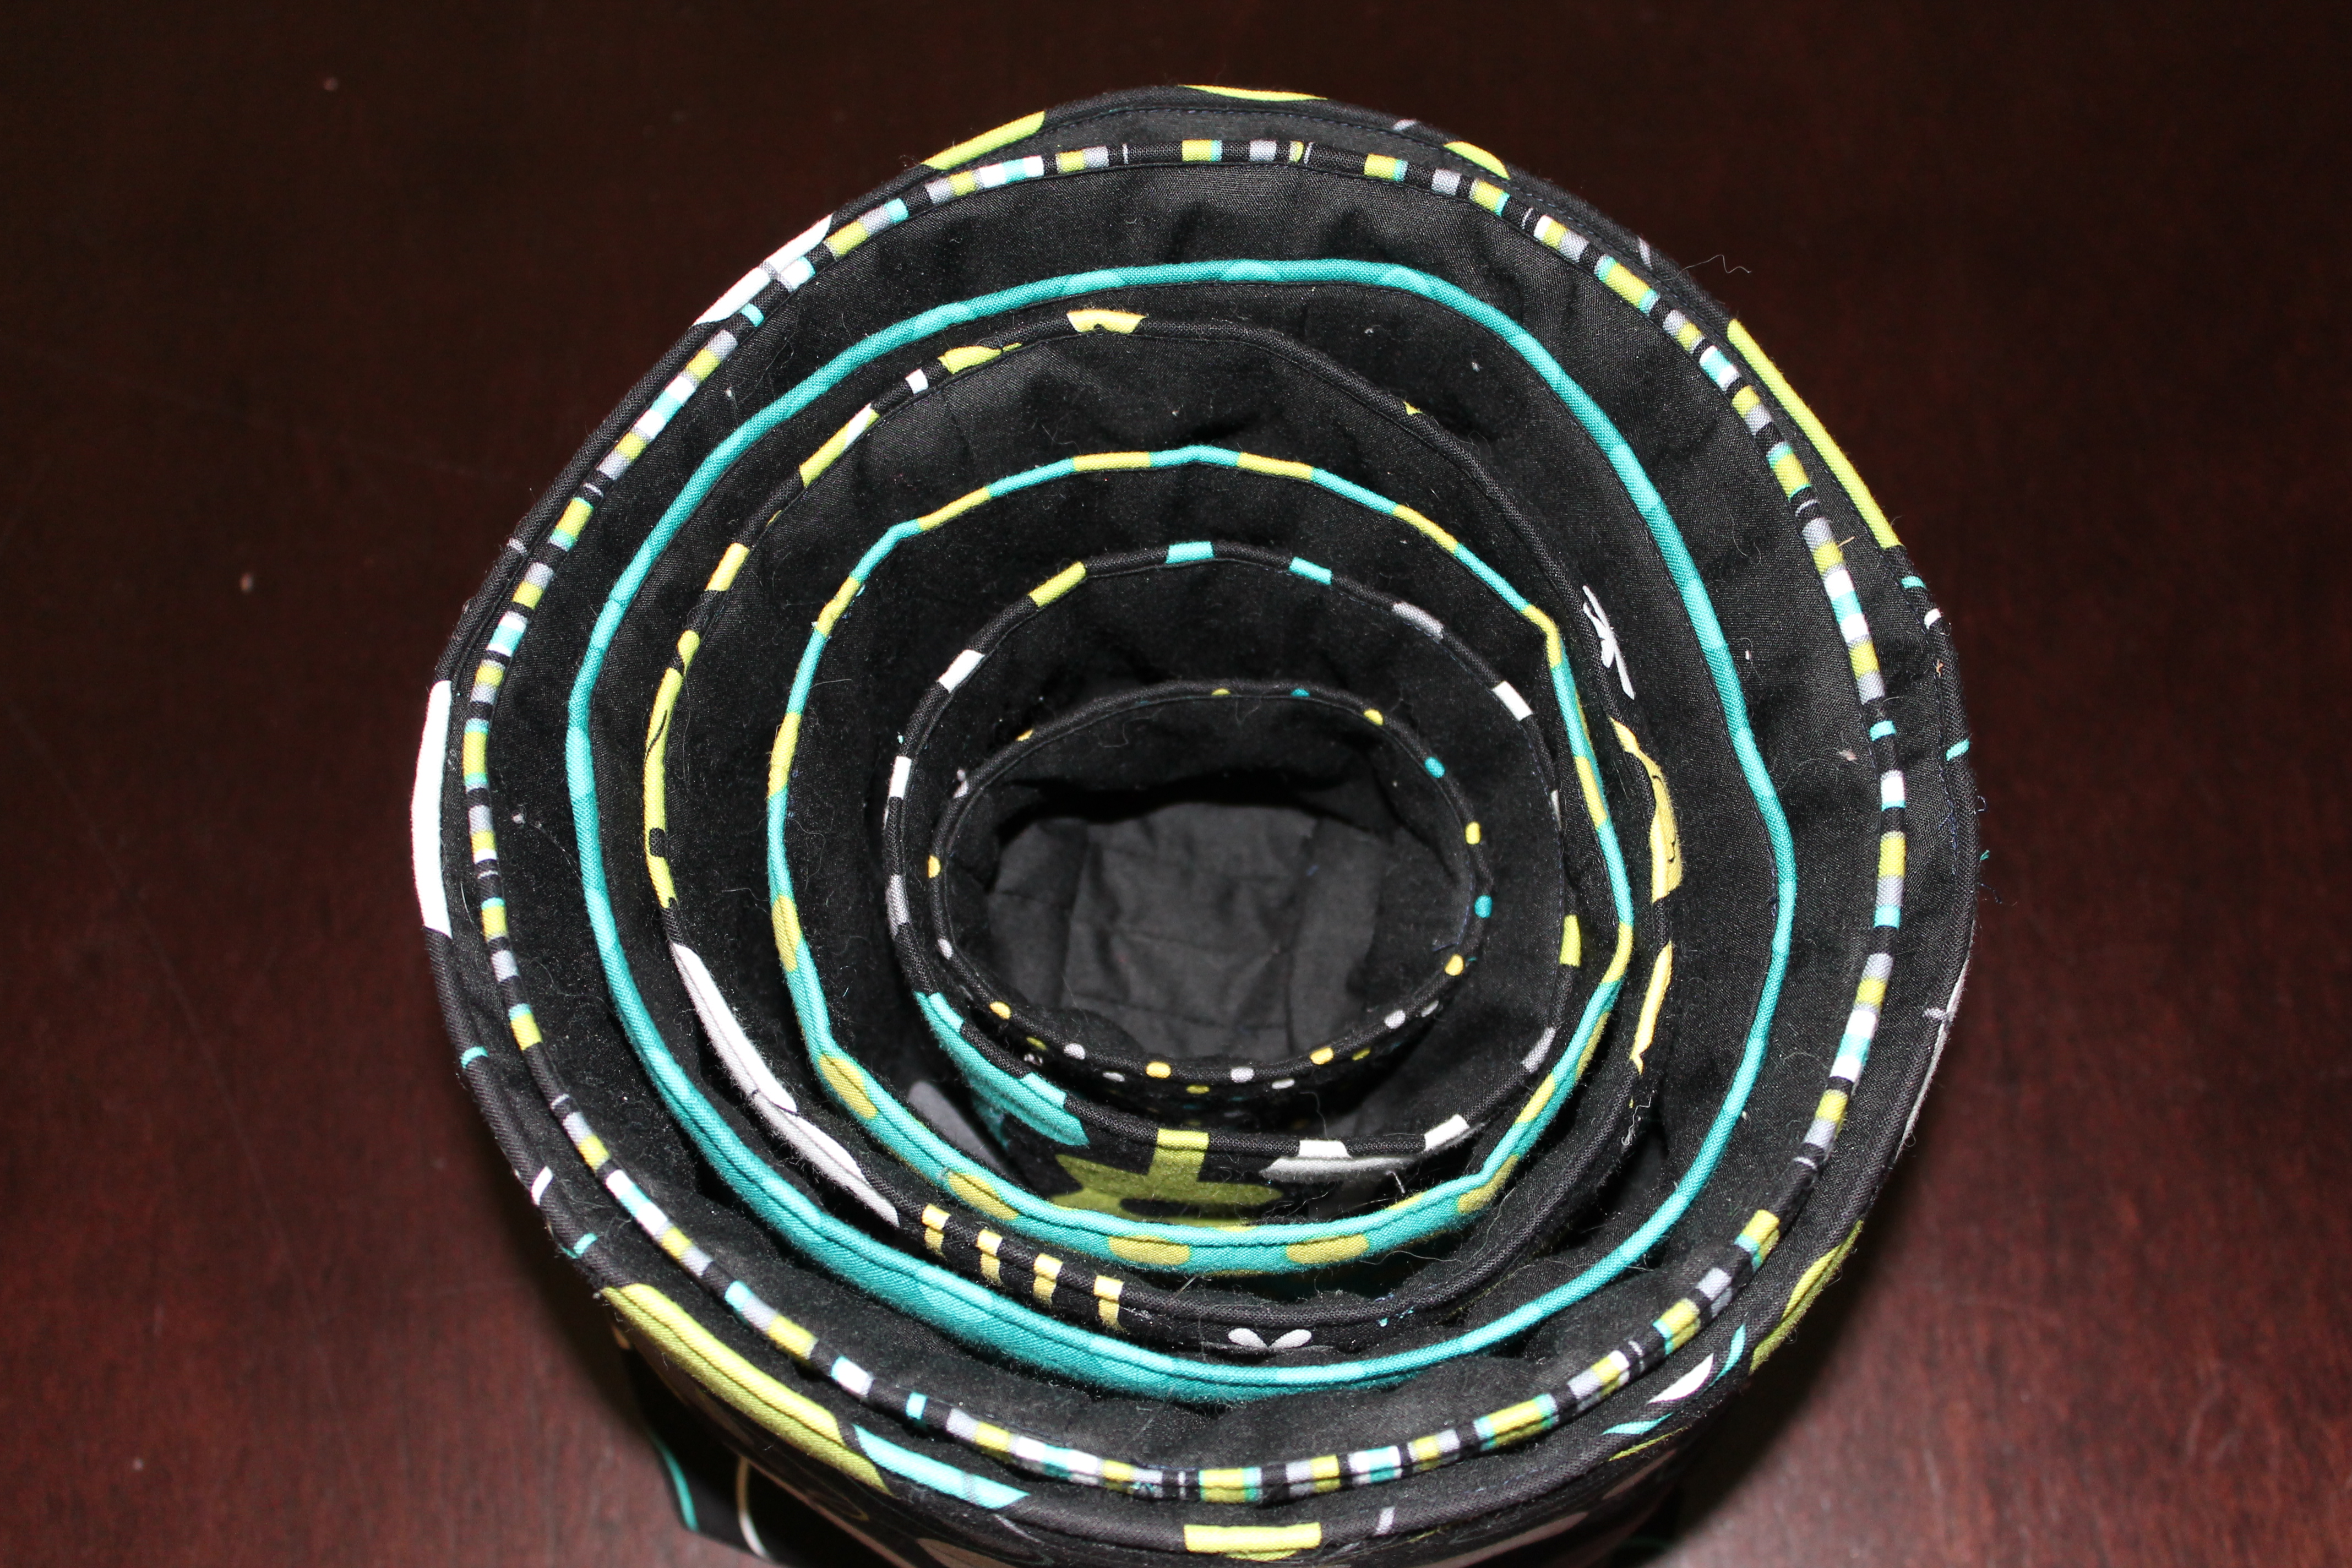
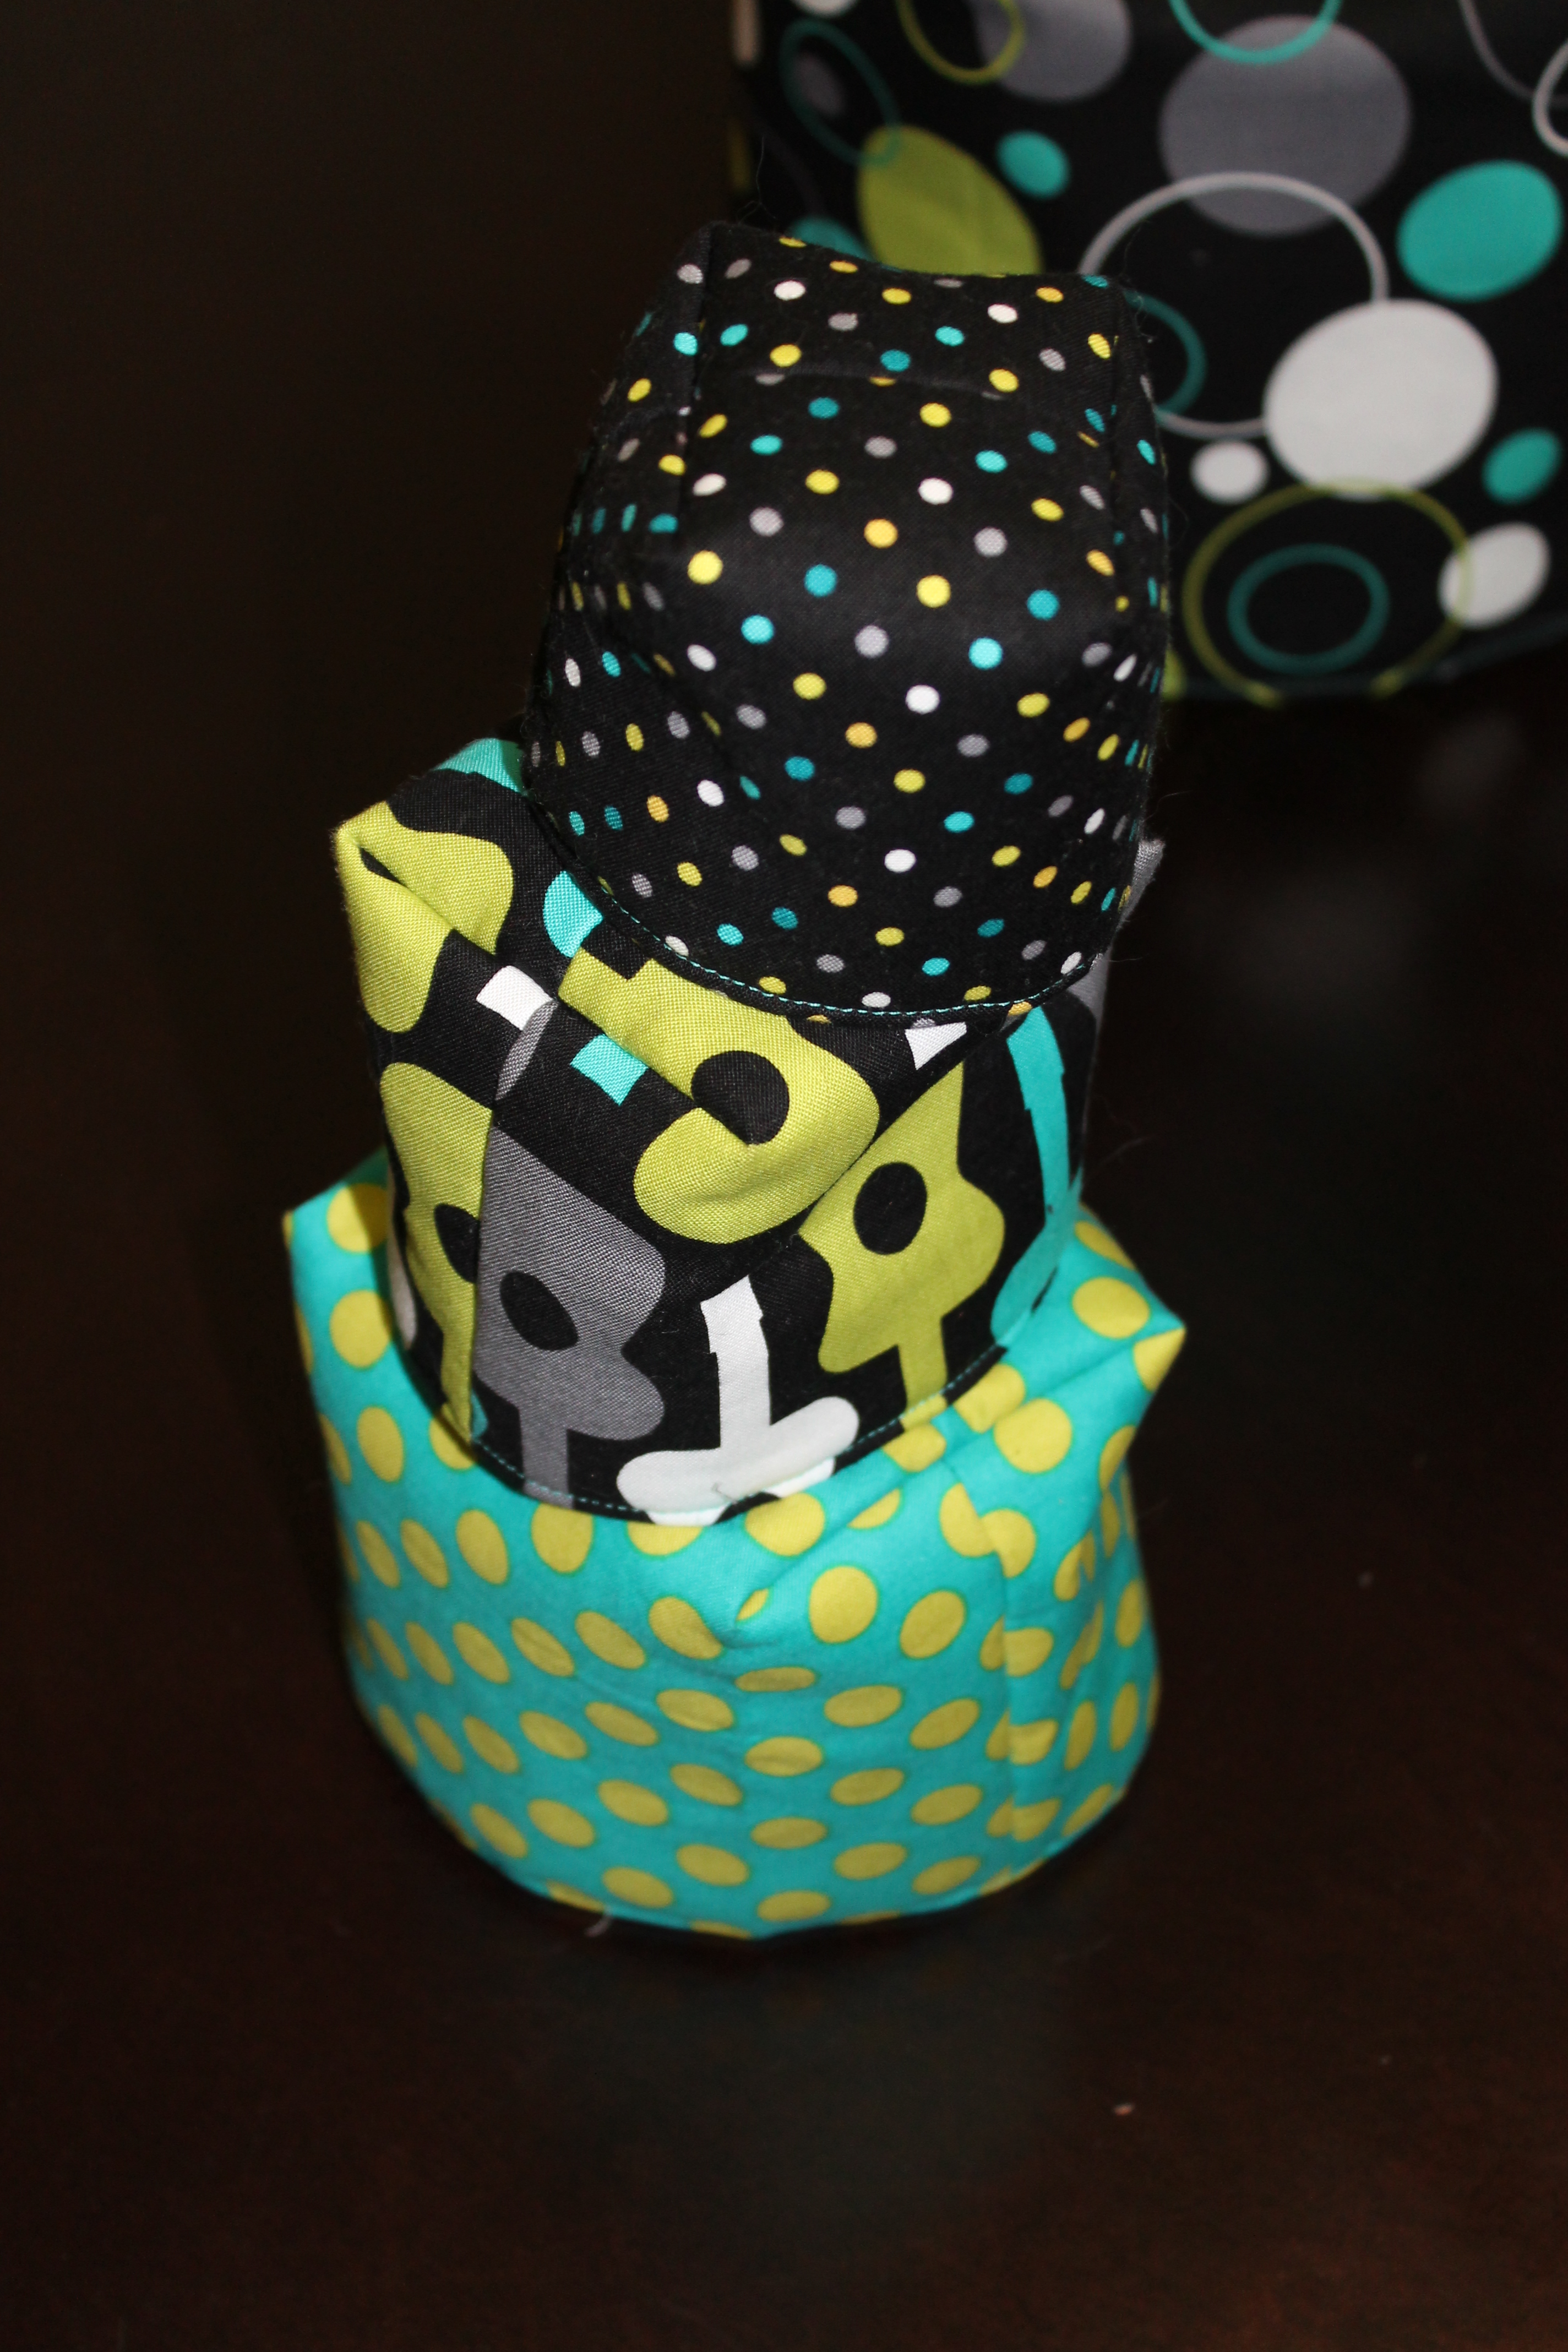
I got around to making another project for my little monkey as well. I have a number of things in mind, and all the supplies and fabric are sitting in the bin for his stuff. This time it was a set of Nesting Blocks. They came together super fast and are adorable. I chose a group of Micheal Miller prints in the Lagoon colorway and he loves them! He likes to take the smallest and place it in and out of the 3 largest bins.

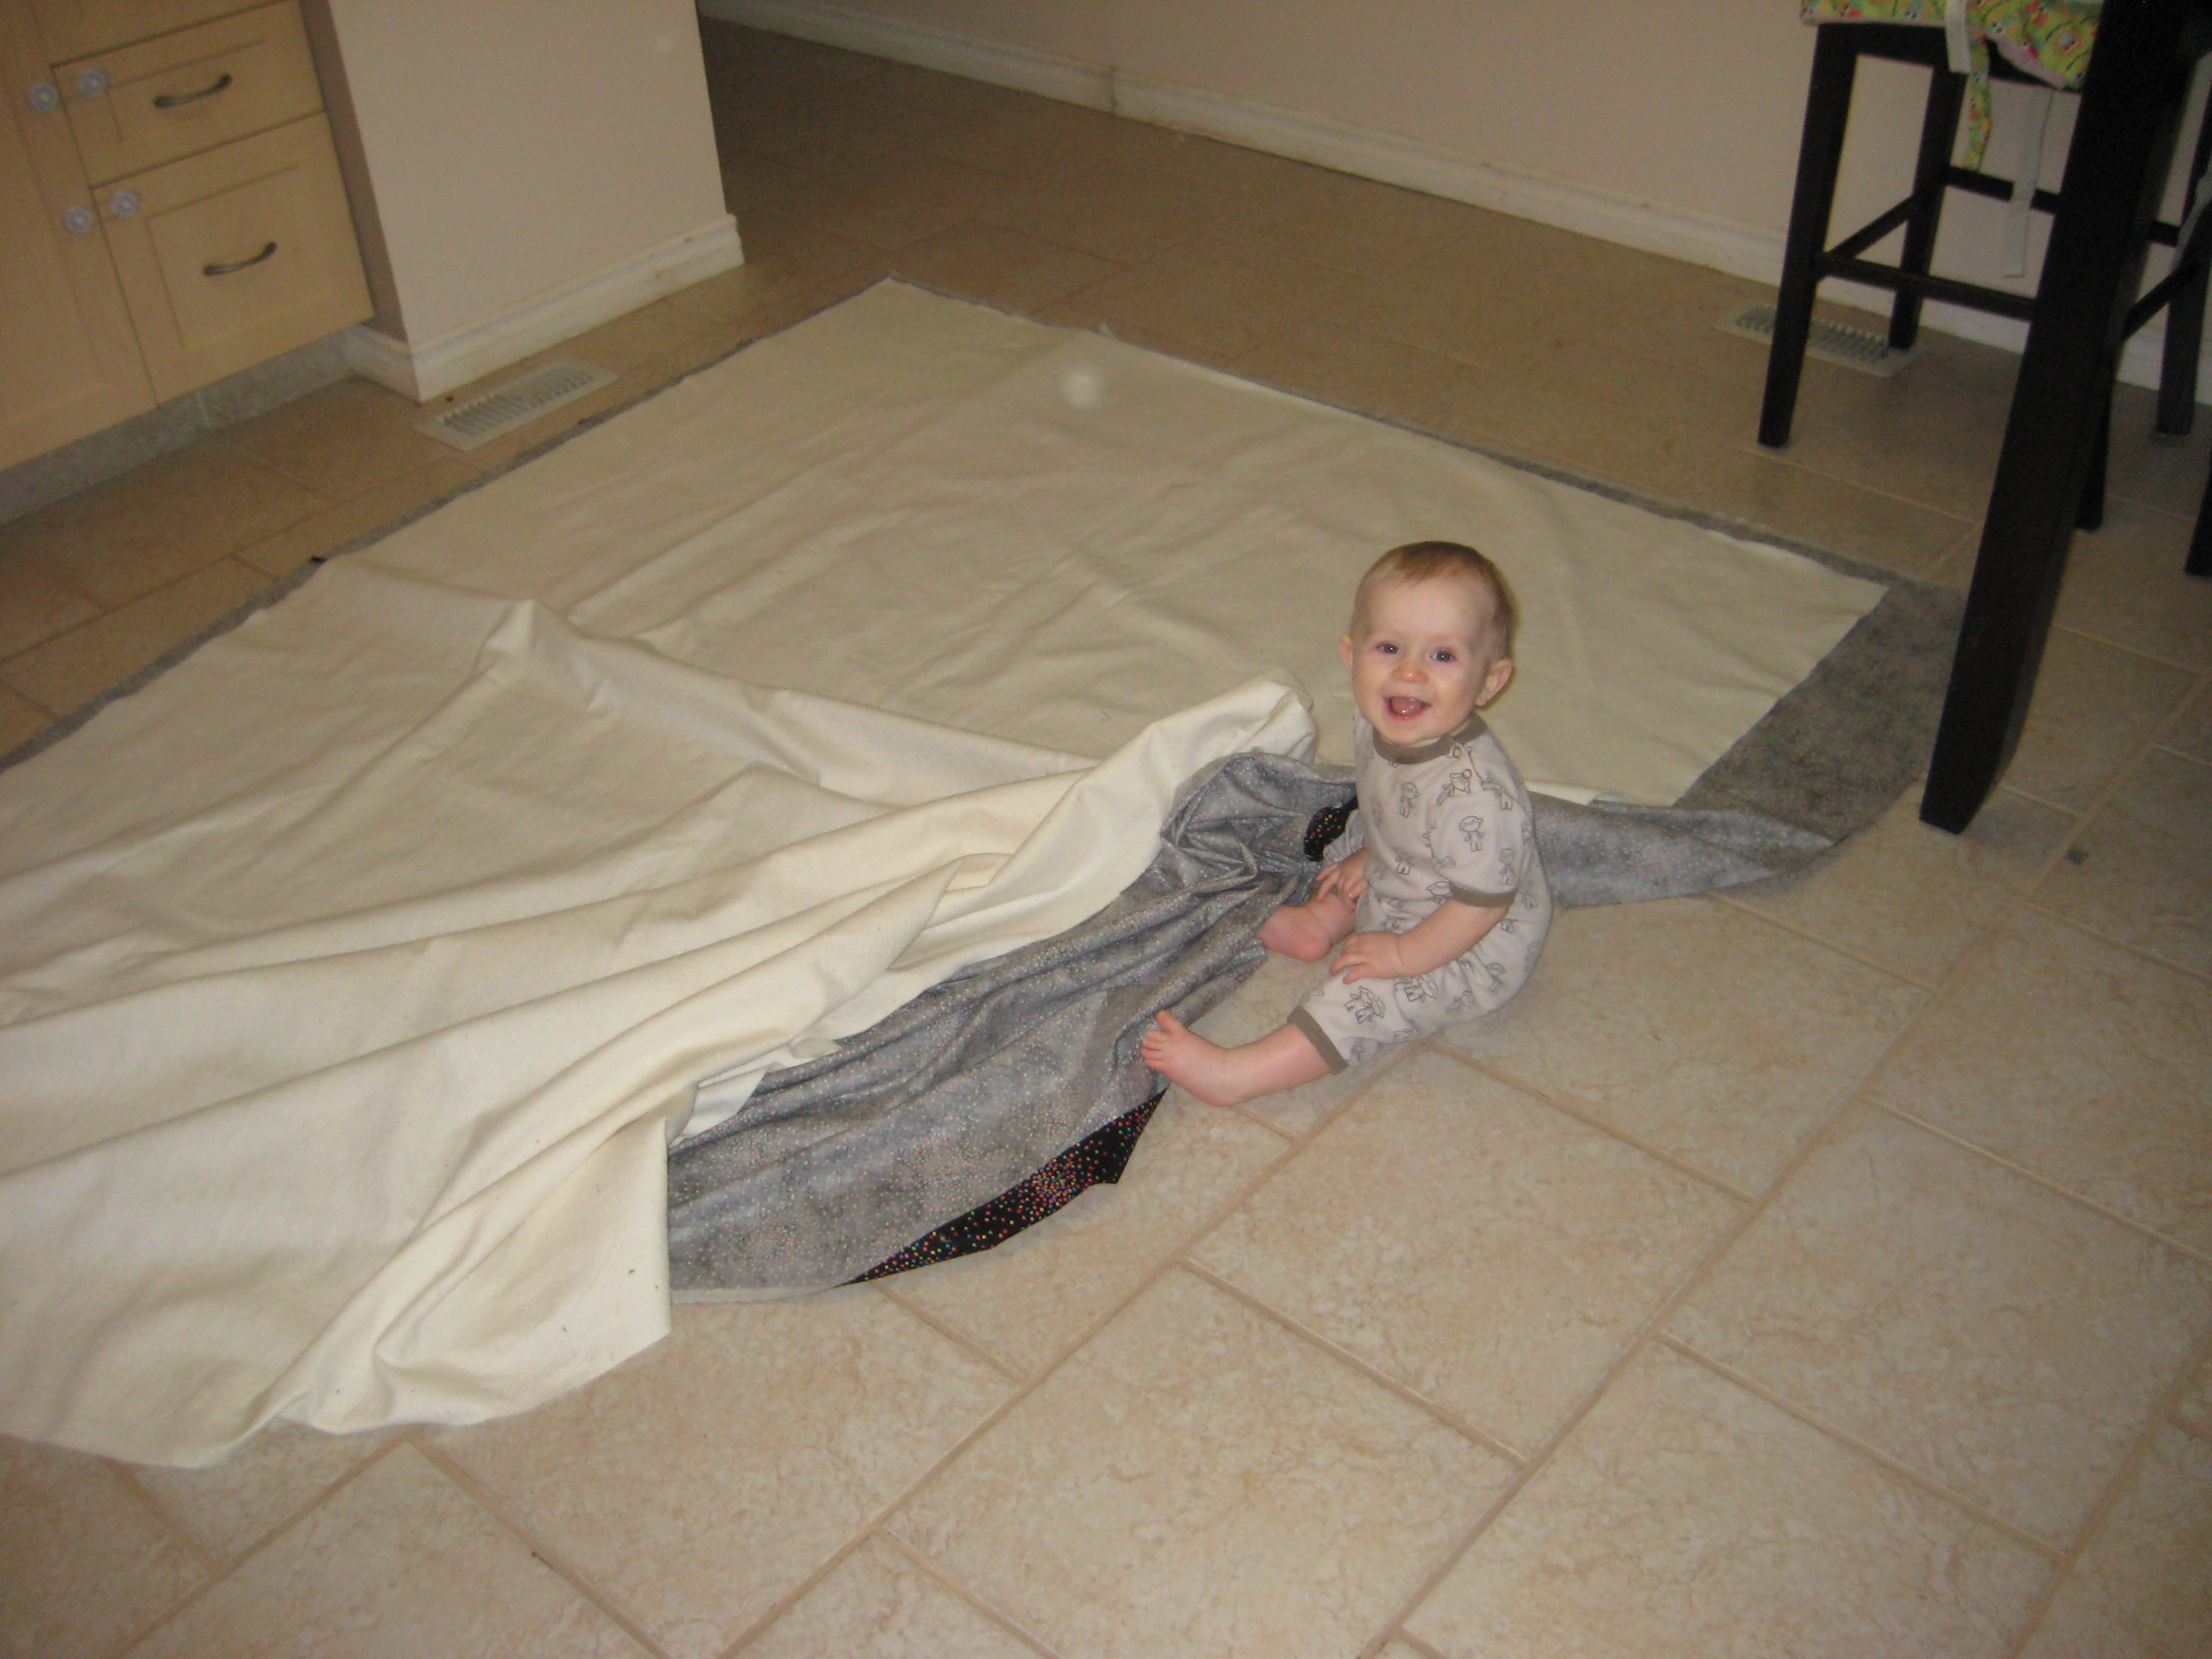
Literally a little monkey. See him holding with his toes?

Now all that’s left is to work on my bee blocks for Linda, mail my DQS13 to my partner, finish my Madrona Road Challenge Quilt and wait for the clothing drop off so I can get started on a new commissioned quilt. Maybe I will work on some more checkerboard for my Listen With Your Eyes quilt. Its been a few months since I worked on that project. I think its going to be my Big Finish this year.
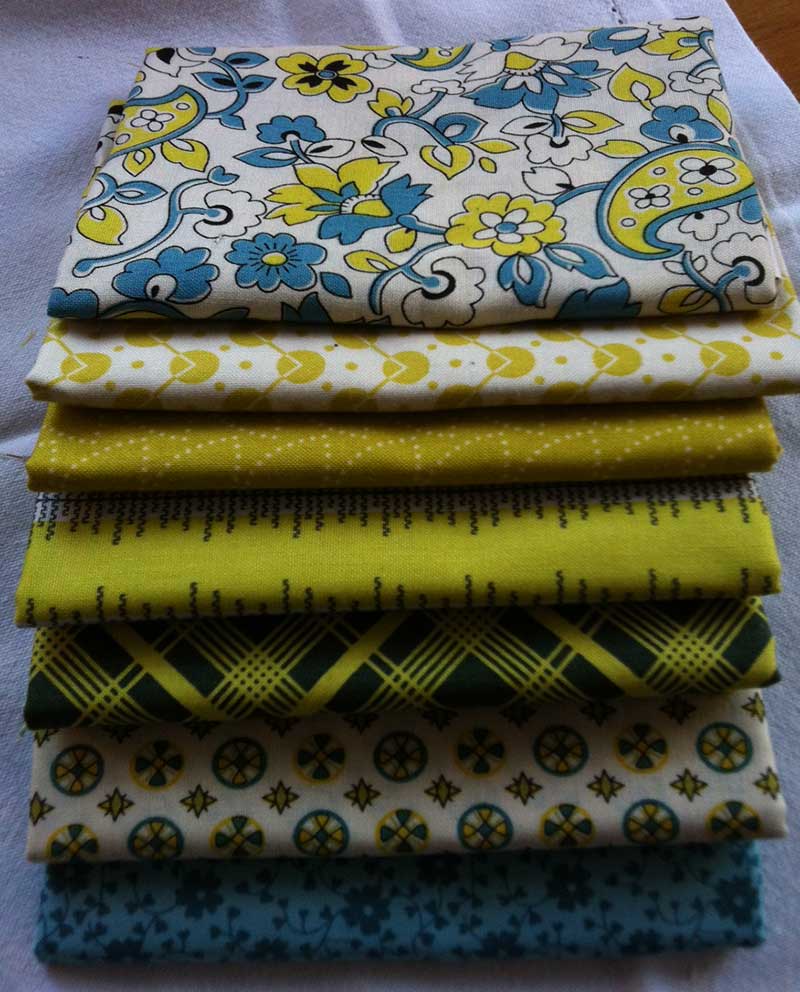
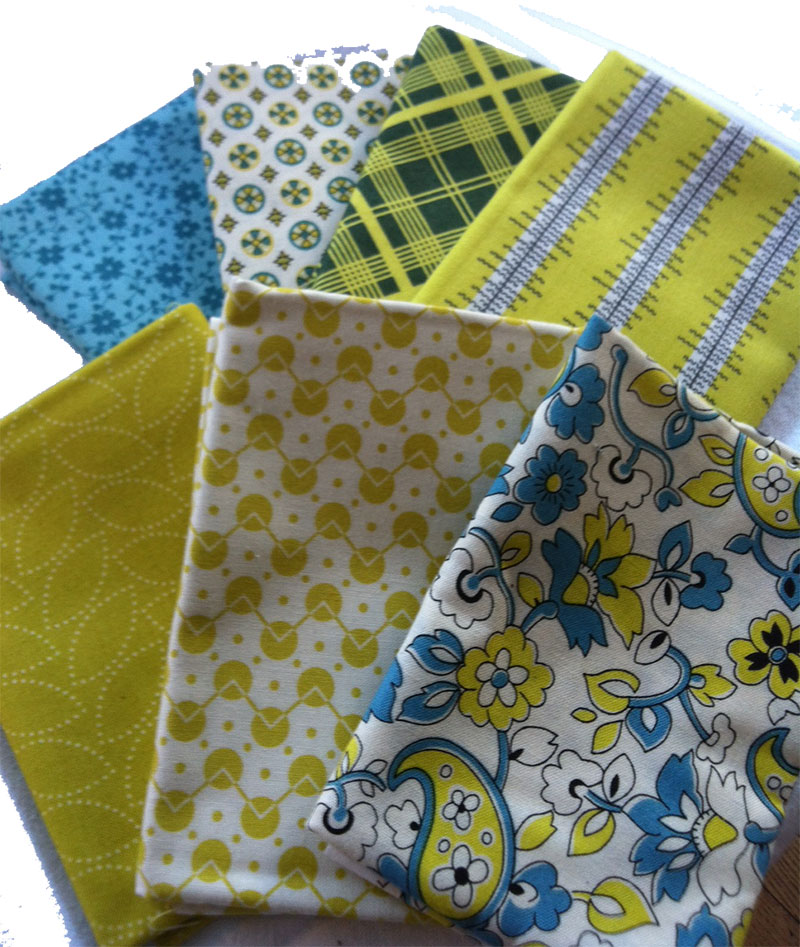
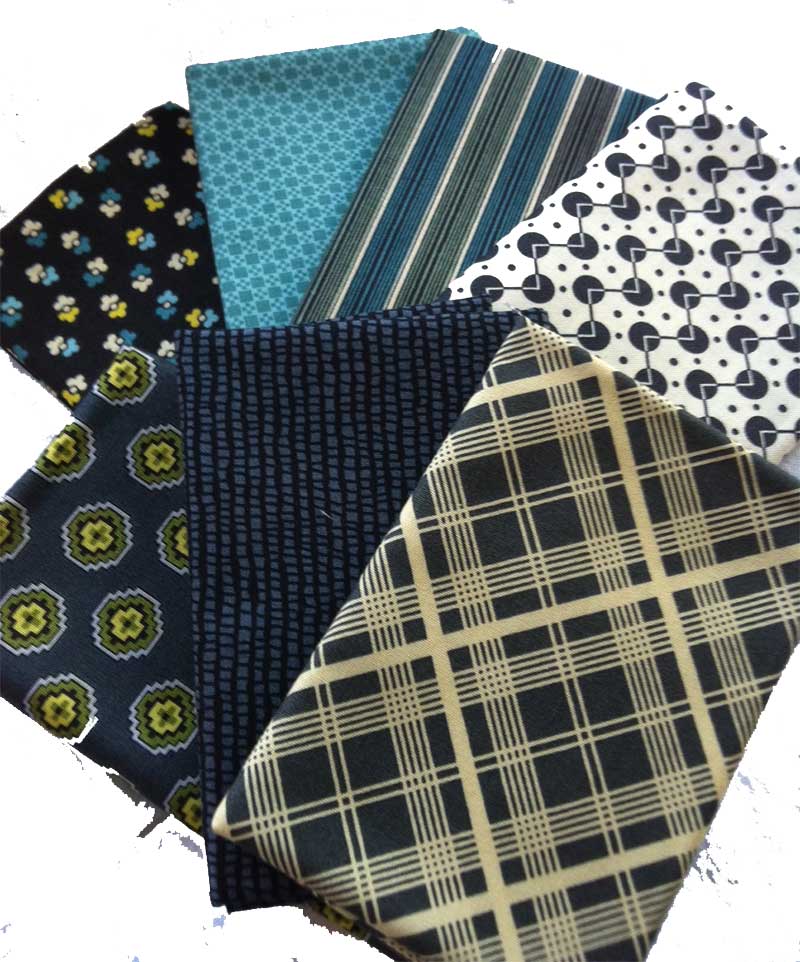
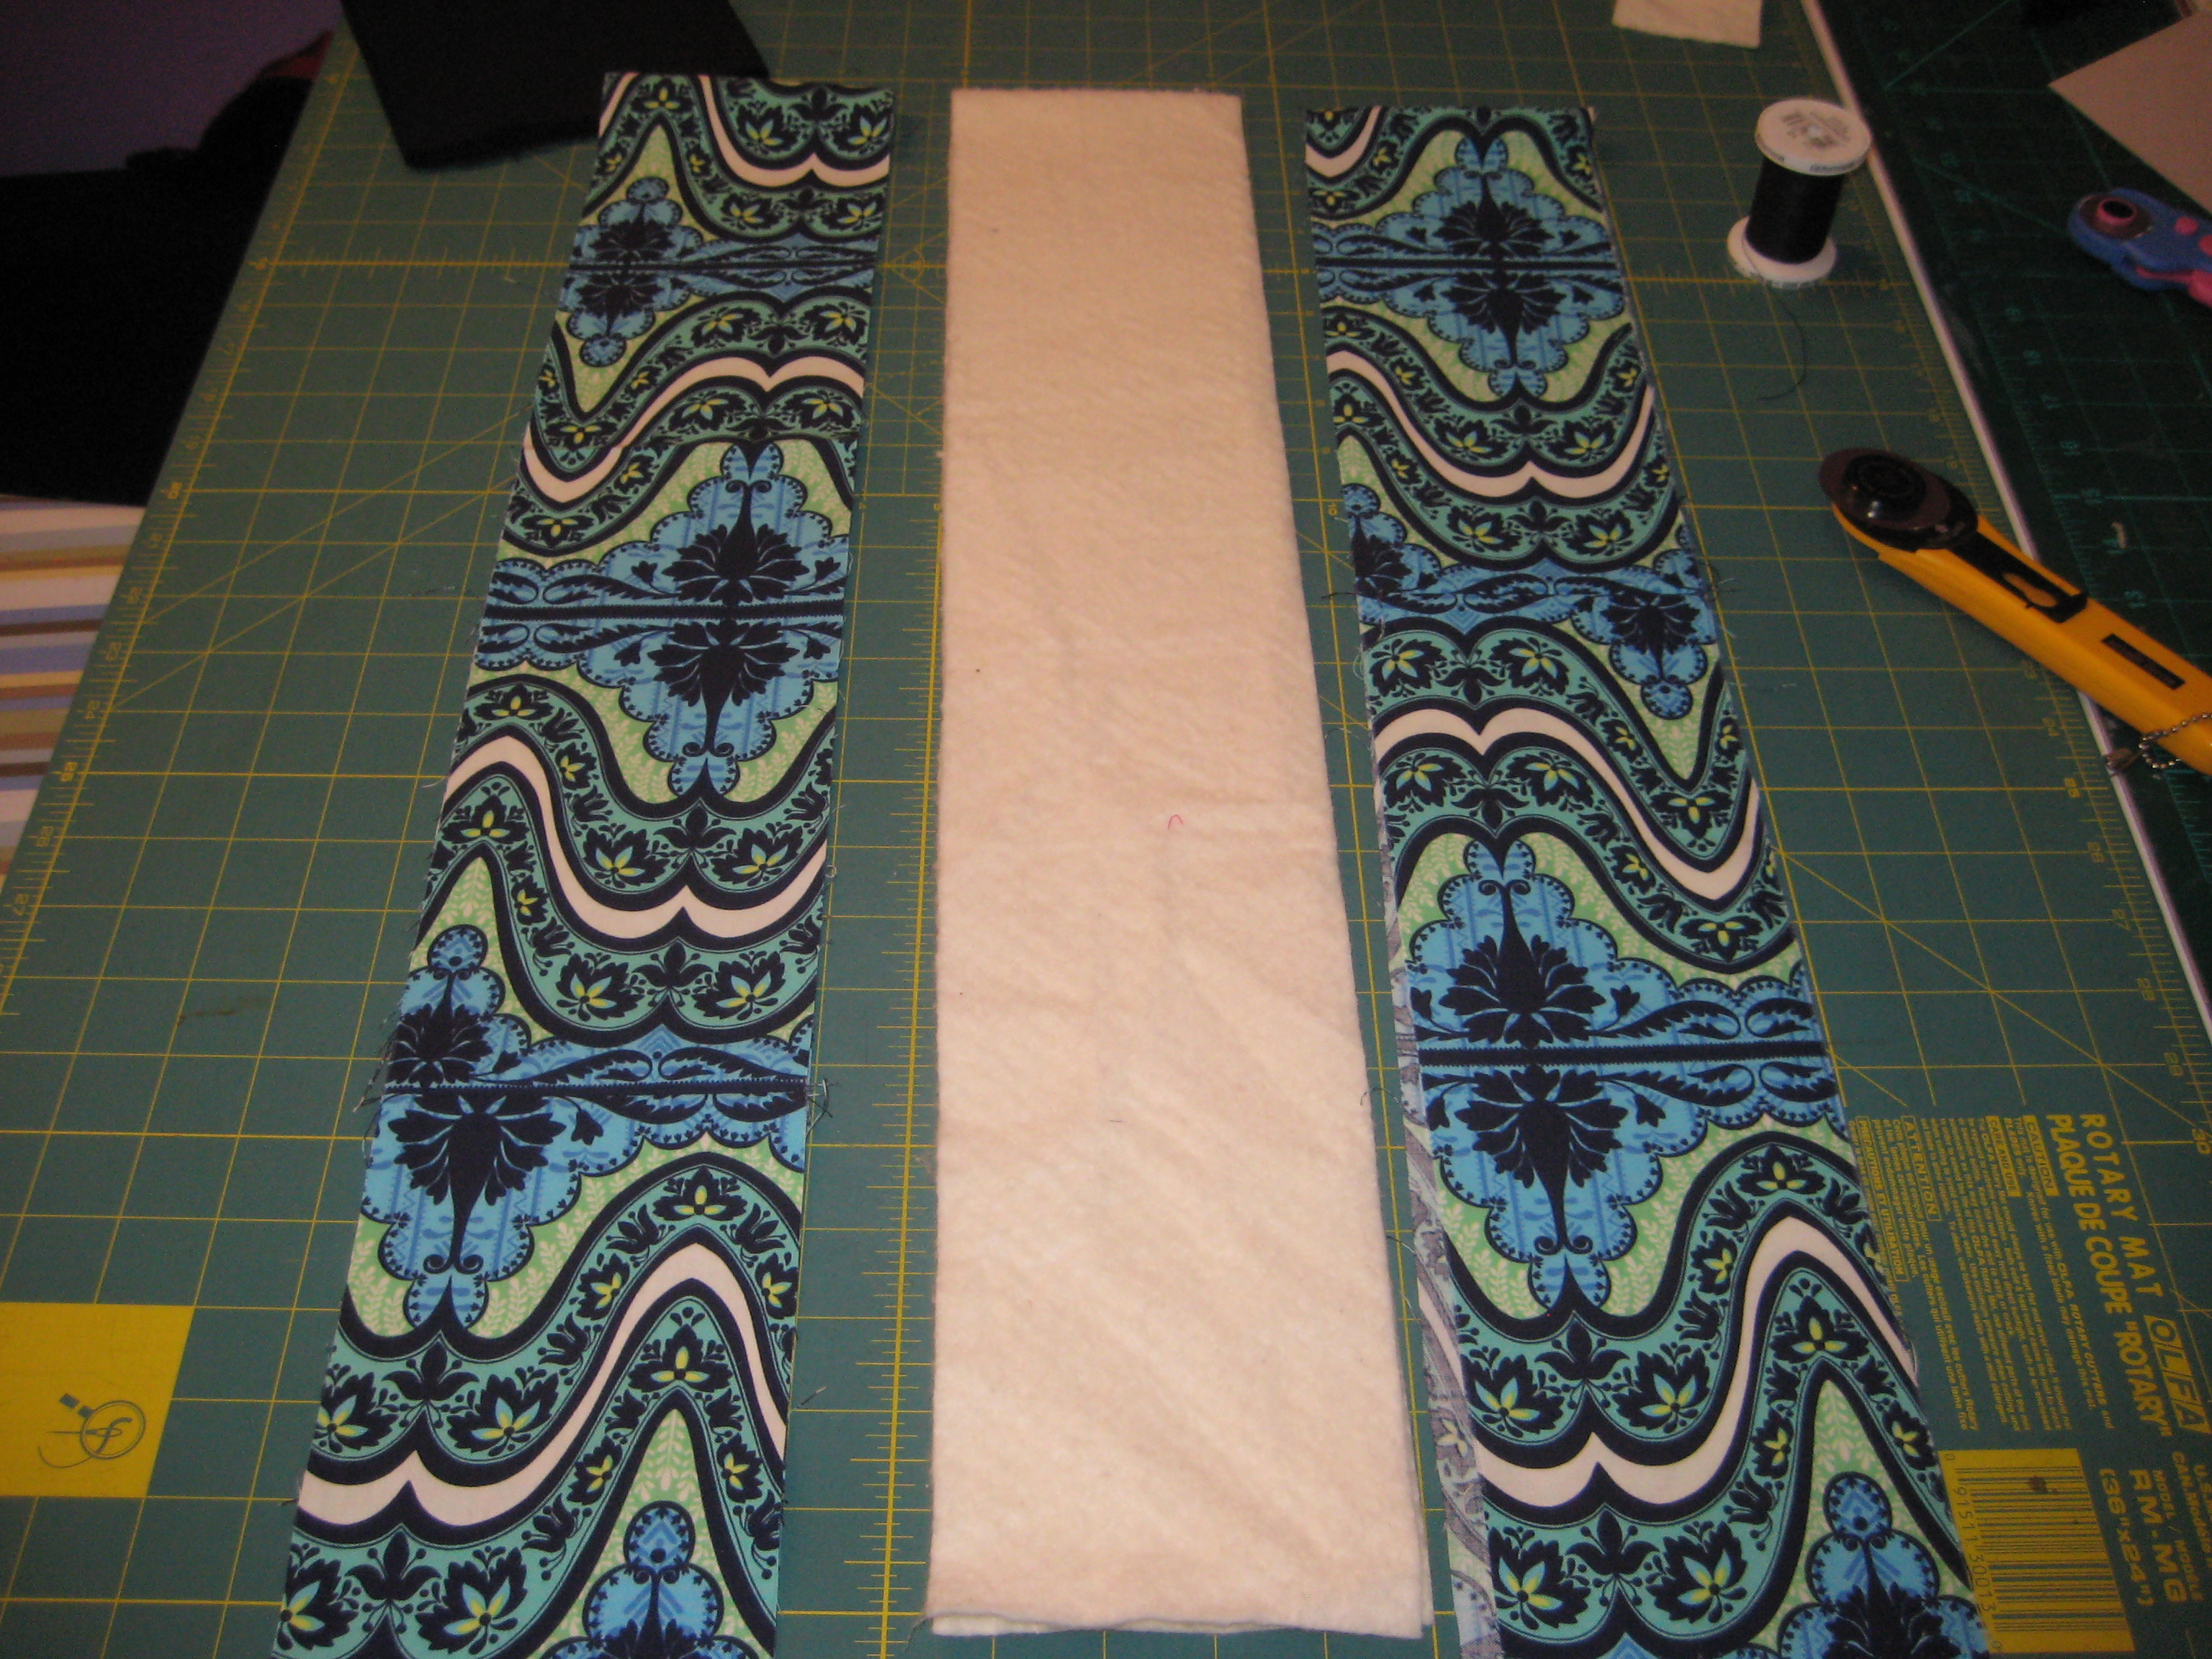
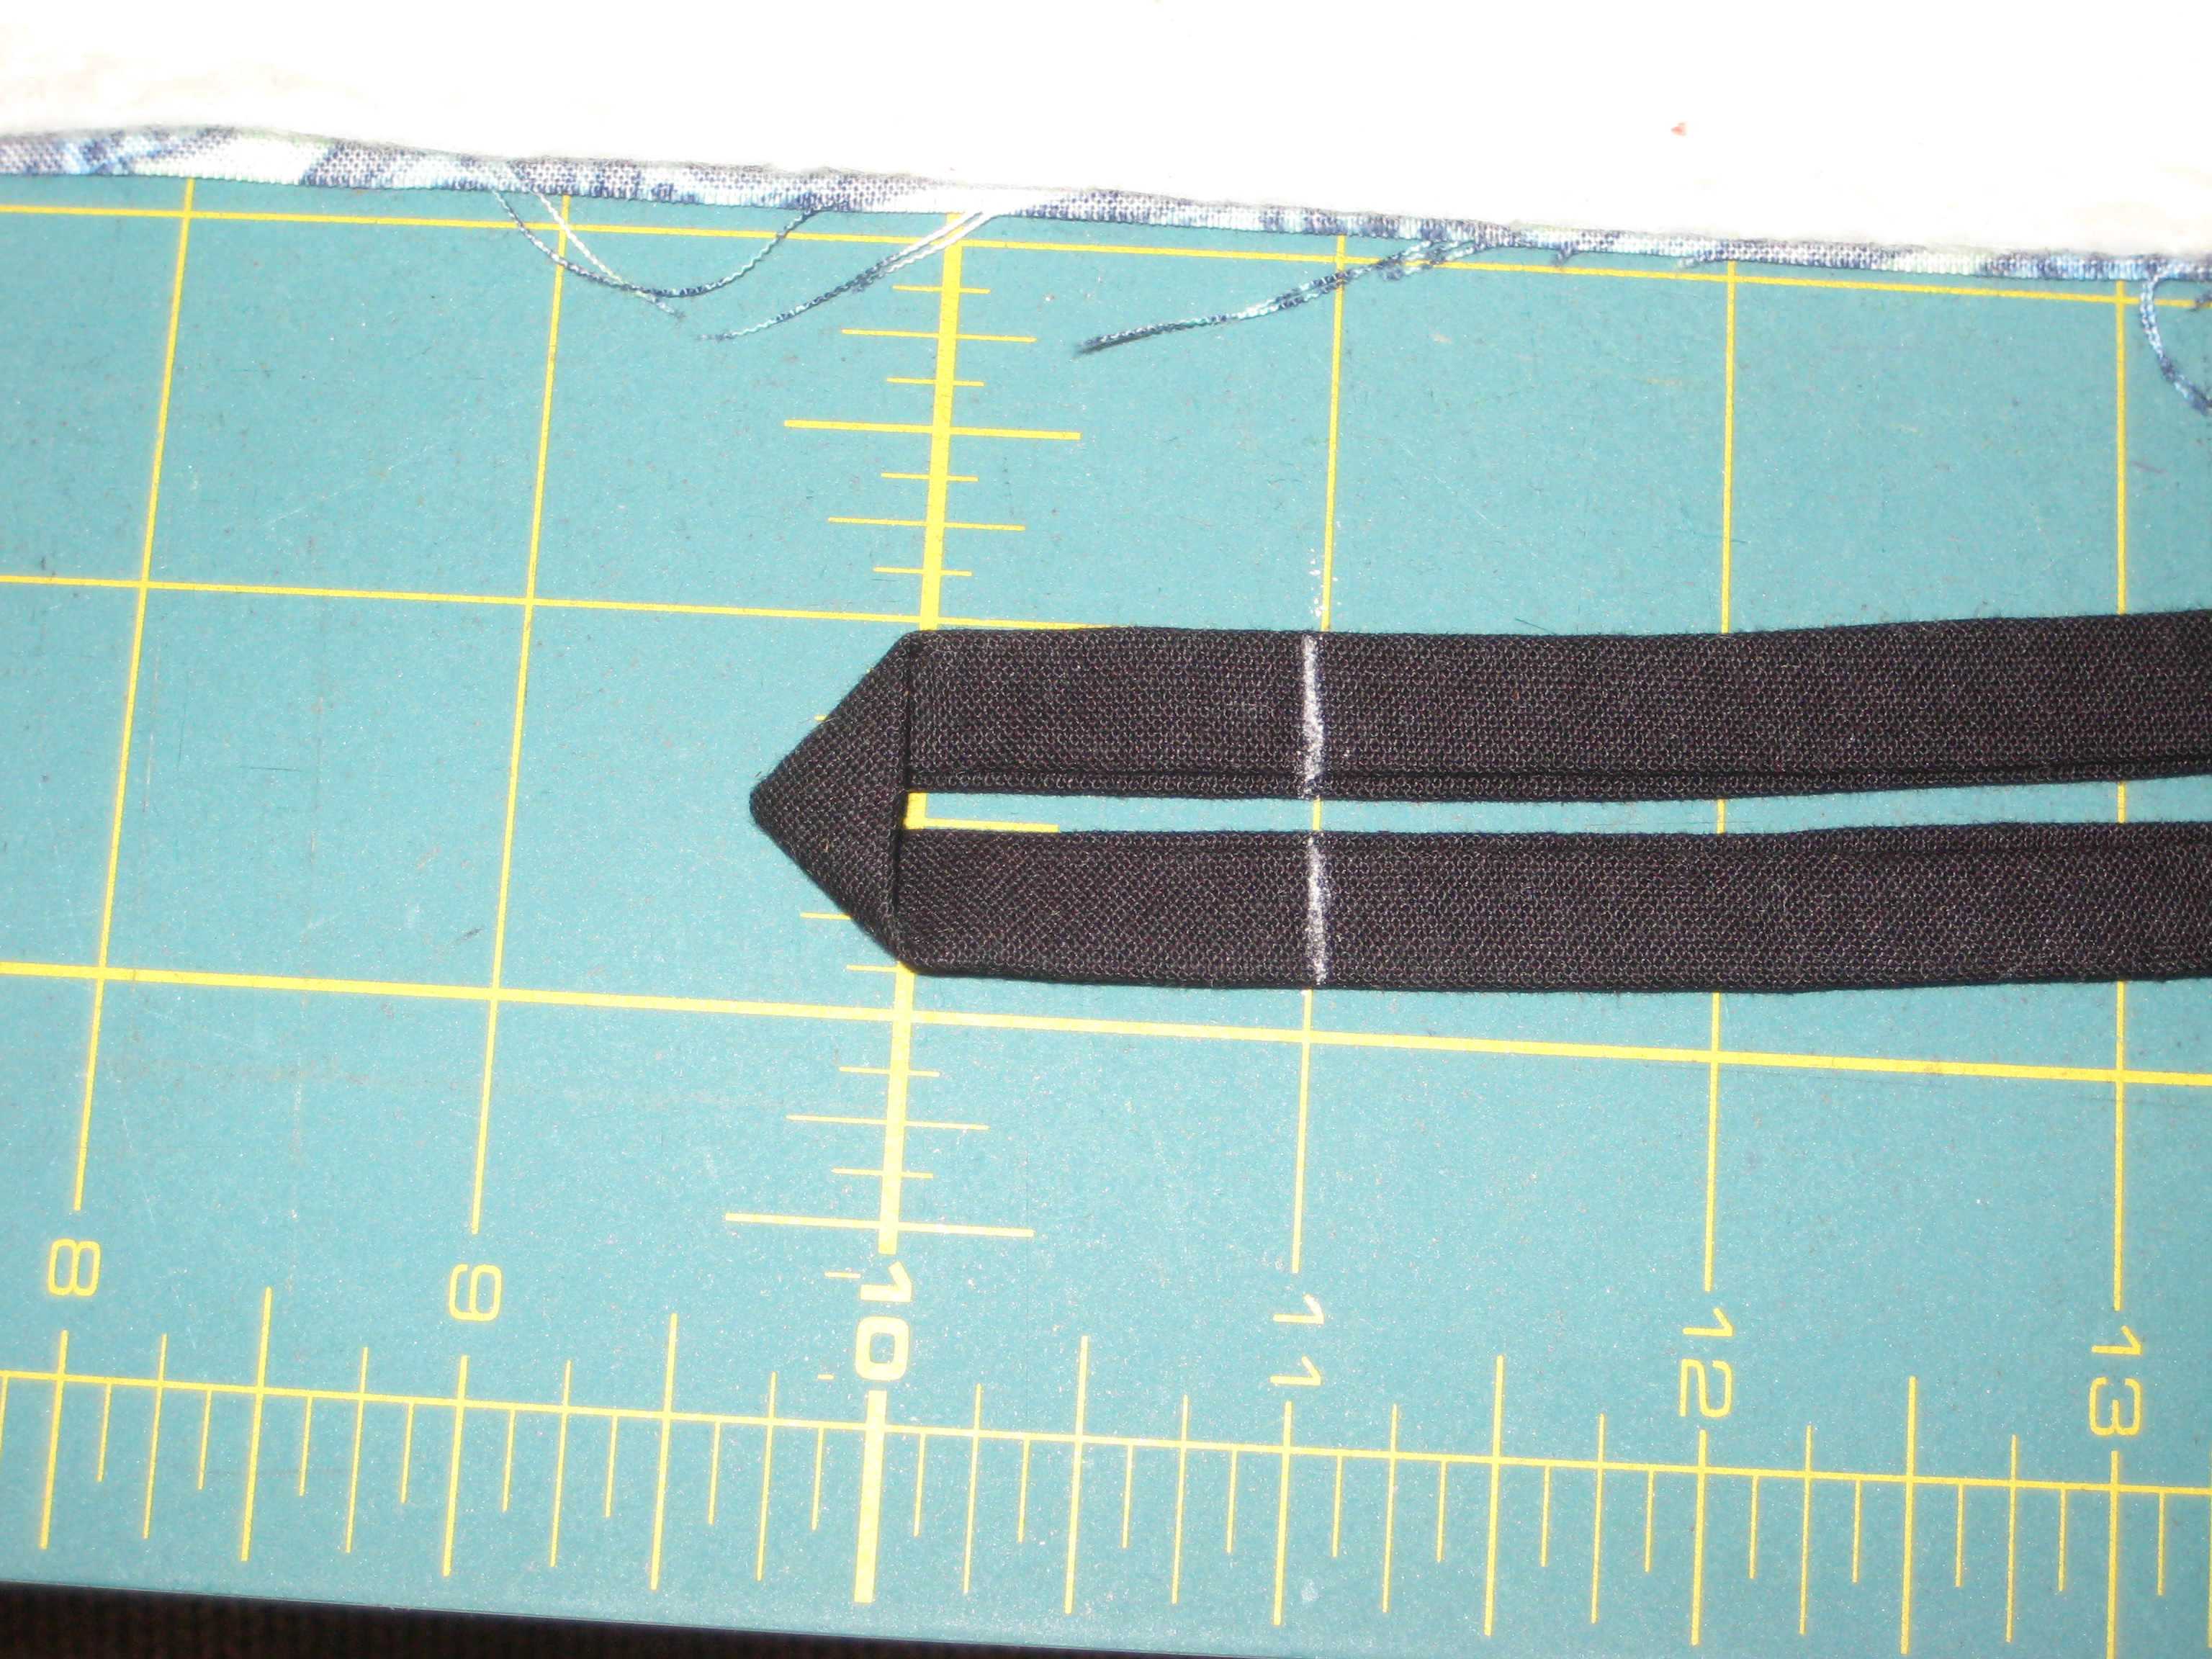
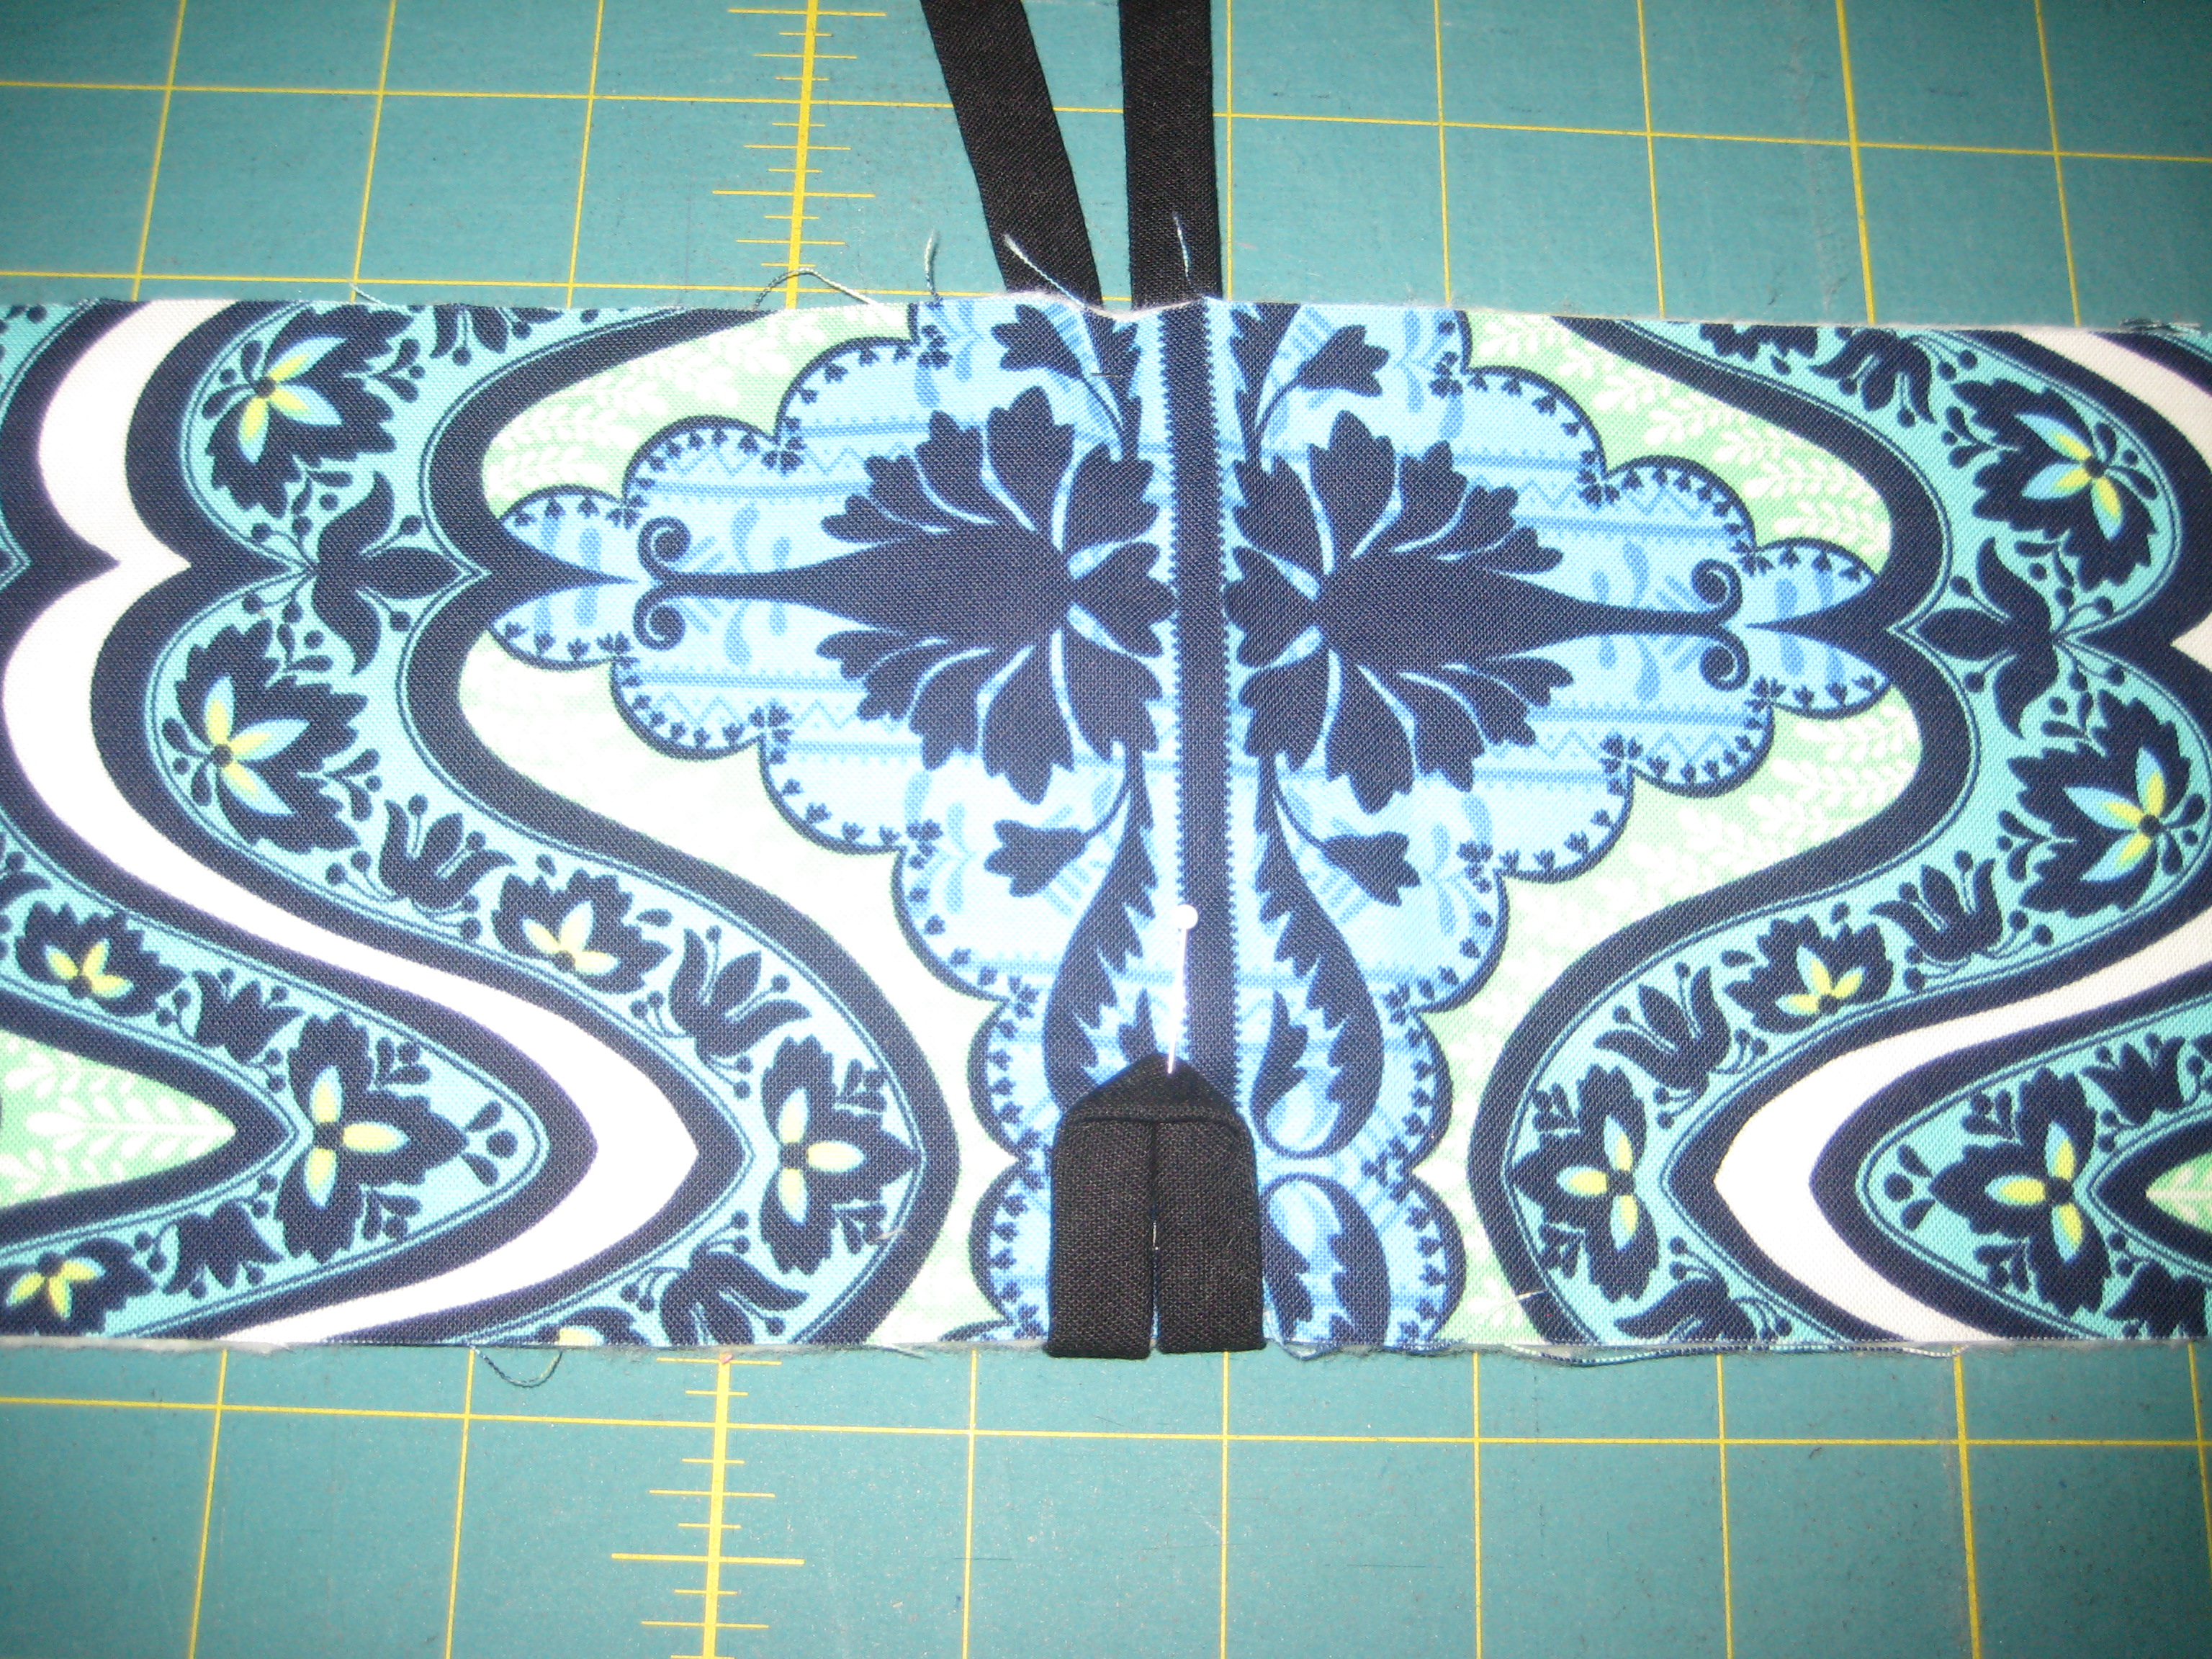
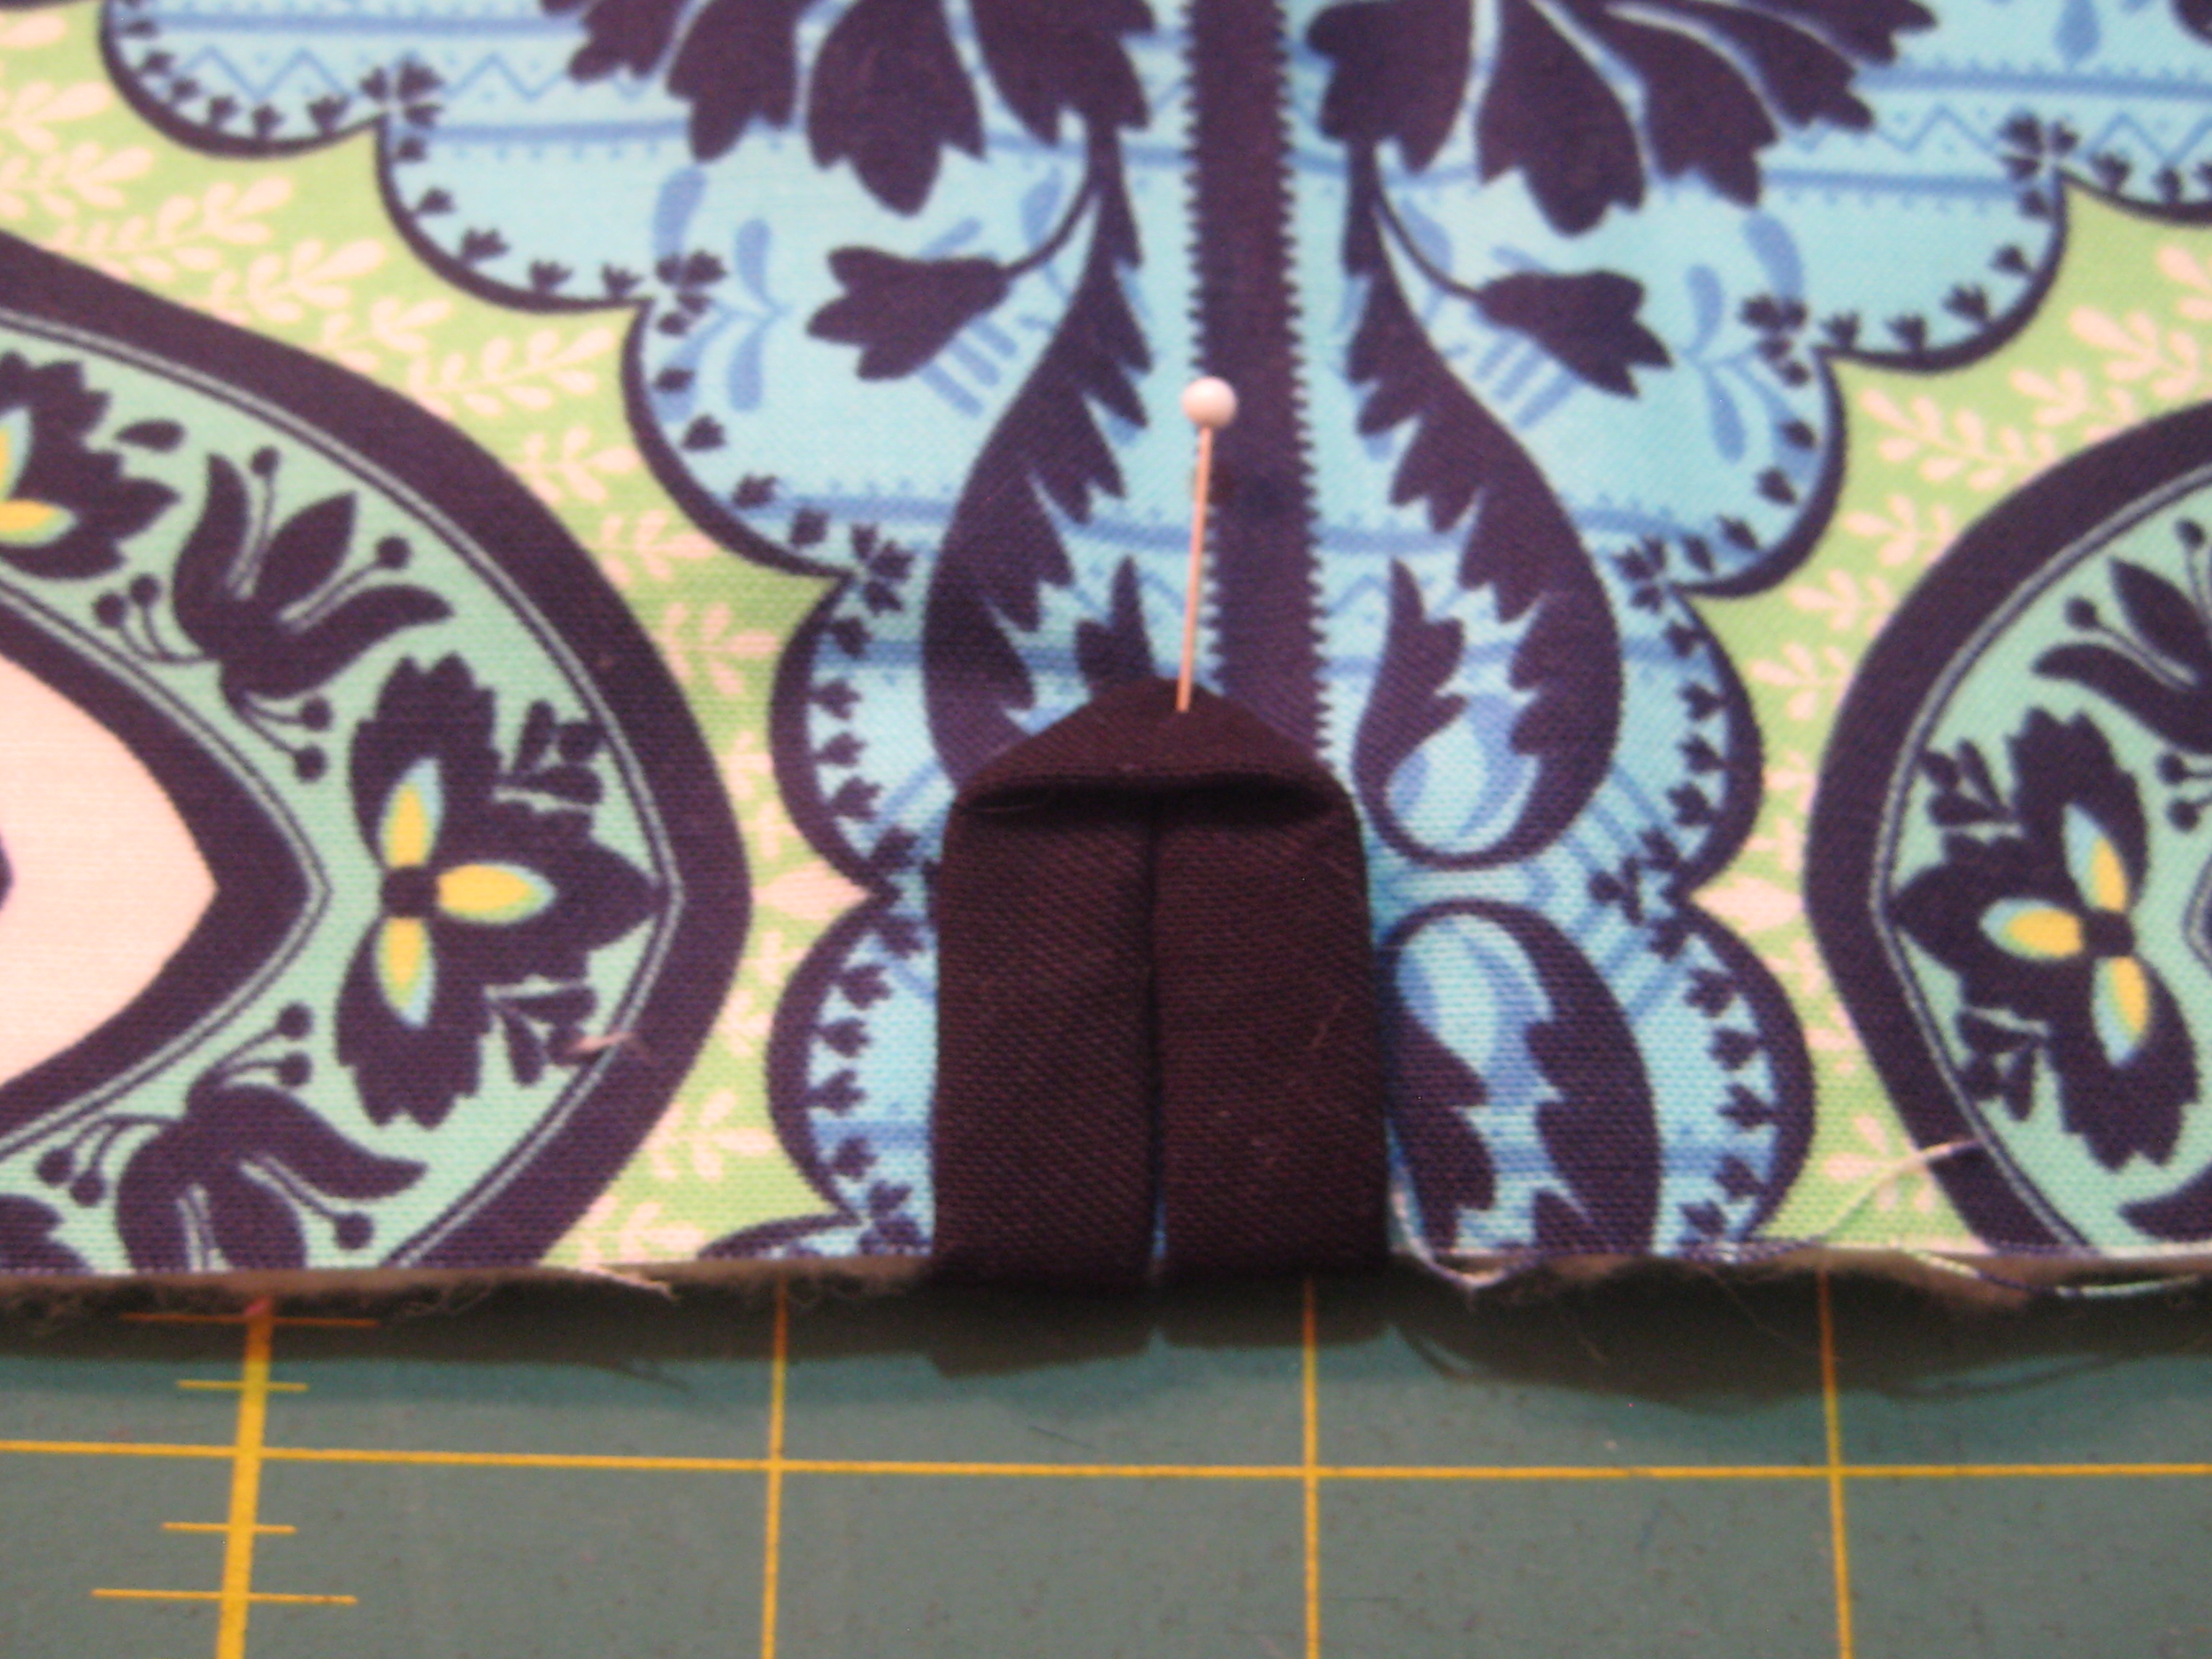
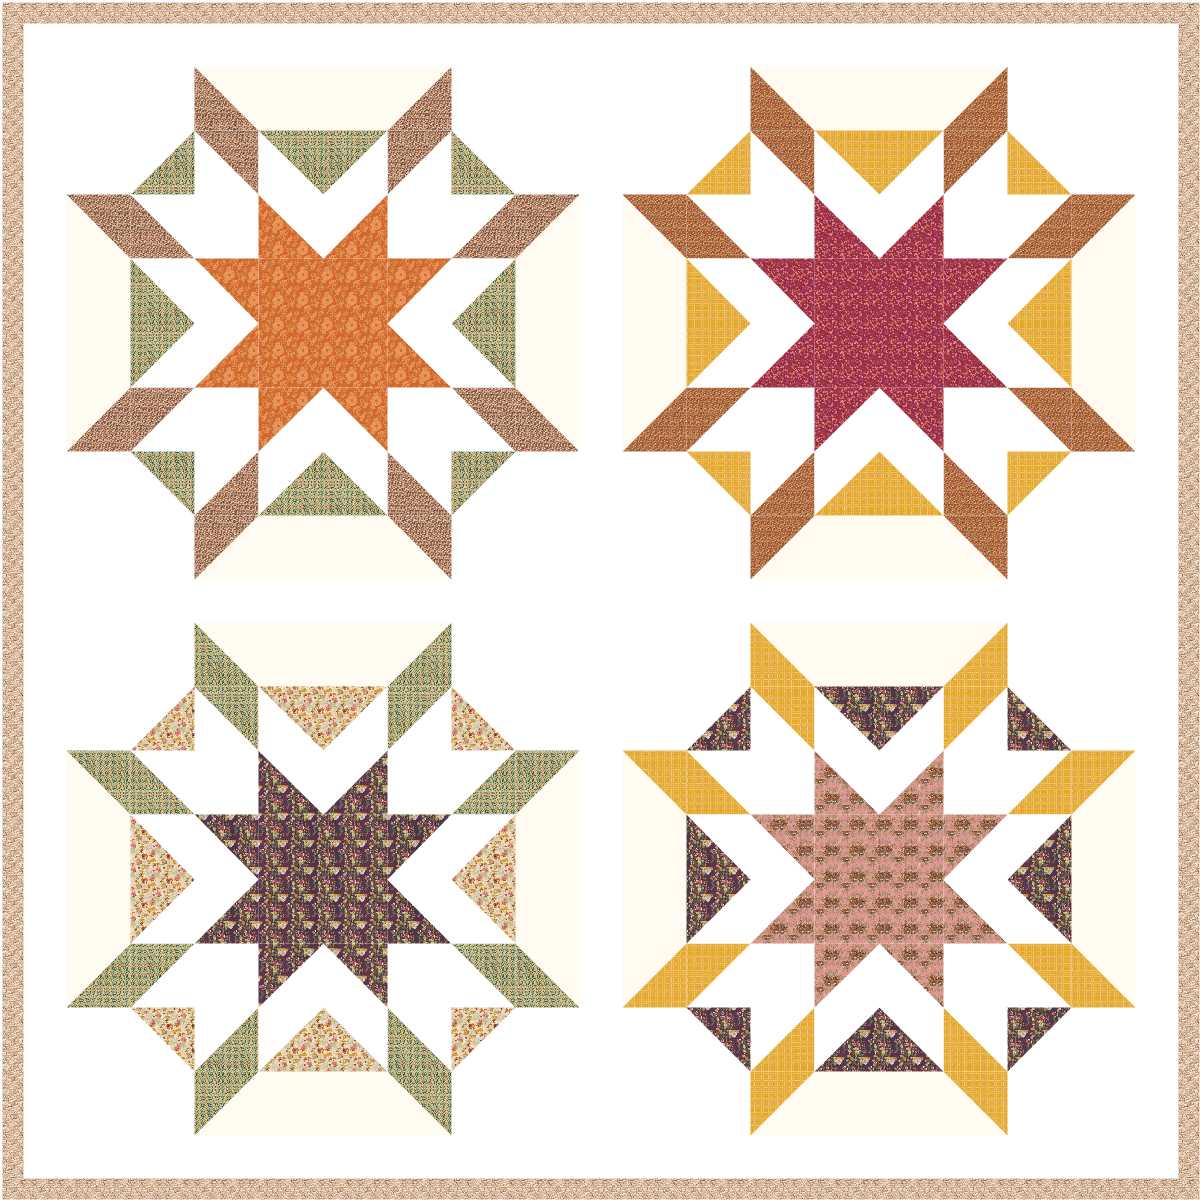
Just for fun here is a little preview of my Madrona Road.

Enjoy!
Stacey