Well I Finally made it back from my parents house and had the time to sit down and write =)
The week was great. Relaxing, good food and family, who could ask for more? Well, I did do some sewing, which was great because it was *mostly* uninterrupted. I had a lovely squishy package of Tula Pink fabrics waiting for me. I LOVE Frog Prince in Indigo, its my favorite print so far, and it went so well with teh laminated cotton I ordered that I decided to make the Hip Mama Diaper Bag using Elizabeth’s tutorial from A Mingled Yarn. She has a whole bunch of great projects on there so definitely head on over there and check it out! Unfortunately she is no longer blogging, but she is leaving her tutorials and projects up for us to use. I will post her full tutorial here just in case something happens! Normally I never EVER take someones tutorial verbatim because they spent all the time on it, I always only link back.

Hip Mama Diaper Bag
I made my bag almost to the letter of how she wrote it. The only thing I changed was I fully lined the back zippered pocket, because I like to have the zipper tape hidden and finished. I also made my strap longer and then adjustable using a home made D-ring and slider, and I attached in into the seam allowance instead of on the outside, mostly for aesthetic reasons. It is a great bag, and it holds everything I need.

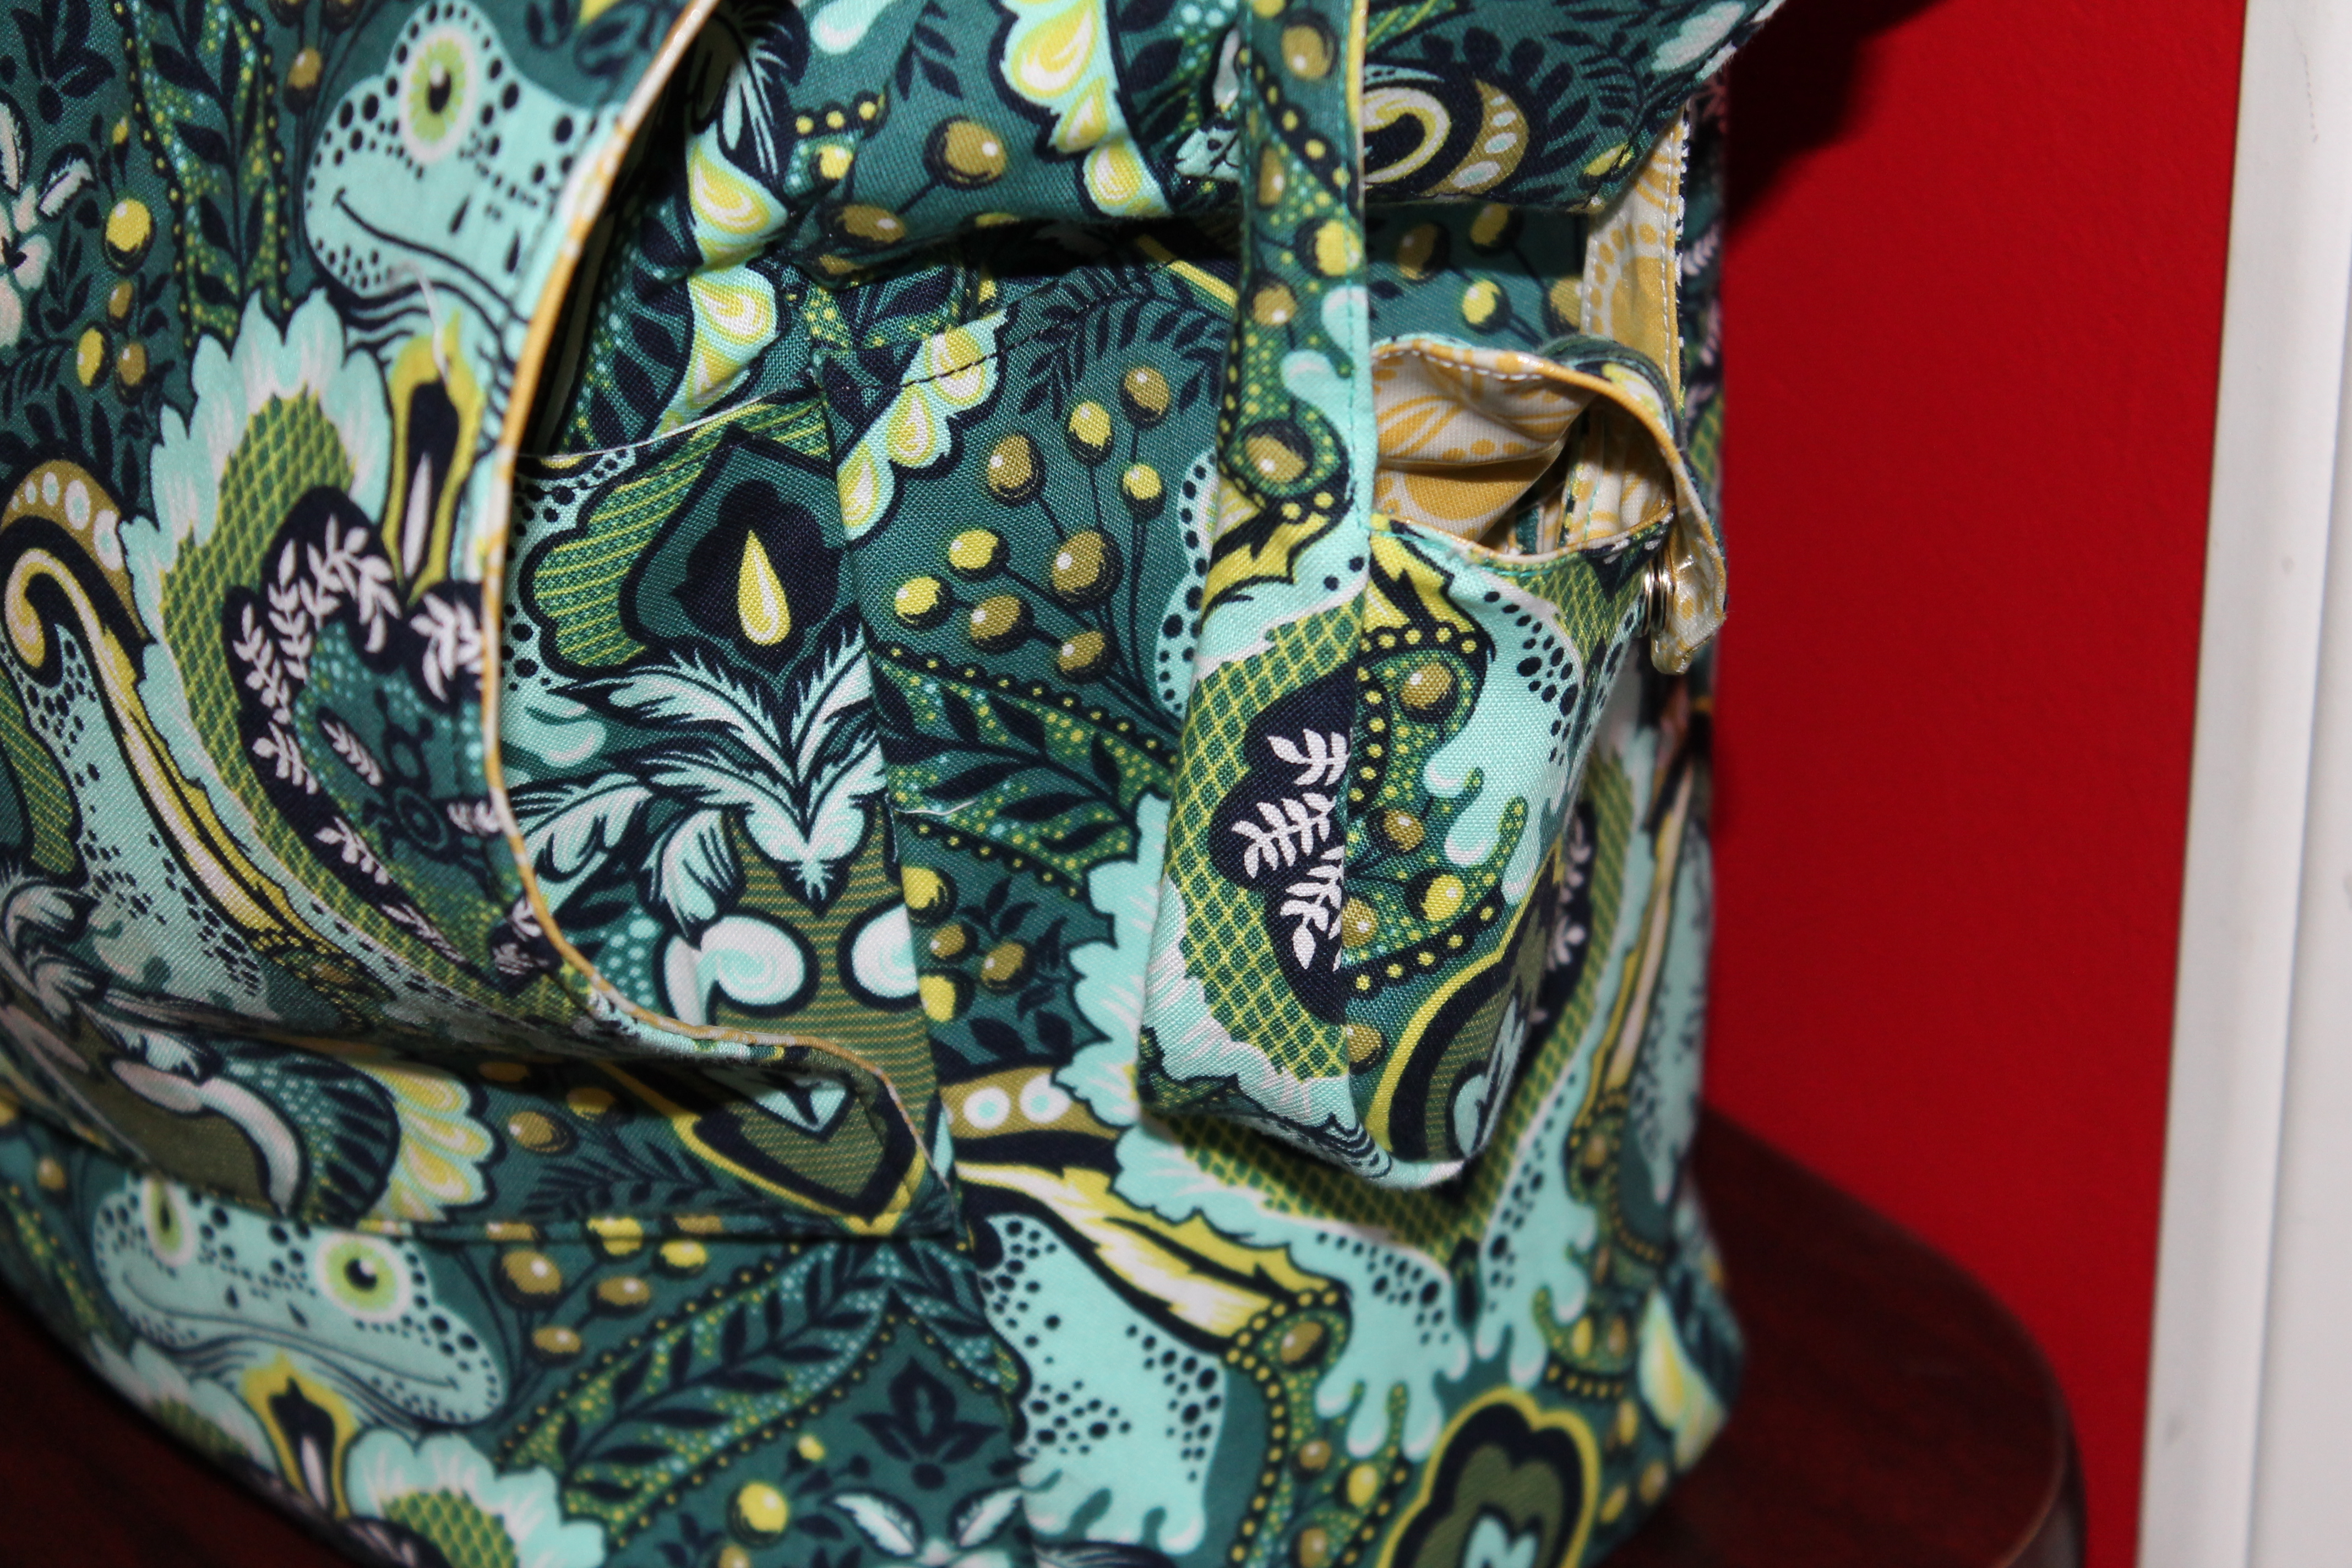
Lined Zipper Pocket in Frog Prince in Honey

Self Made Buckle

I used Joel Dewberry Laminated Cotton for the lining and Frog Prince in Honey for the pocket linings.

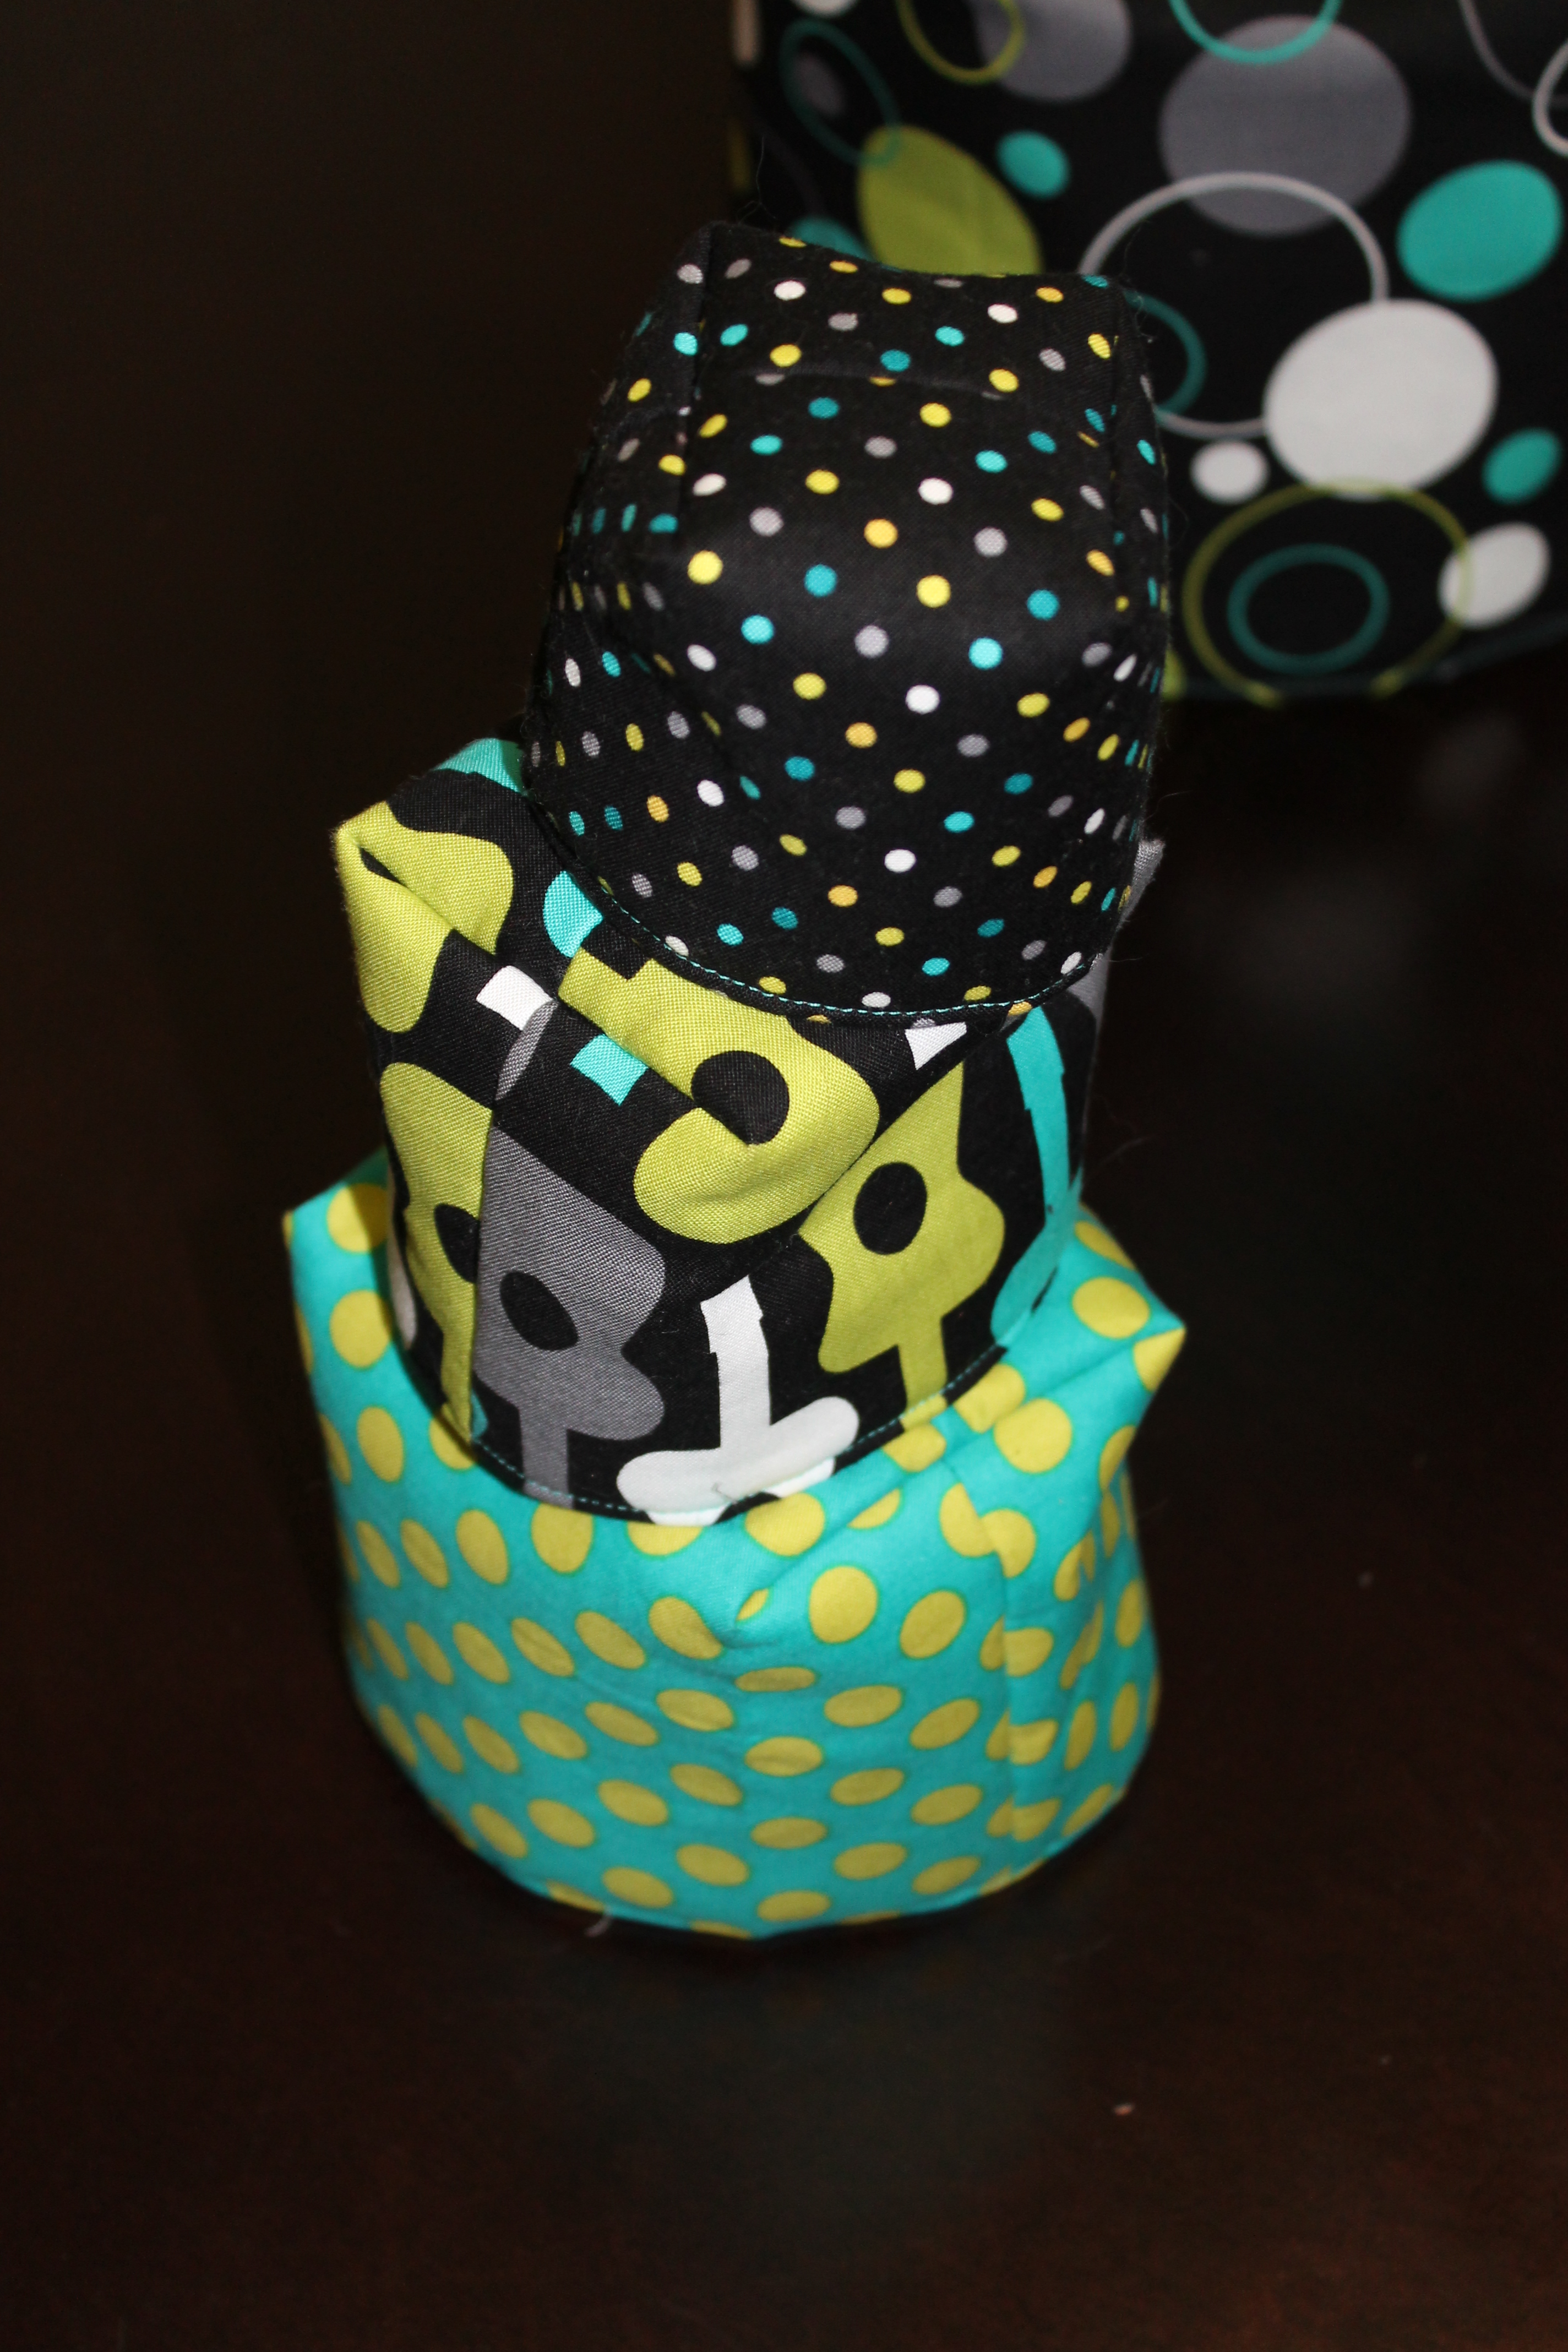
Hello Side Froggy!
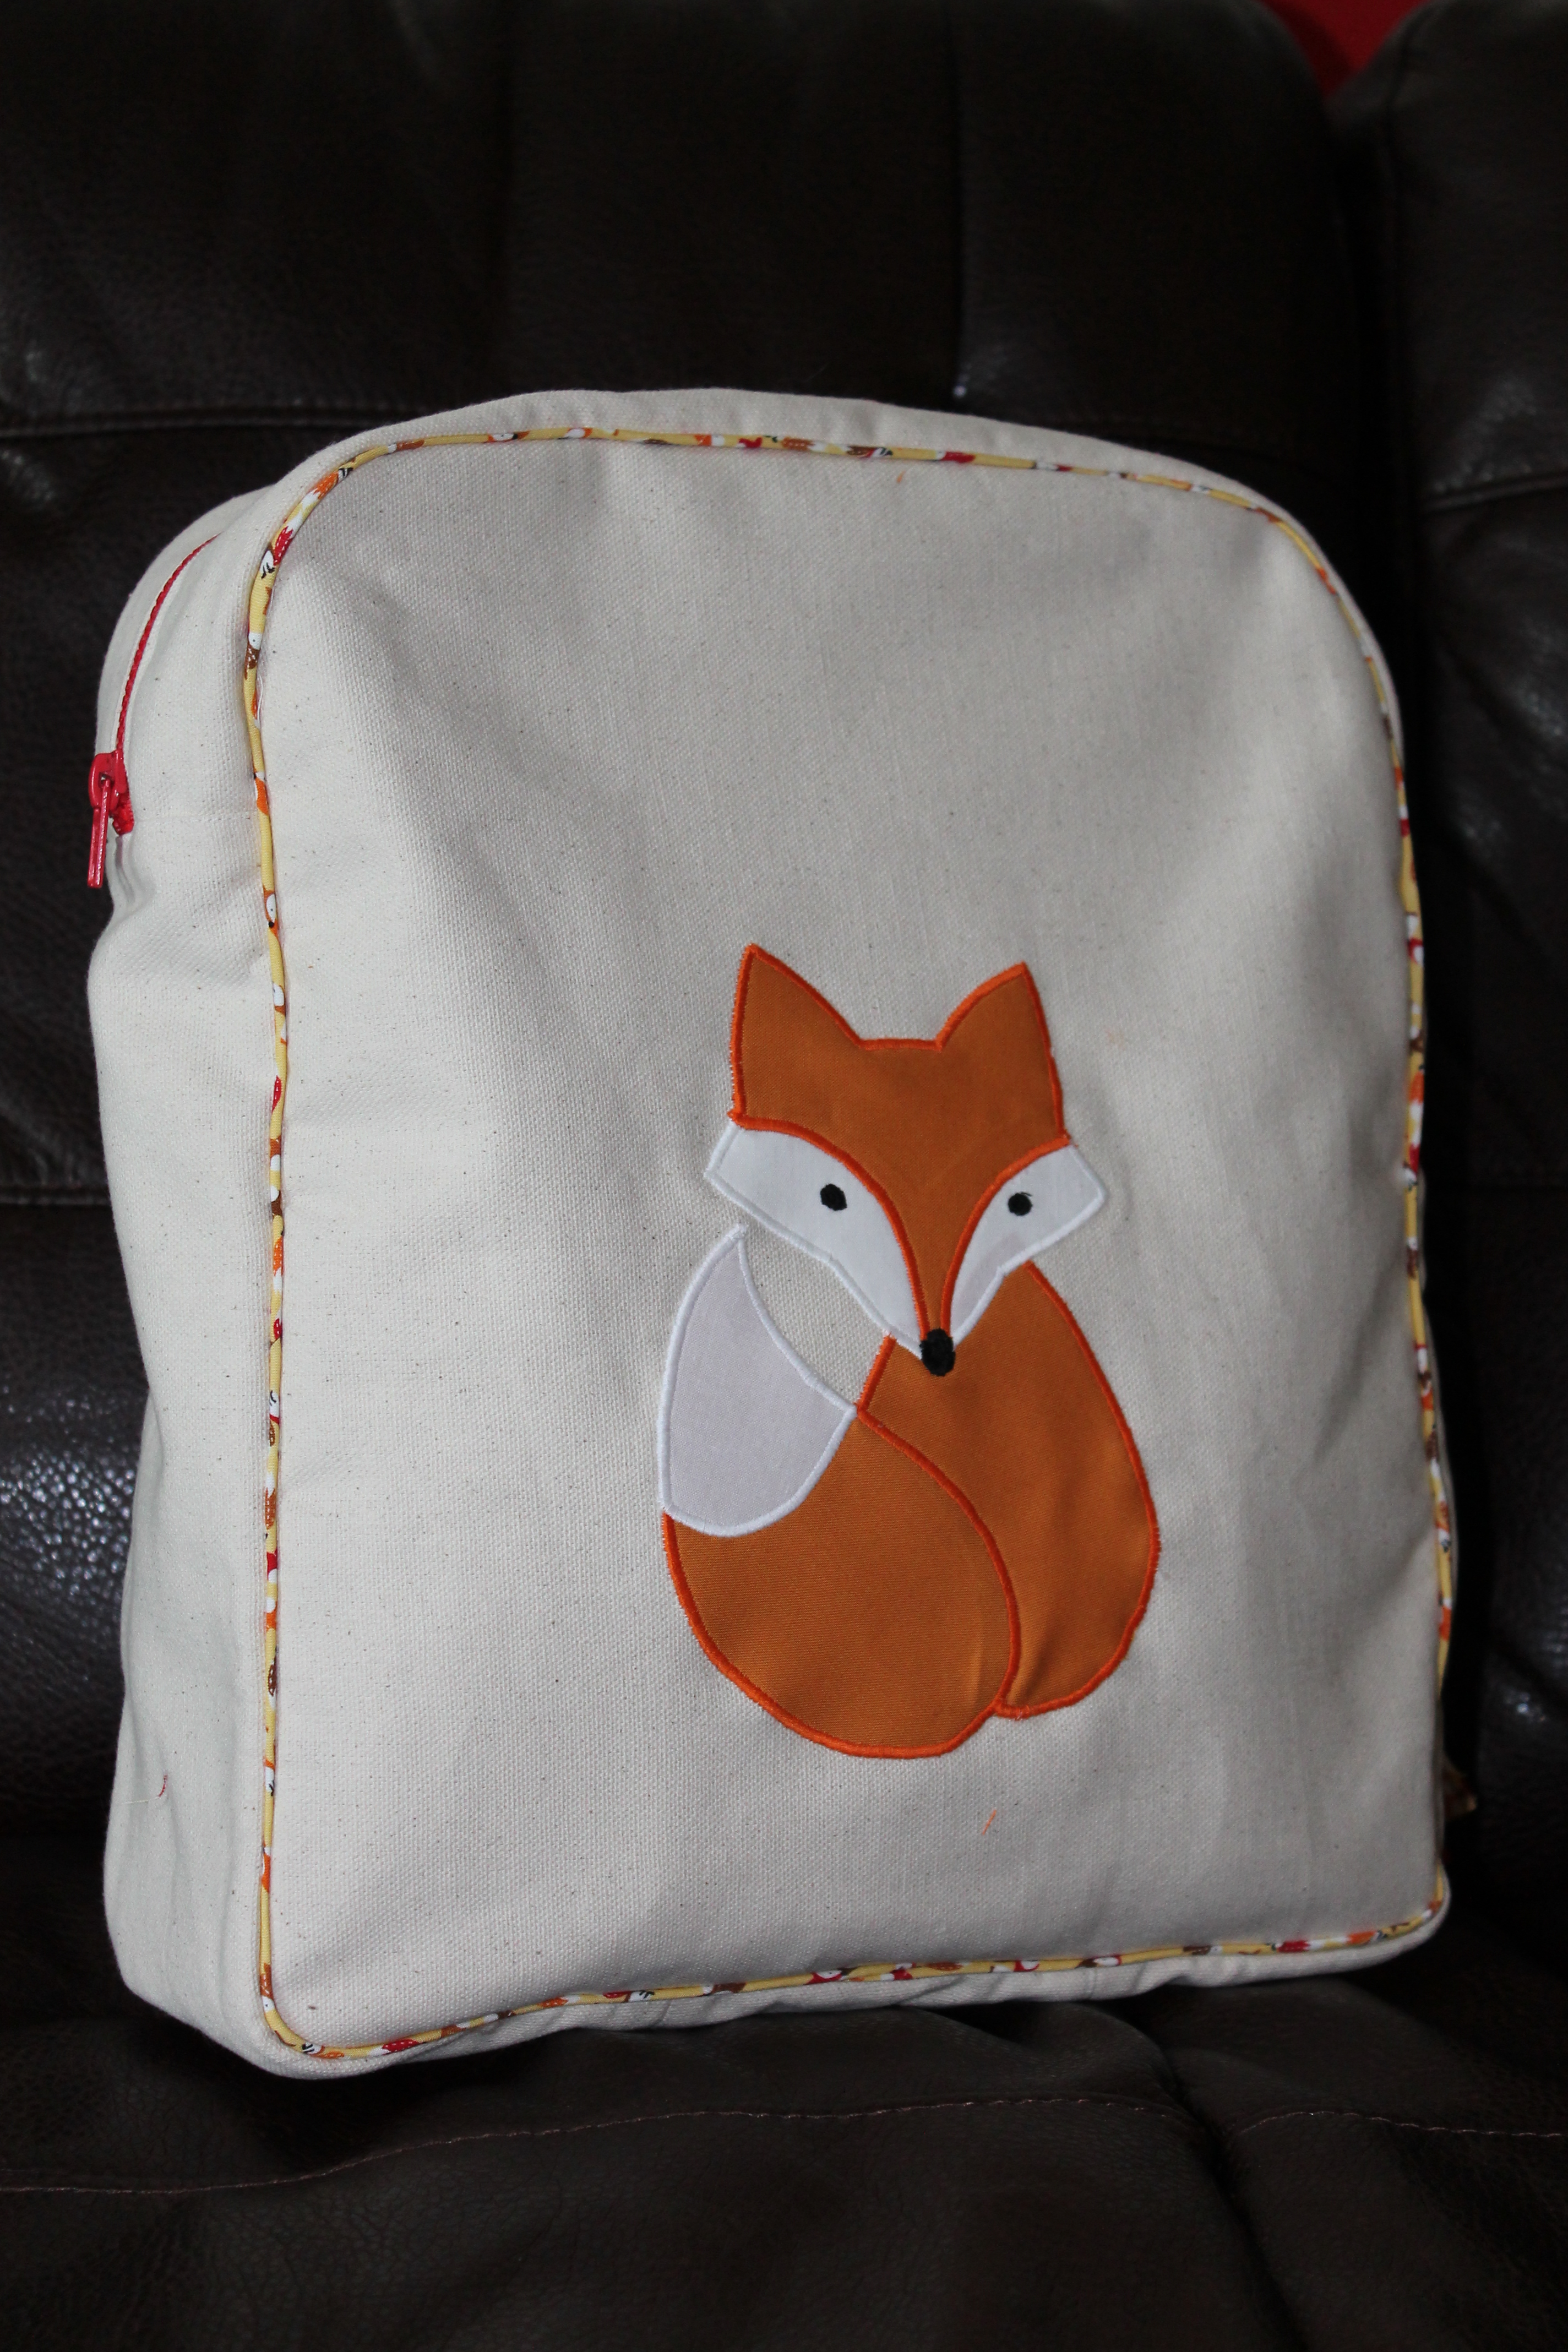
I also decided to make a matching change pad and soother caddy because I like things to be all matchy-matchy. I basically traced my original gear and then used that for a pattern.

Matching Change Pad

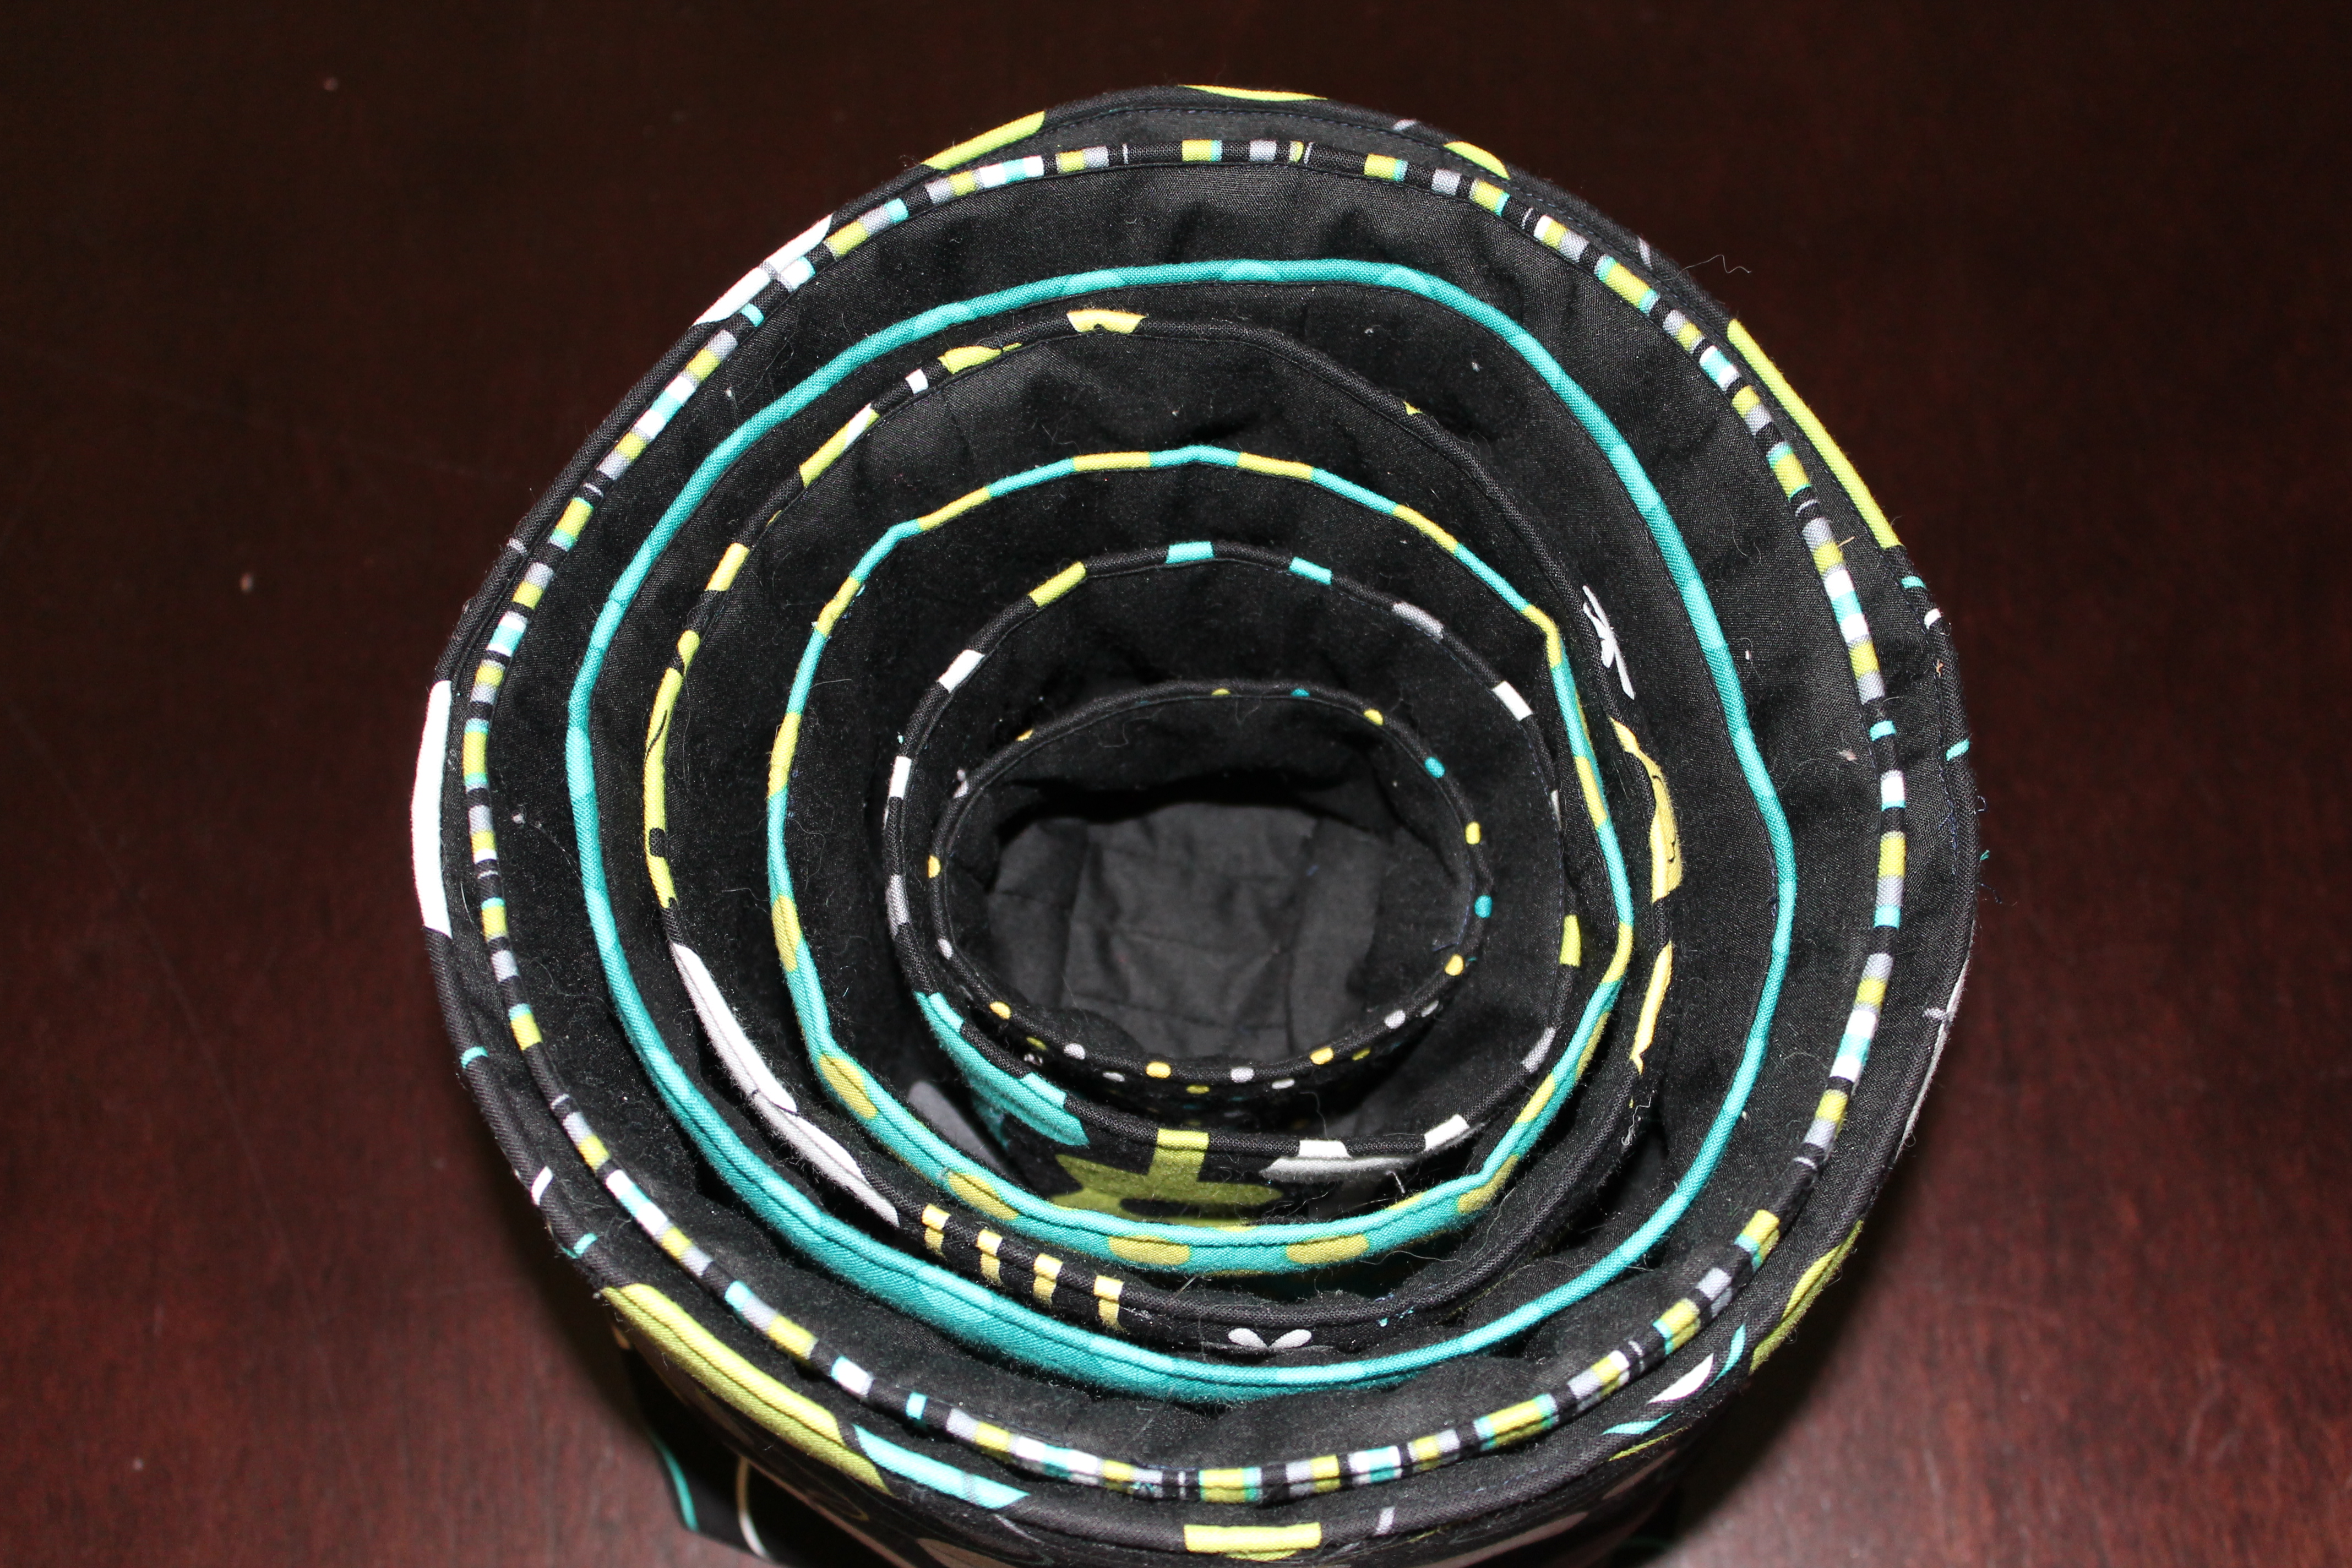
Soother Caddy

Soother Caddy
Here is the tutorial from A Mingled Yarn.
Tutorial: Hip Mama Diaper Bag


This project was frankly inspired by Queen Bee Creations’ diaper bag line. I love the idea of a functional diaper bag that doesn’t look like a diaper bag – and that can also, of course, be used as a regular messenger-style bag if you want.
The bag has a water-resistant vinyl lining to help make cleaning easy – but you can substitute a fabric lining if you want.
This bag’s finished dimensions are: 14″ long, 12″ high, 5″ wide, with a 36″ long strap. You can customize the bag by coming up with your own measurements – just remember to add 1″ for seam allowances.
Materials
1 1/4 yards cotton (44/45″ wide) for the exterior
1 yard water-resistant vinyl (44/45″ wide) for the lining
1 1/2 yards heavy-weight interfacing (unless you are using heavy-weight fabric for the exterior; if so, skip the interfacing)
coordinating thread
12″ coordinating zipper
2 metallic snaps
1/2 yard Velcro
5/8 yard 1/4″ elastic
Pattern
1. Cut out the pieces.
A) Strap: 37″ x 5″. Cut 1 of fabric and 1 of interfacing (I recommend interfacing the strap or adding another layer even if using heavyweight fabric).
B) Front/back/flap piece: 15″ x 13″. Cut 4 of lining, cut 2 of fabric, and cut 2 of interfacing.
C) Side gusset: 6″ x 13″. Cut 2 of fabric, 2 of lining, and 2 of interfacing.
D) Bottom gusset: 6″ x 15″. Cut 1 of fabric, 1 of lining, and 1 of interfacing.
E) Back zippered pocket piece #1: 15″ x 3″. Cut 1 of fabric.
F) Back zippered pocket piece #2: 15″ x 11″. Cut 1 of fabric.
G) Front exterior pocket: 15″ x 9″. Cut 2 from fabric.
H) Side exterior pockets: 6″ x 9″. Cut 4 from fabric.
I) Interior pockets: 17″ x 9″. Cut 2 from lining.
I recommend labeling your pieces with masking tape and marking them with letters corresponding to the list above. This will help you keep track of the pieces.
Also: if you are using a uni-directional fabric (with motifs that all point the same way, as in the fabric I’ve used) take care when laying and cutting your fabric.
2. Apply interfacing (if using).
Fuse or sew interfacing to strap (A), 2 front/back/flap pieces (B), 2 side gusset pieces (C) and 1 bottom gusset piece (D). Attach interfacing to exterior fabric, not lining.
3. Make strap.
Press under 1/2″ on each long side of strap piece (A). Then press under 1/2″ on each short side. Fold strap in half lengthwise, wrong sides together, matching up all pressed edges. Press flat. Keeping all pressed edges even, topstitch a 1/4″ seam on all 4 sides of the strap. Set aside.

4. Make flap.
a) You will need 1 fabric flap piece (B) and 1 lining flap piece (B). On the lining piece, attach smaller halves of metallic snaps to each corner on one long edge. Snaps should be placed so that they are 1″ in from each side of piece.

b) Pin lining piece to fabric piece, right sides together. Sew a 1/2″ seam around three sides, leaving one long edge (the side without the snaps) open. Turn right side out, using turning tool to push out corners. Topstitch a 1/4″ seam around three finished edges. Set aside.
5. Make exterior pockets.
a) Back zippered pocket: Pin piece E to piece F along long edge, right sides together. Using a 1/2″ seam allowance, stitch a 1.5″ long seam at each end. Stitch the remainder of the seam (12″ in the middle) with a long basting stitch. This will be where you insert the zipper. Press seam open. Pin zipper to middle basted section, placing top of zipper and zipper stop close to the ends of the basted section.

Using a zipper foot, attach the zipper. Remove basting thread. Pin wrong side of zippered pocket piece to right side of a back lining piece (B). Topstitch a 1/4″ seam around all four edges. The lining piece will serve as the pocket’s interior.

b) Side pockets: Pin two side exterior pockets (H) together along shorter edge, right sides together. Stitch a 1/2″ seam; trim. Turn, press, and topstitch a 1/4″ seam along edge. Cut a 2″ piece of Velcro. Stitch the fuzzy half to the interior of the pocket, 1/4″ down from the top edge.

Place the pocket piece against one of the interfaced side gusset pieces (C), matching bottom and side edges. Mark placement for other half of Velcro on piece C, then stitch in place. Place pocket piece against gusset piece, with Velcro lined up, and stitch a 1/4″ seam around three edges. Repeat for other side pocket.

c) Front pockets: Pin the two front pocket pieces (G) together along long edge, right sides together. Stitch a 1/2″ seam; trim. Turn, press, and topstitch 1/4″ around all four edges. Attach other halves of metallic snaps to right side of pocket, through both layers. Measure up 5″ from bottom and in 1″ from each side to place snaps. Fold pocket in half width-wise and press, creating a crease down the center. Place the pocket piece against the remaining front fabric piece (B), matching bottom and side edges; pin in place. Topstitch along center crease, to create two front pocket halves. Cut two pieces of Velcro, each 4″ long. Stitch two fuzzy halves to the interior of the pocket, 1/4″ down from top edge, and centering each piece on each side of the center crease. Mark placement for other halves of Velcro on piece B, then stitch in place. Line up Velcro halves and topstitch 1/4″ seam around edges.

6. Assemble bag exterior.
a) Pin interfaced bottom gusset piece (D) to one side gusset piece (C) along short edges, encompassing bottom of side pocket, right sides together. Stitch a 1/2″ seam, beginning and ending 1/2″ from ends. Press open. Repeat for other side gusset piece.
b) Pin back zippered pocket piece to gussets along sides and bottom, through all thicknesses, right sides together, having zipper near the top. Stitch a 1/2″ seam, pinning corners like this:

Repeat for front pocket piece. Turn right side out. You should now have a bag exterior that can stand up on its own. Set exterior aside.

7. Make interior pockets.
a) Turn under 5/8″ on top edge of one interior pocket piece (I) and stitch in place using a 1/2″ seam allowance, forming a casing. Cut a piece of elastic 10″ long, insert it into the casing, and secure at both ends. Repeat for other interior pocket piece (I).
b) Pin wrong side of pocket piece against right side of one lining piece (B), matching bottom and side edges, easing in fullness at bottom by creating pleats or gathers. (It’s pretty much impossible to gather vinyl, so I used pleats across the bottom. If you’re using regular fabric for the lining, do a gathering stitch across the bottom and pull up the threads to fit). Stitch a 1/4″ seam around each side. Repeat for other pocket piece.
c) To create two interior pockets on one piece, fold the whole piece in half width-wise and mark the center line. Topstitch down that center line through all thicknesses.

d) To create three interior pockets on the other piece, measure in 5″ from each side and mark lines. Topstitch down those lines through all thicknesses.
8. Make bag interior.
Follow step 6 to attach side and bottom gussets and assemble the interior of your bag, with one exception: leave a long opening on one of the bottom seams for turning the bag. Do not turn right side out.

9. Finishing the bag.
a) Pin unfinished edge of flap to top edge of back zippered exterior piece, right sides together (lining side facing out). Stitch 1/4″ seam to attach.
b) Slip exterior of bag into lining, right sides together. Pin top edges together through all thicknesses. Stitch a 1/2″ seam. Trim seam.

c) Turn bag right side out by pulling exterior through the opening in lining. Sew up opening in lining. Push lining down into bag. Topstitch 1/4″ seam around top opening edges of bag.
d) Lap each end of strap 1.5″ over sides of bag. Topstitch strap ends to bag in an X pattern to secure.

You’re now ready to rock your new bag!