Happy New Year everyone!
The last three months have been spent sewing up a storm for my time with the FreeSpirit Fabrics Circle of Makers tour. The makers act as brand ambassadors for FreeSpirit, and insipre us with their creative pursuits while featuring the different fabrics FreeSpirit and their designers have to offer. You can learn more about the program and the individual makers HERE.
I am honored to have been a guest maker in 2025, working with Giuseppe Ribaudo, aka Giucy Giuce, Hue and Gemini. The collections are bright, colorful painters palettes of rainbow blenders – Gemini as dual tone ombre, and Hue as single blenders with a pair of gorgeous panel prints.
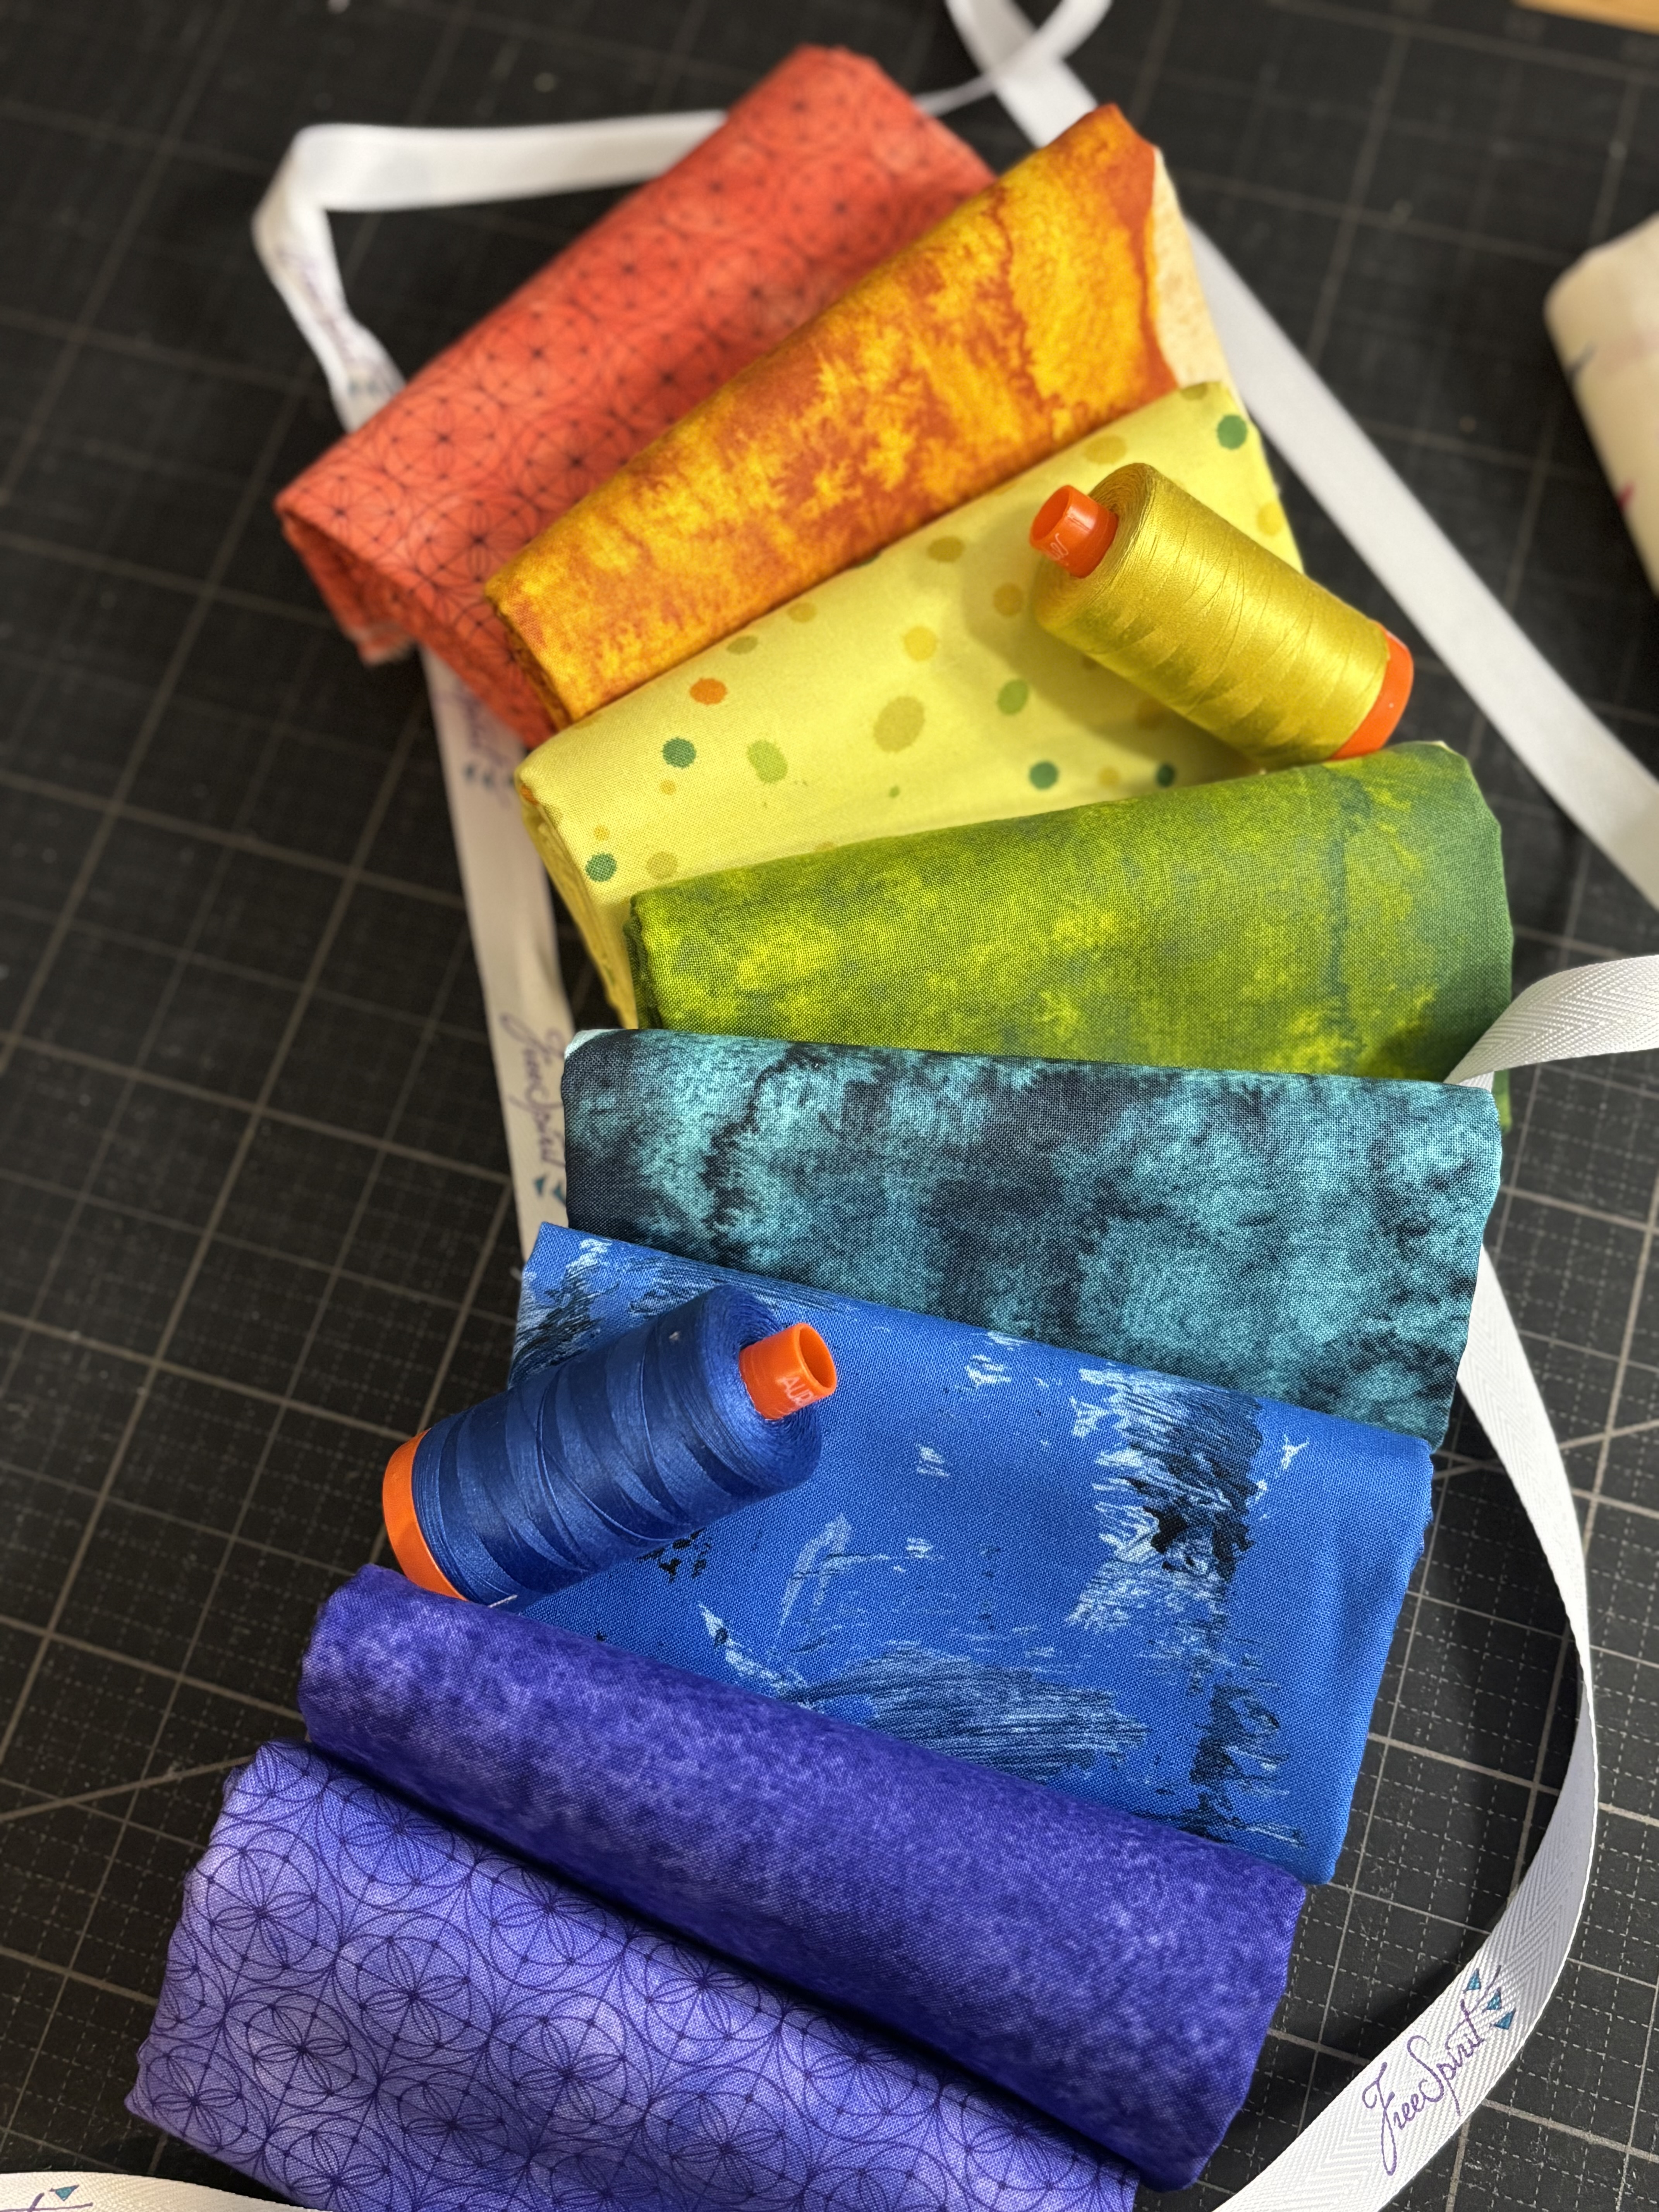
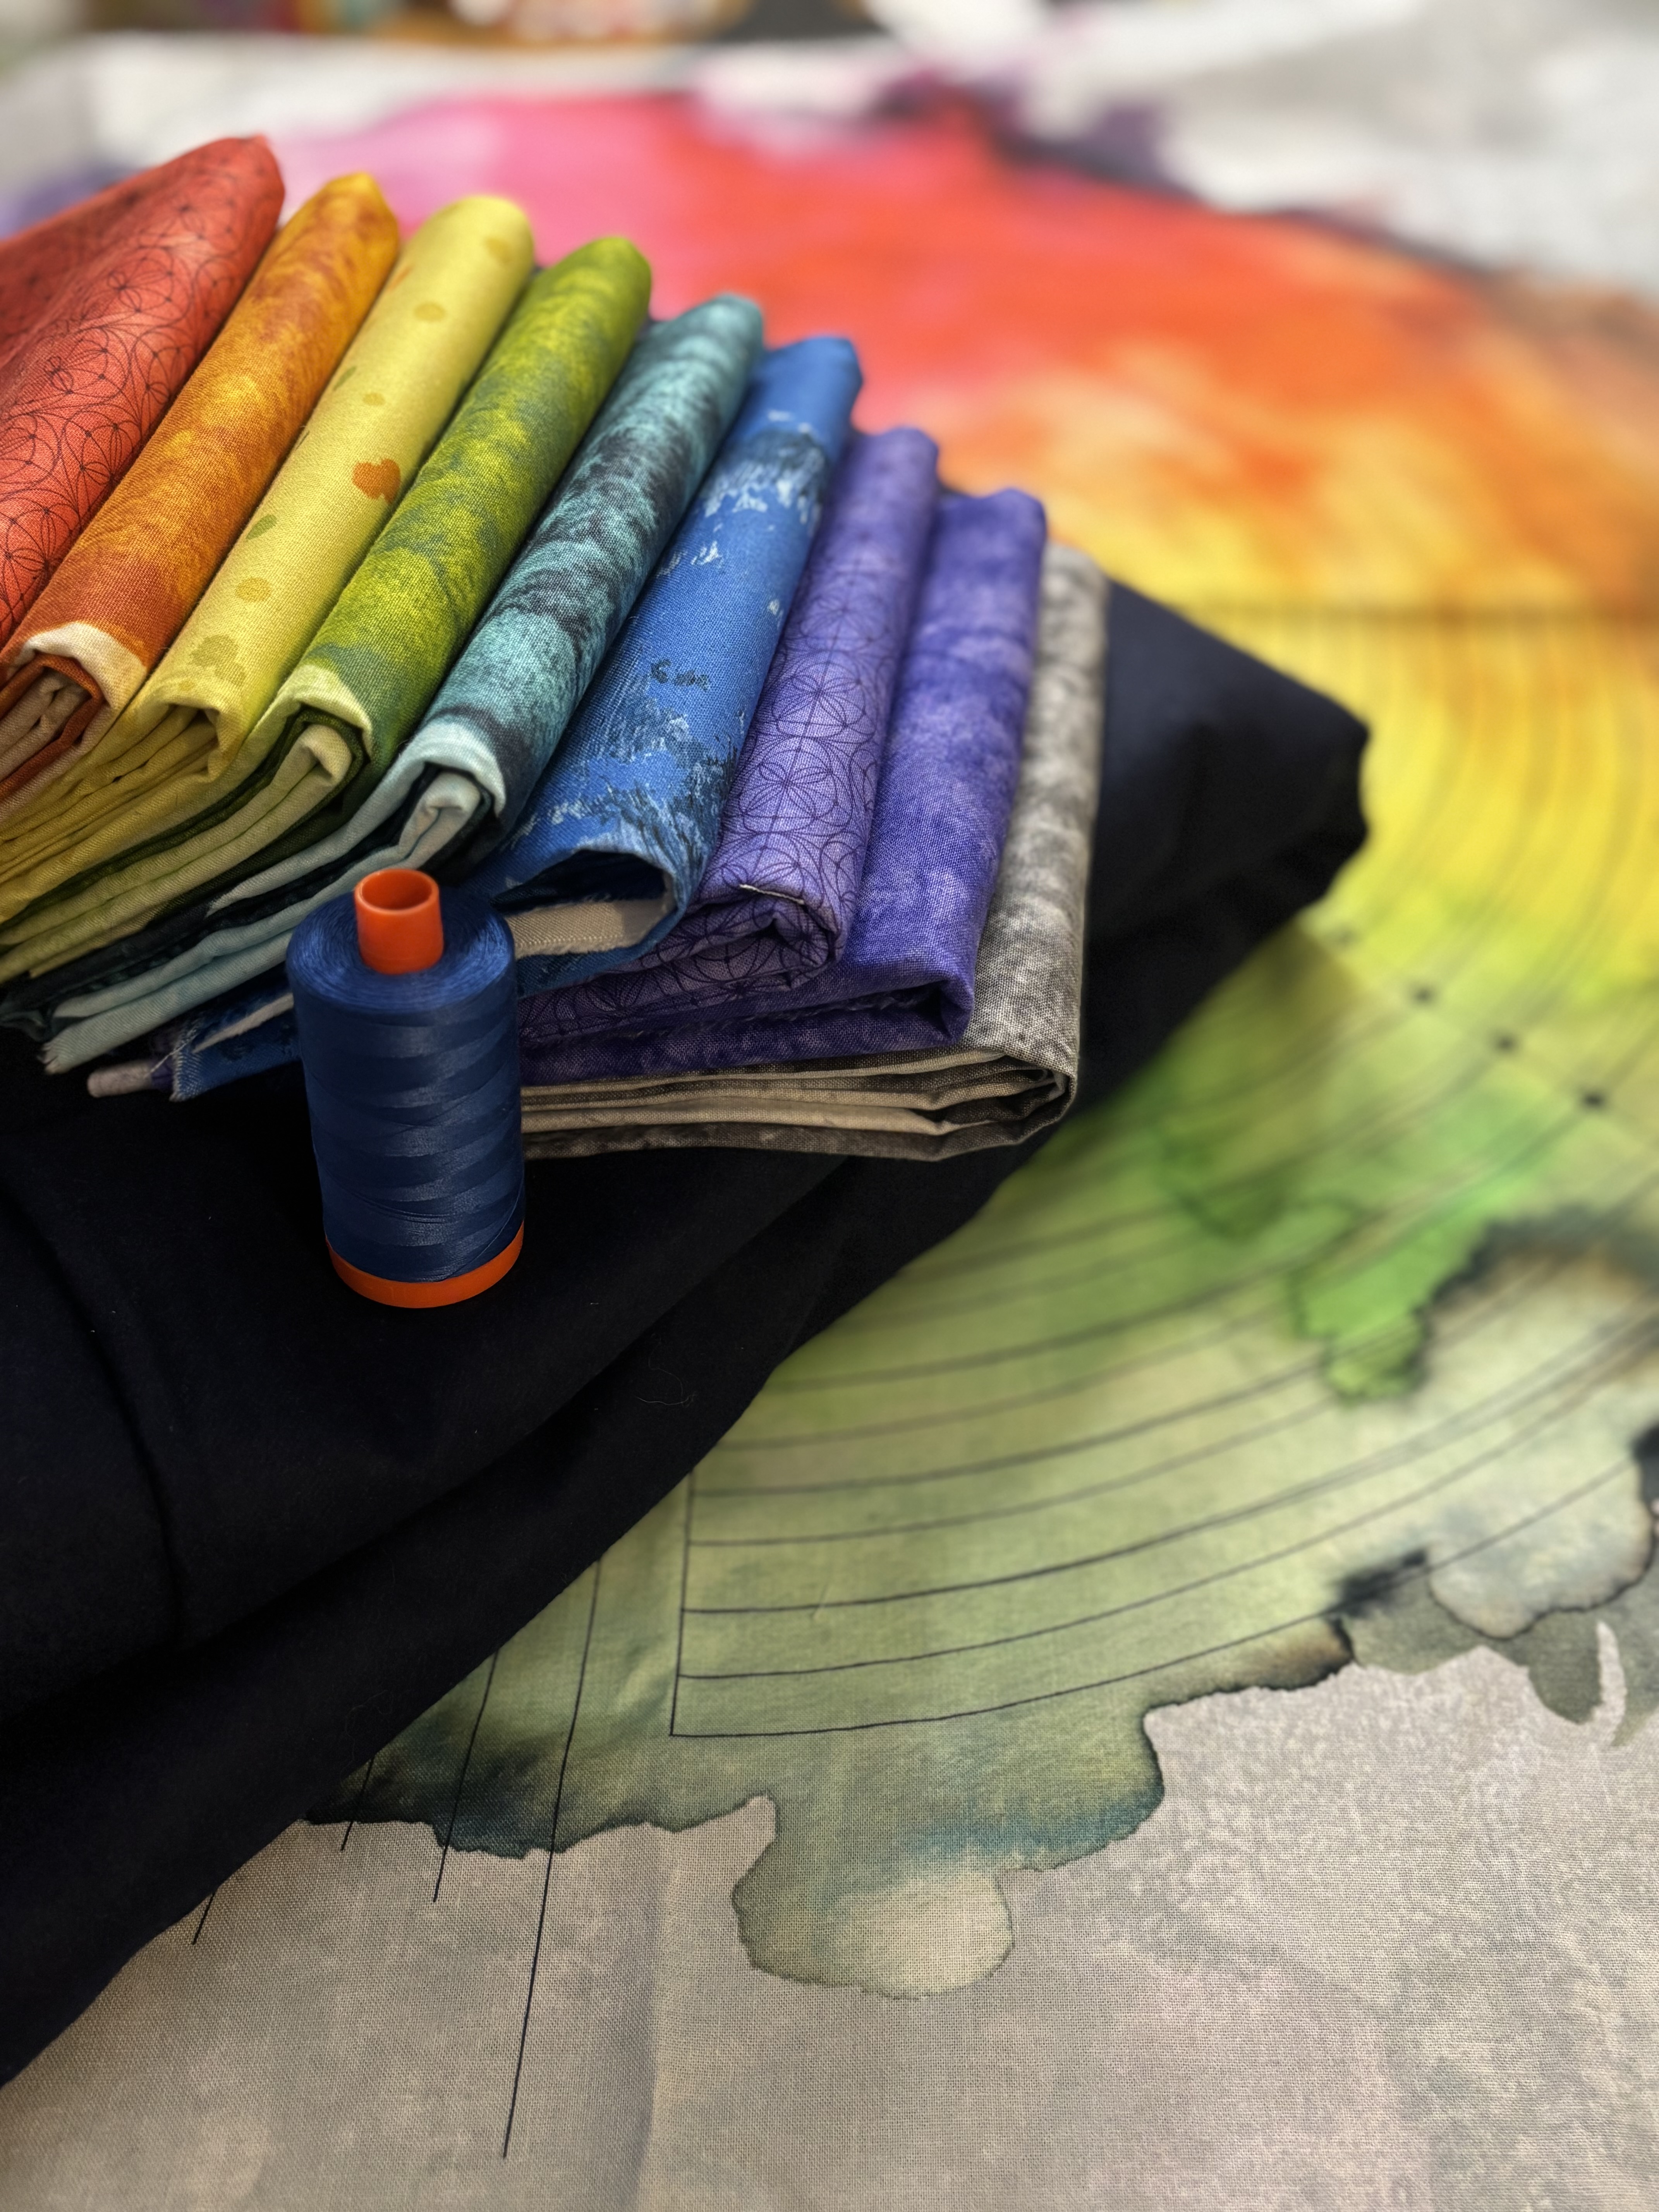
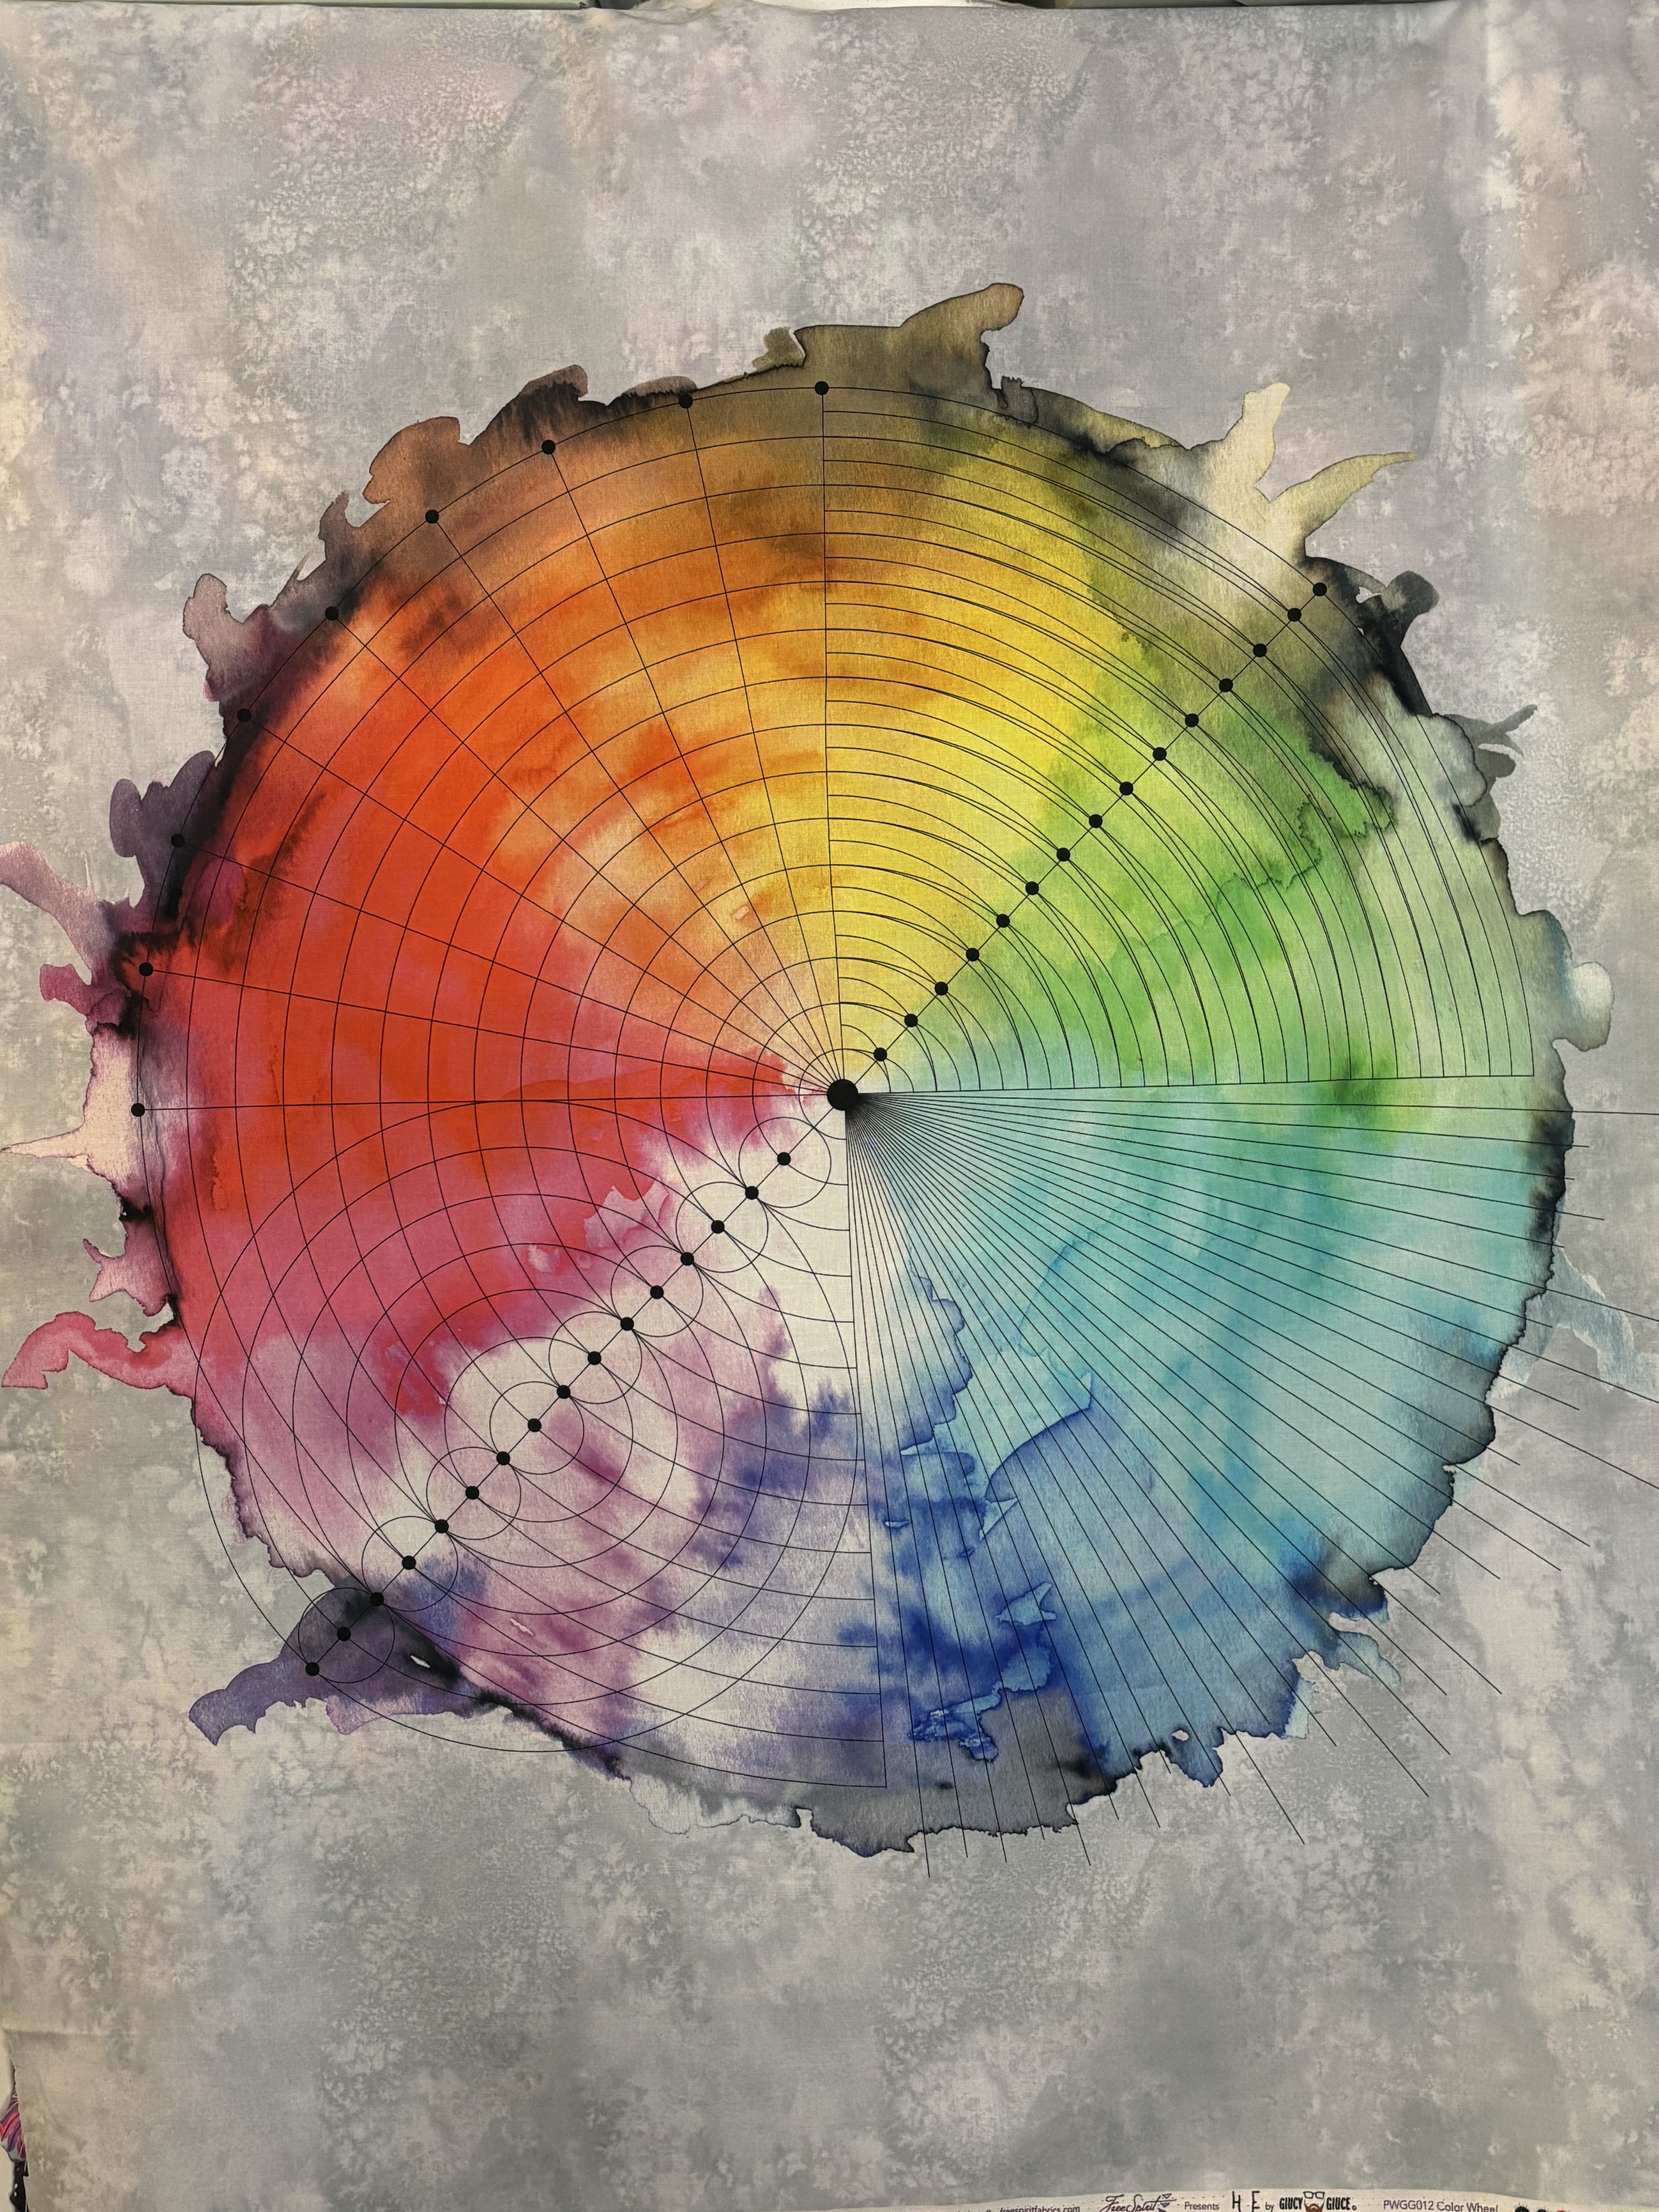
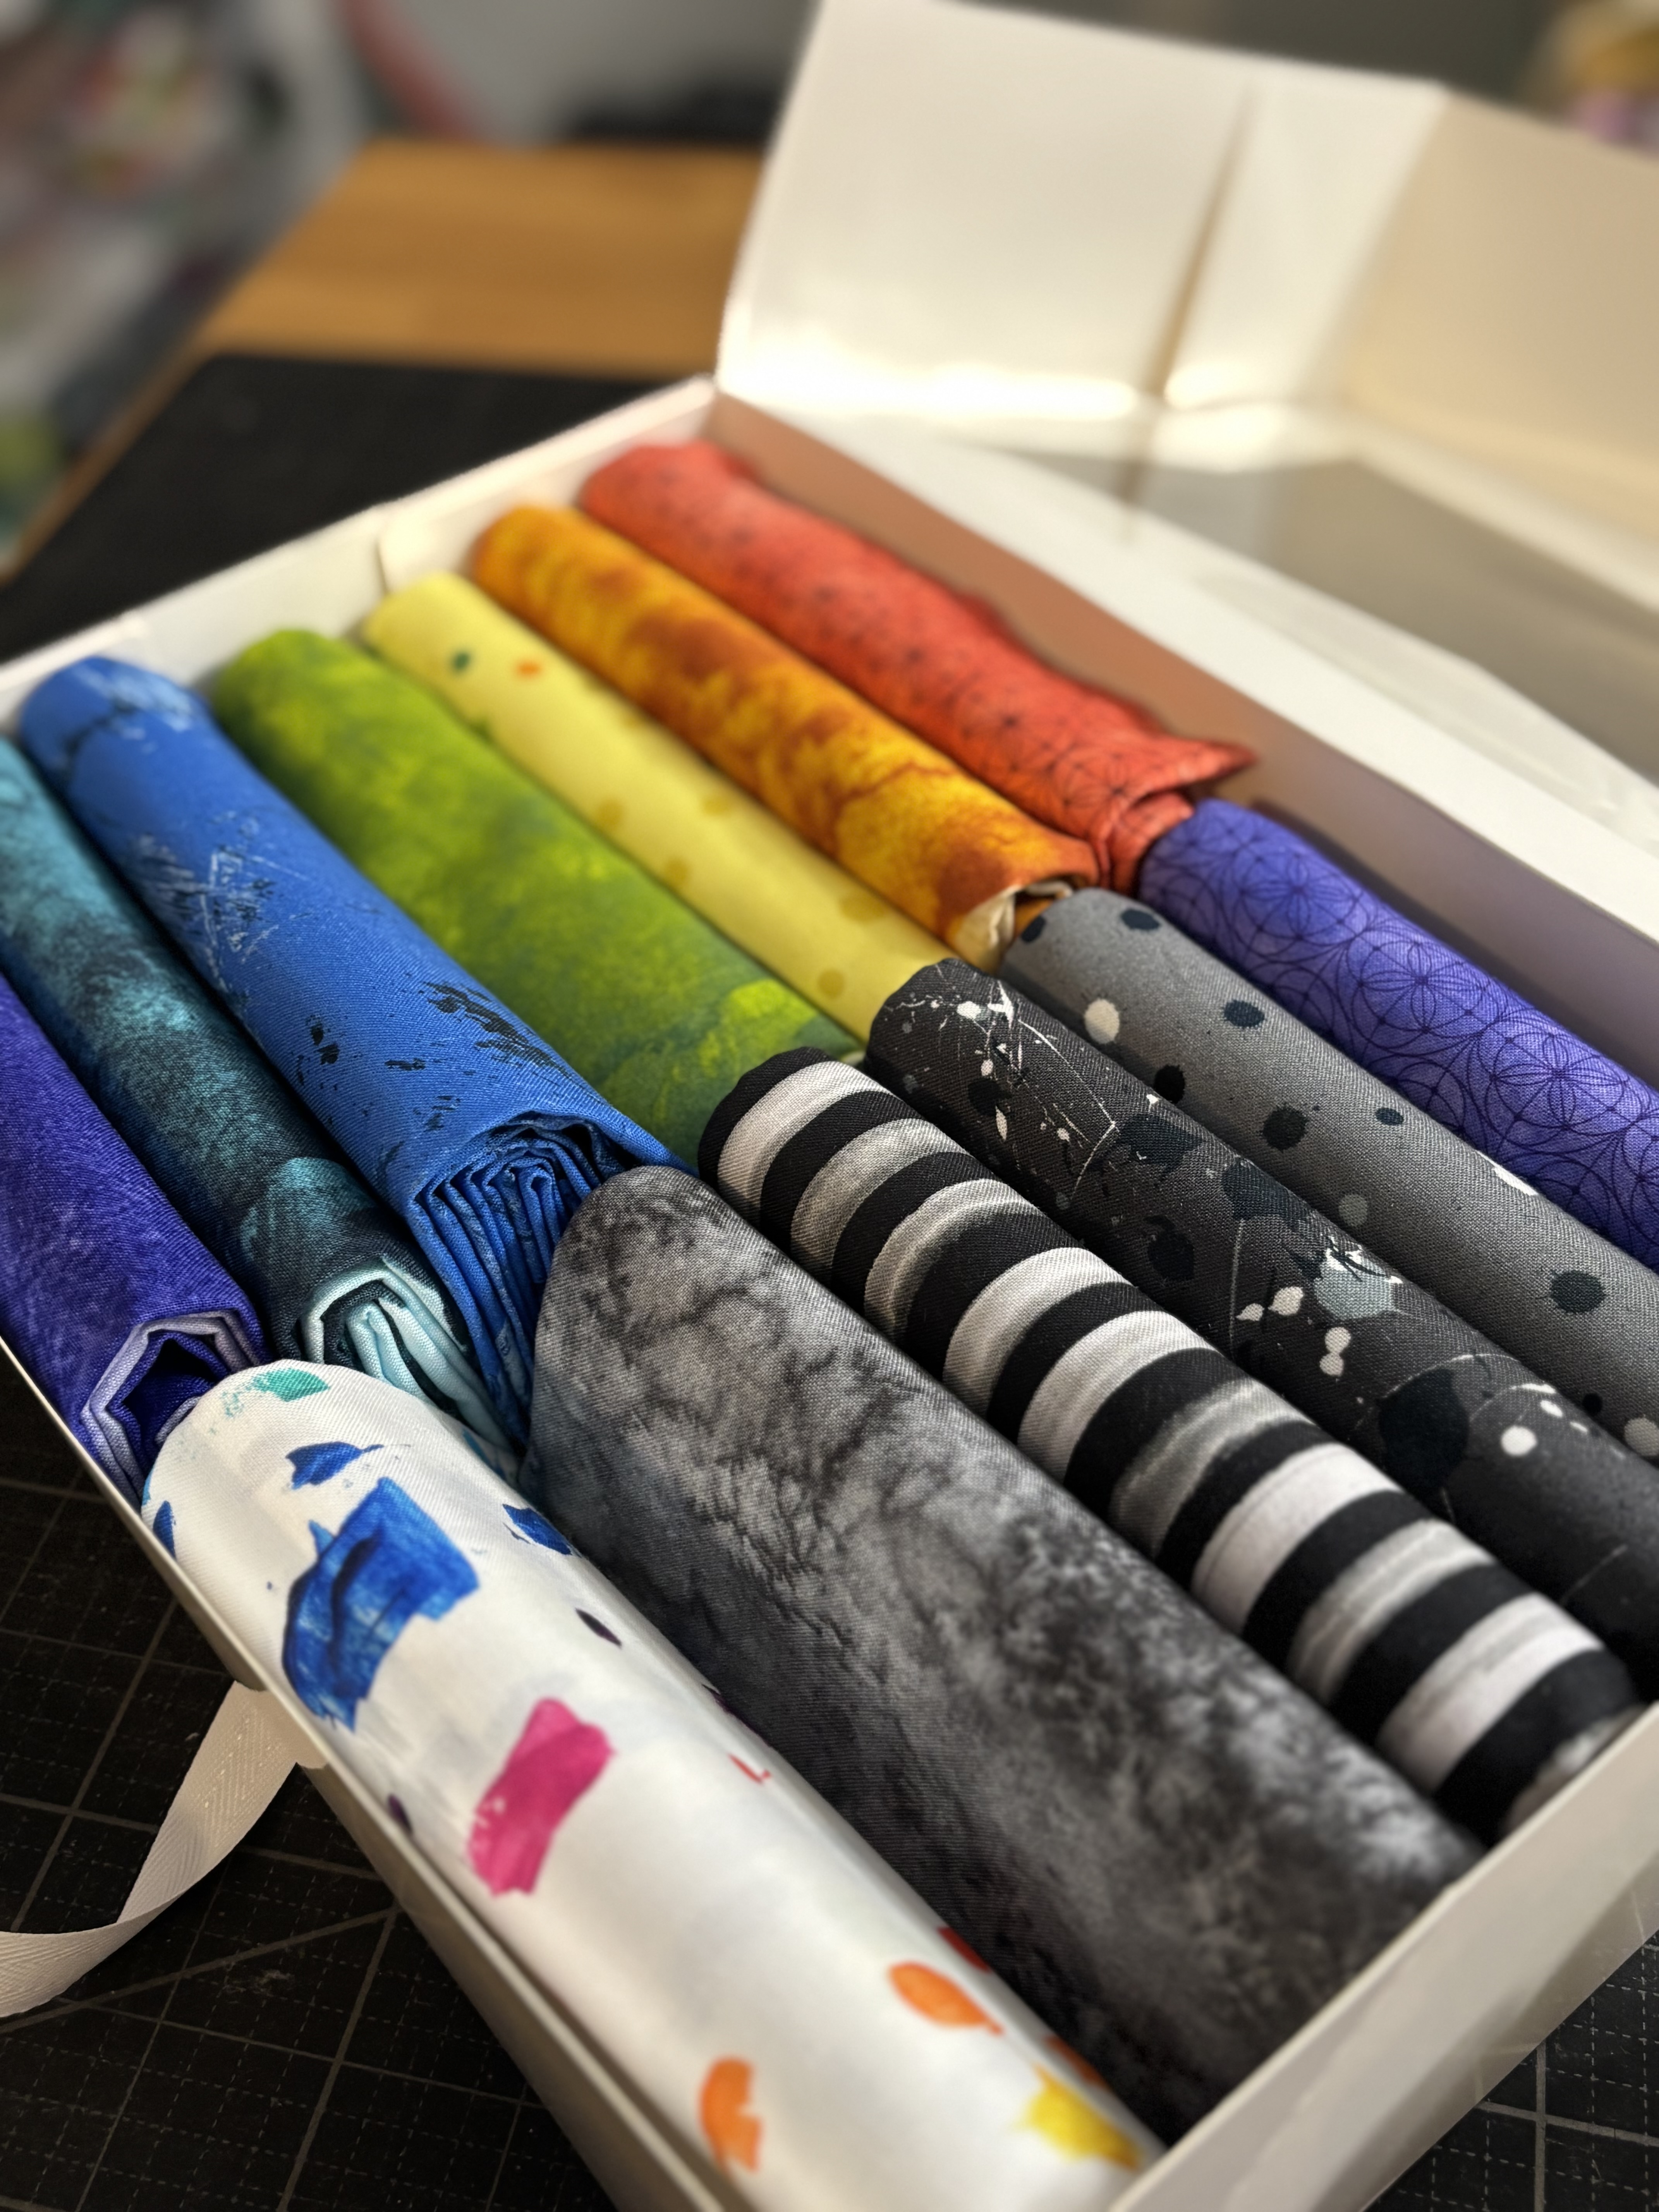
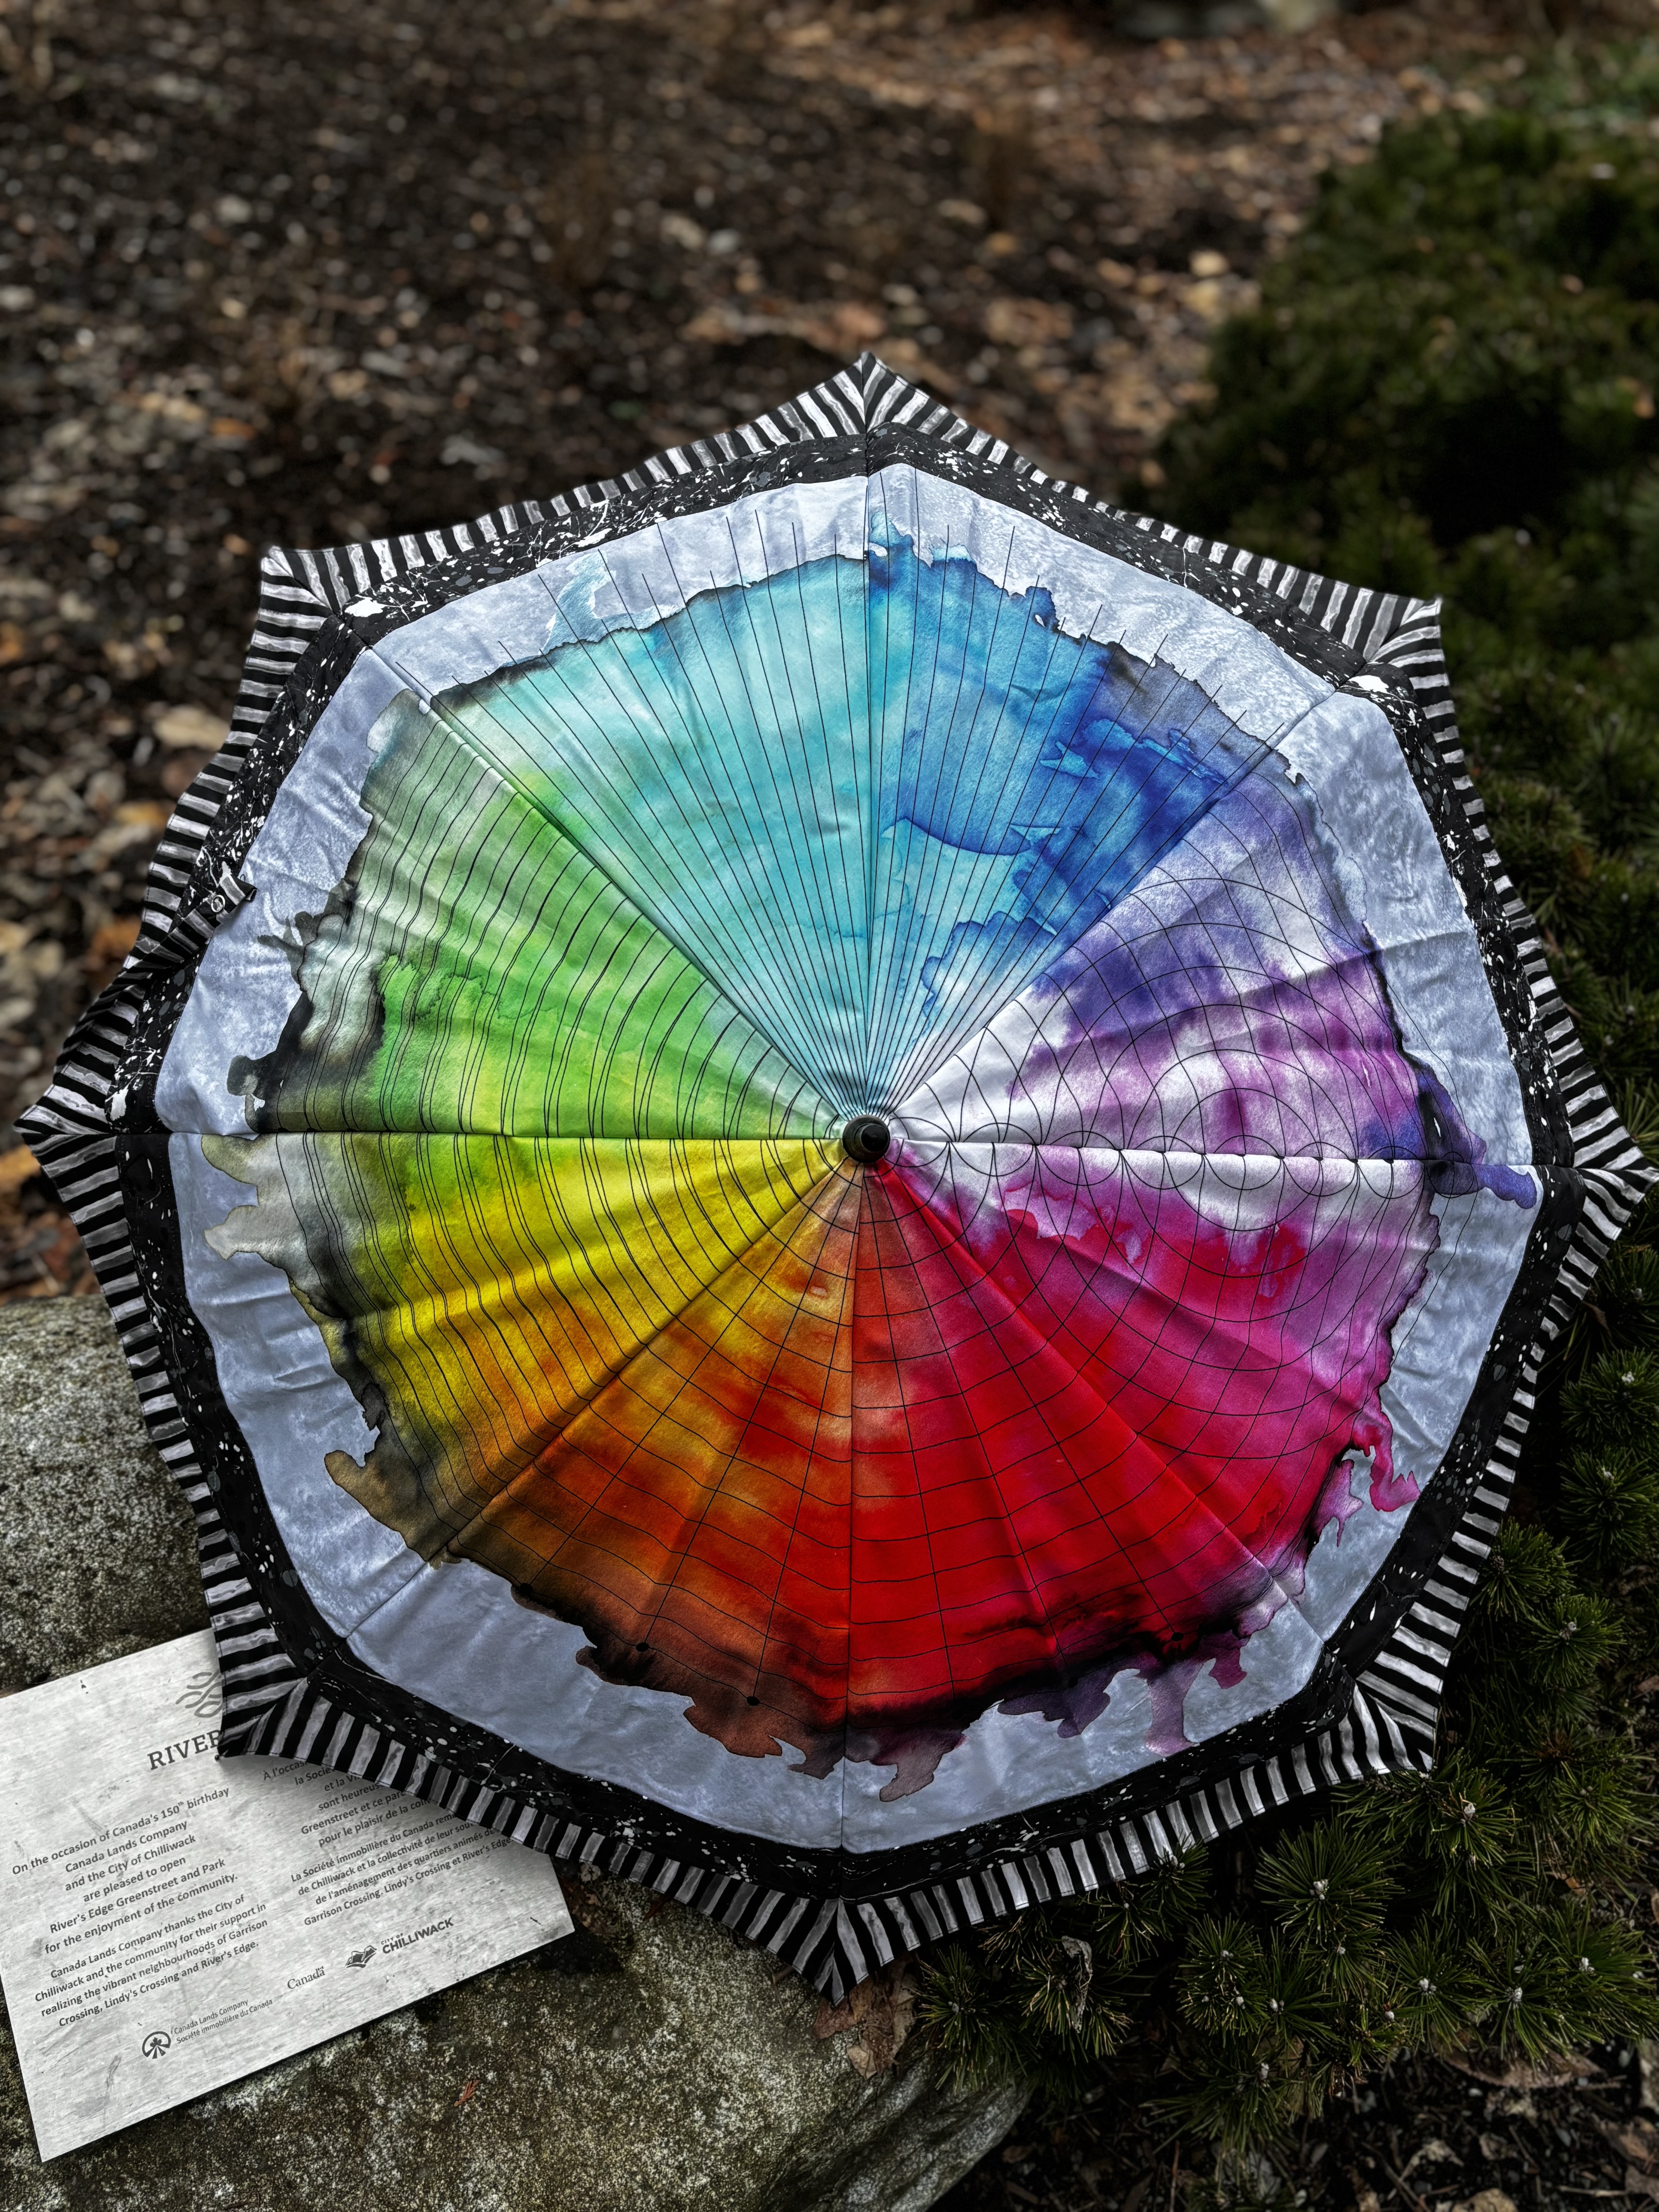
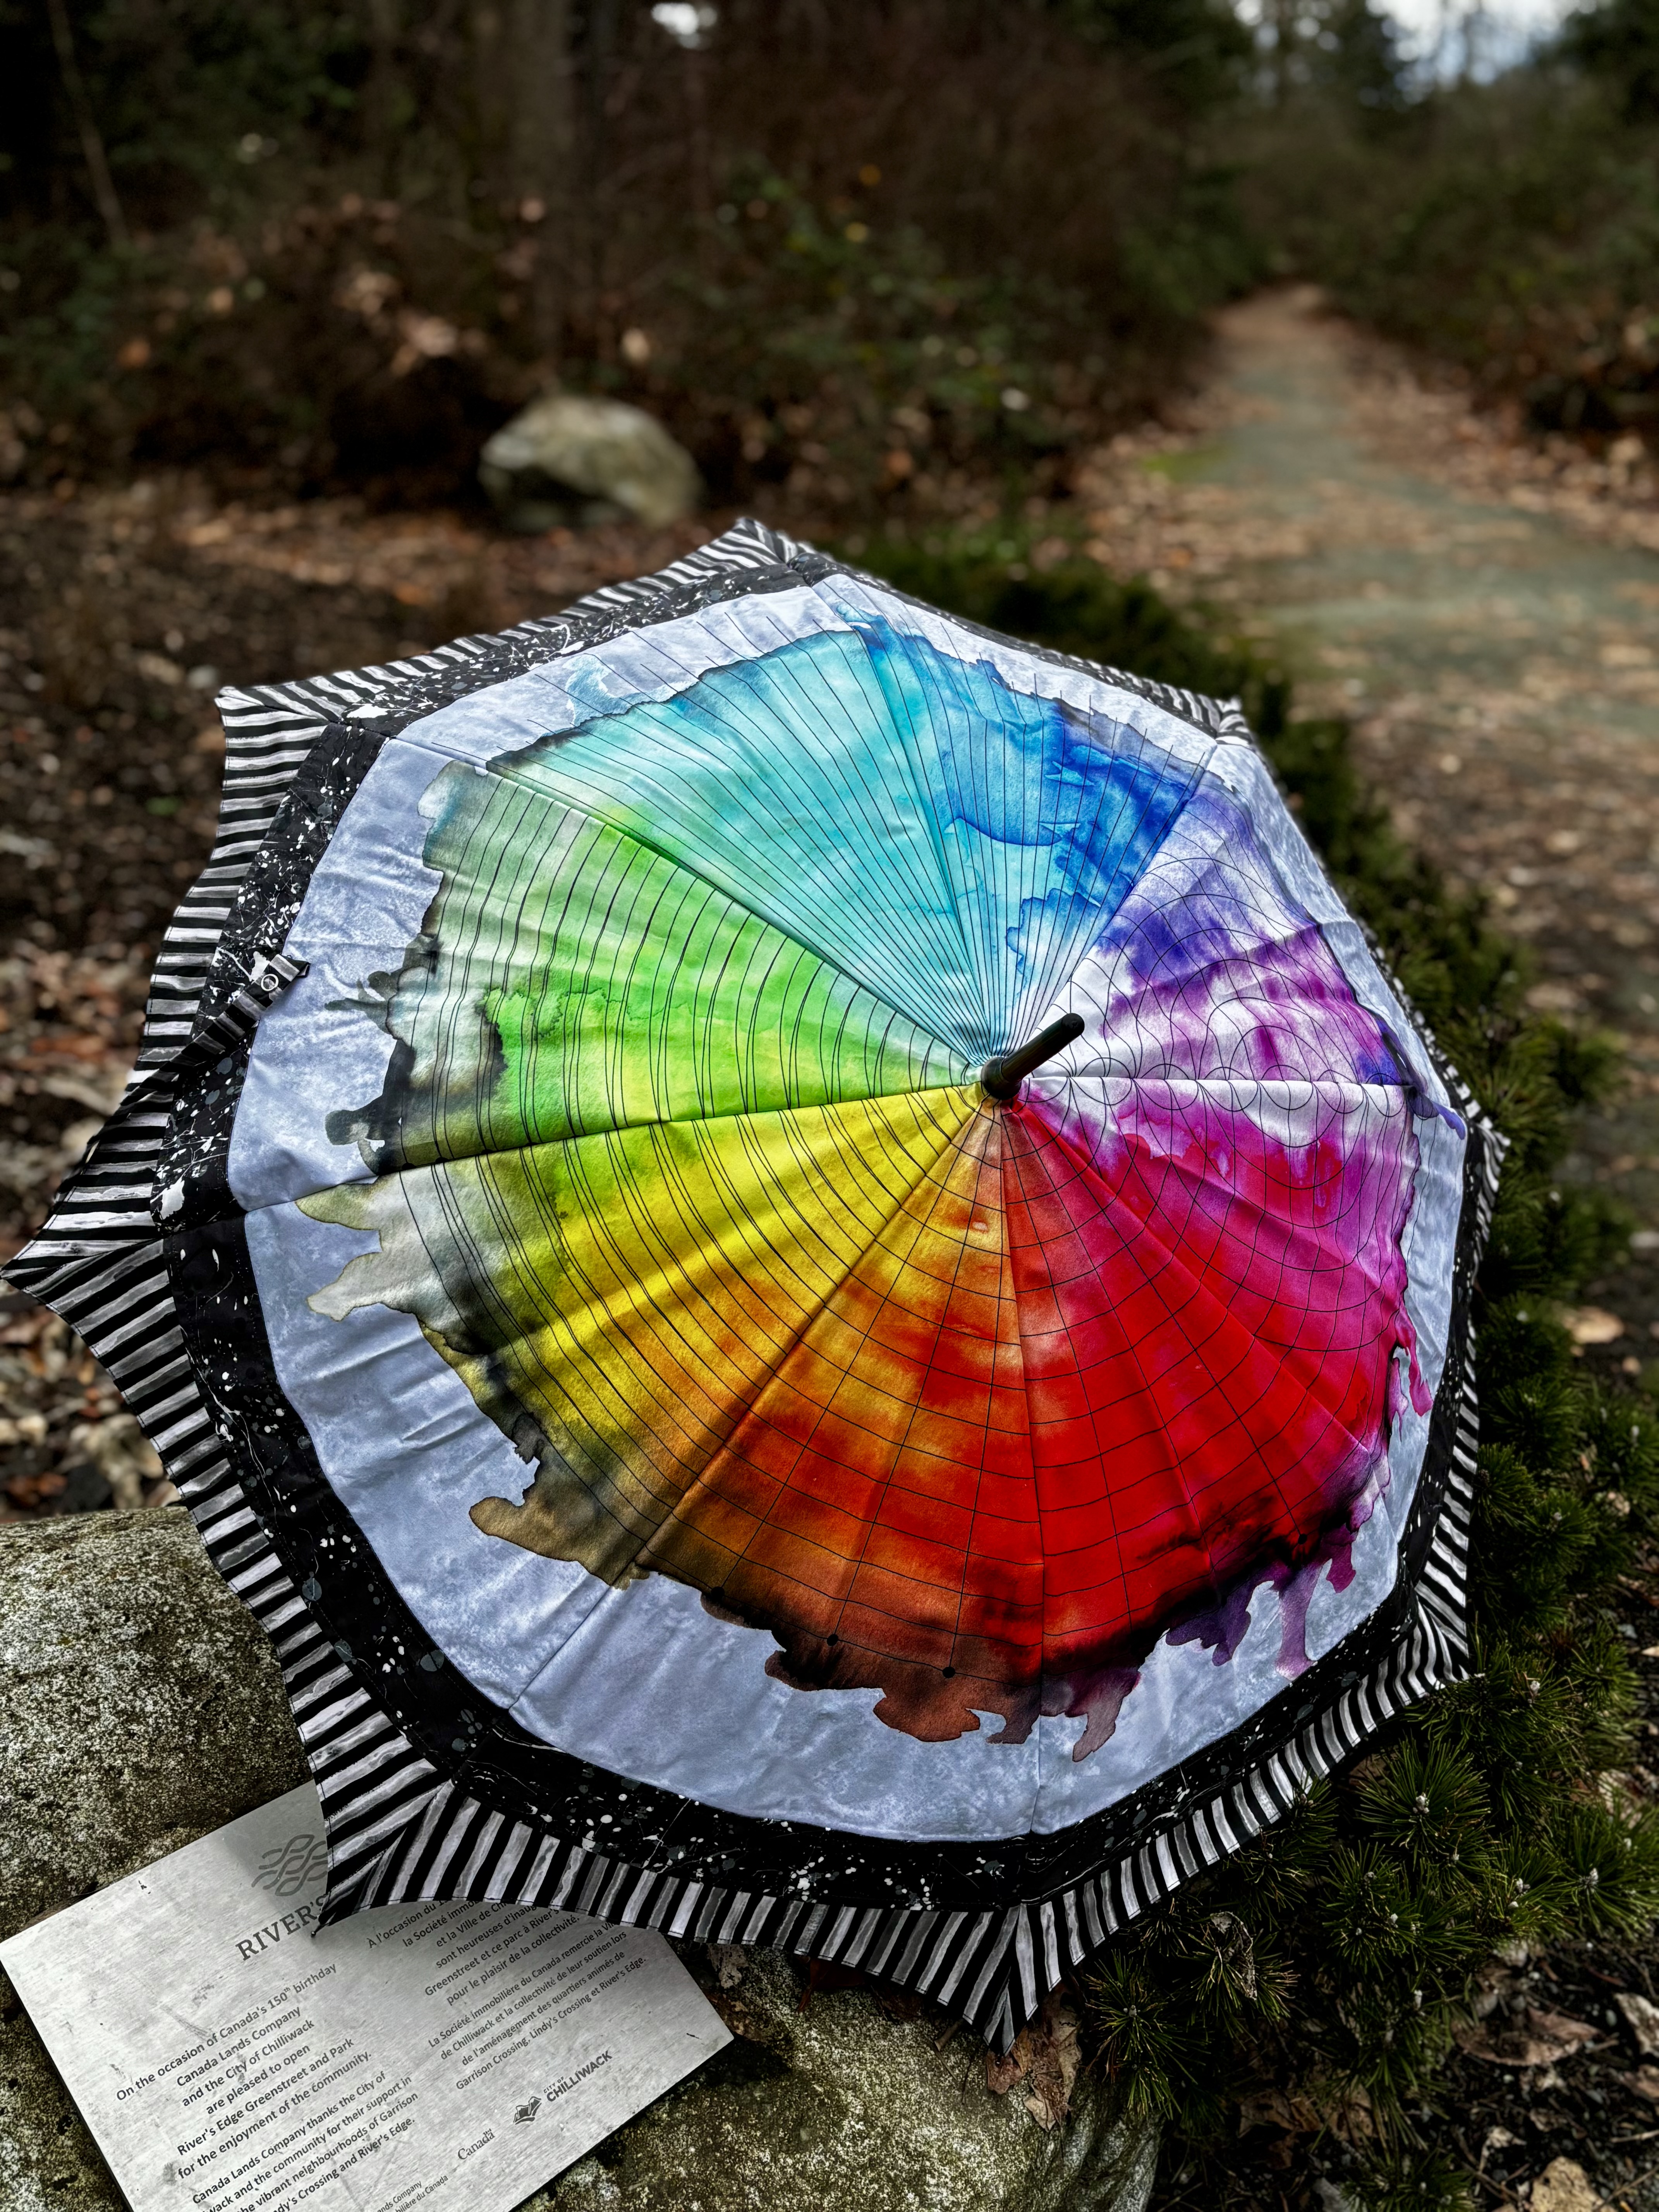
I received my box of fabric and Aurifil Thread in October, and after opening the panel print, immediately knew it was time for a make I’ve been wanting to complete for a while. I picked up a water repellant lined wool blend a while back, with full intentions of making myself a rain coat. The west coast doesn’t get snow in the winter – it rains. and rains and rains and rains and rains and rains……….
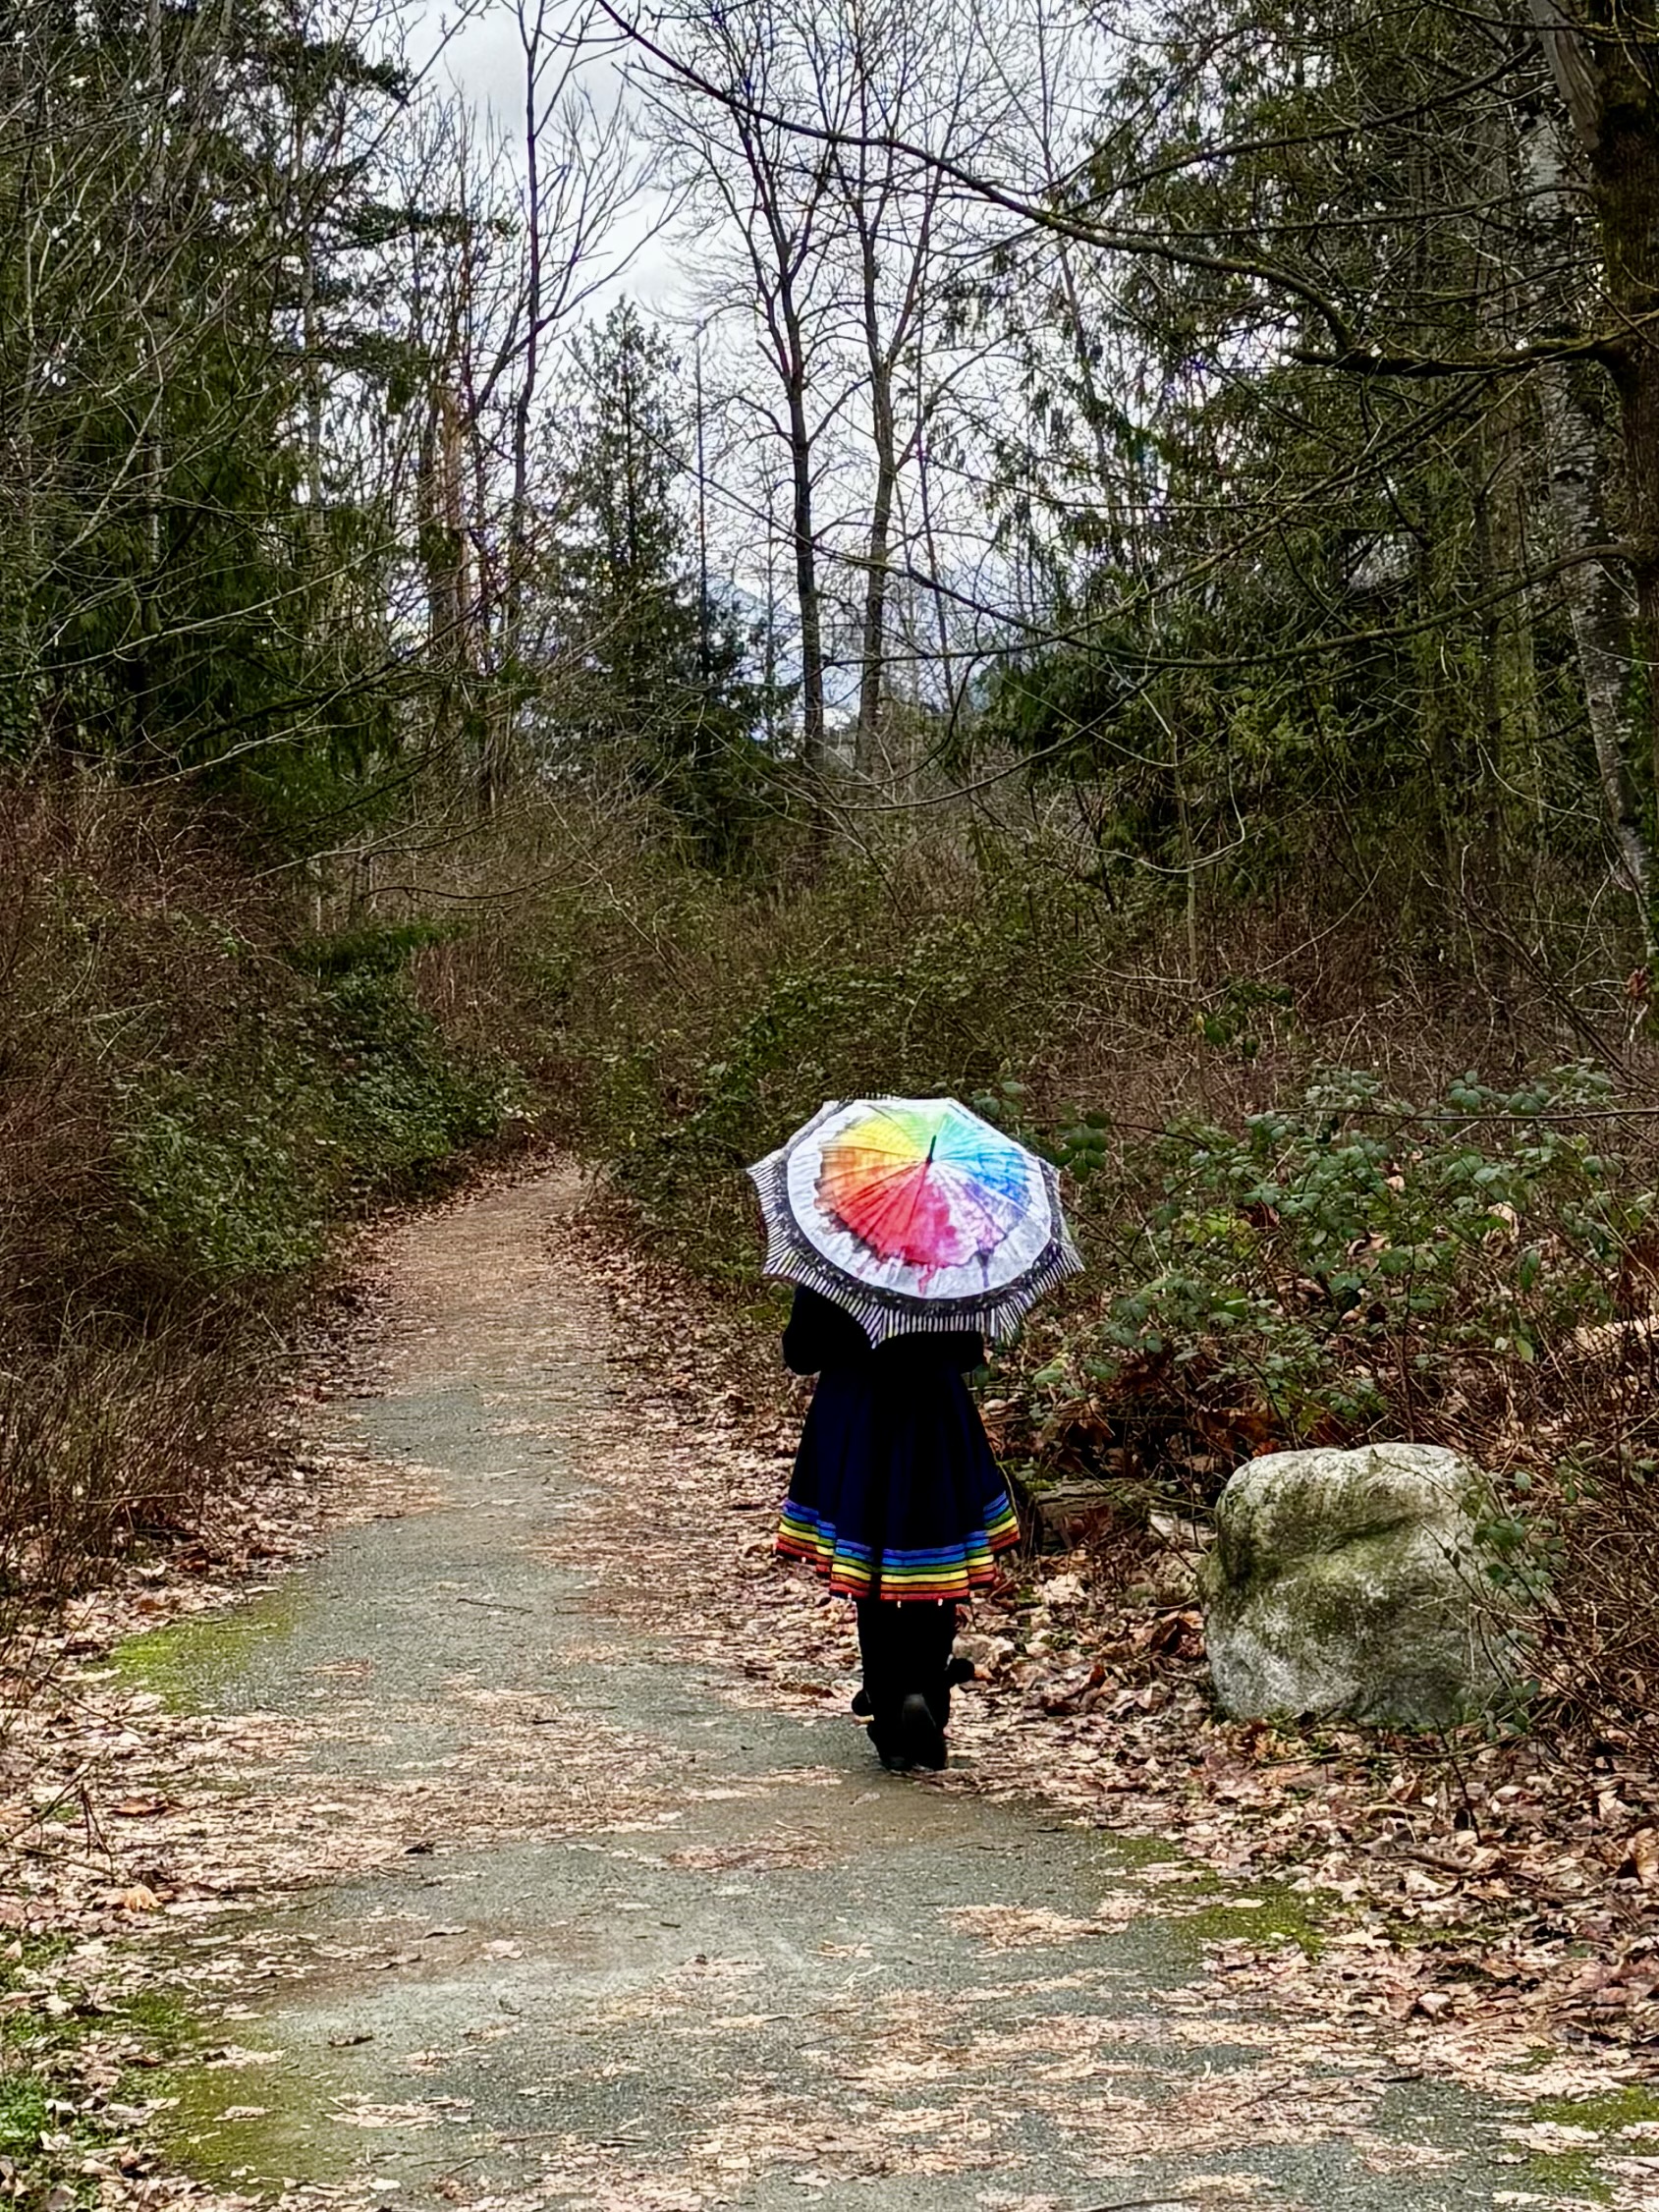
The only bright spots are when the sun shines through and you get rainbows. It doesn’t happen as often as one might like, so I decided I would be my own rainbow. The panel was perfect for the umbrella. I really wanted to keep the shape of the panel. I picked up the umbrella kit from Stitch & Bobbin, a local BC shop, pulled the coat pattern from my library, and got to work.
The panel wasn’t quite long enough for the umbrella panels, so I adjusted the panel to piece it together. I used Odicoat to waterproof the panel and accent fabrics. Then, because I was going to be doing some topstitching, I got some tent seam sealant. the last thing I need is my umbrella leaking through the holes. It worked like a charm! I am so happy with the finished umbrella, its so bright and colorful and BIG!
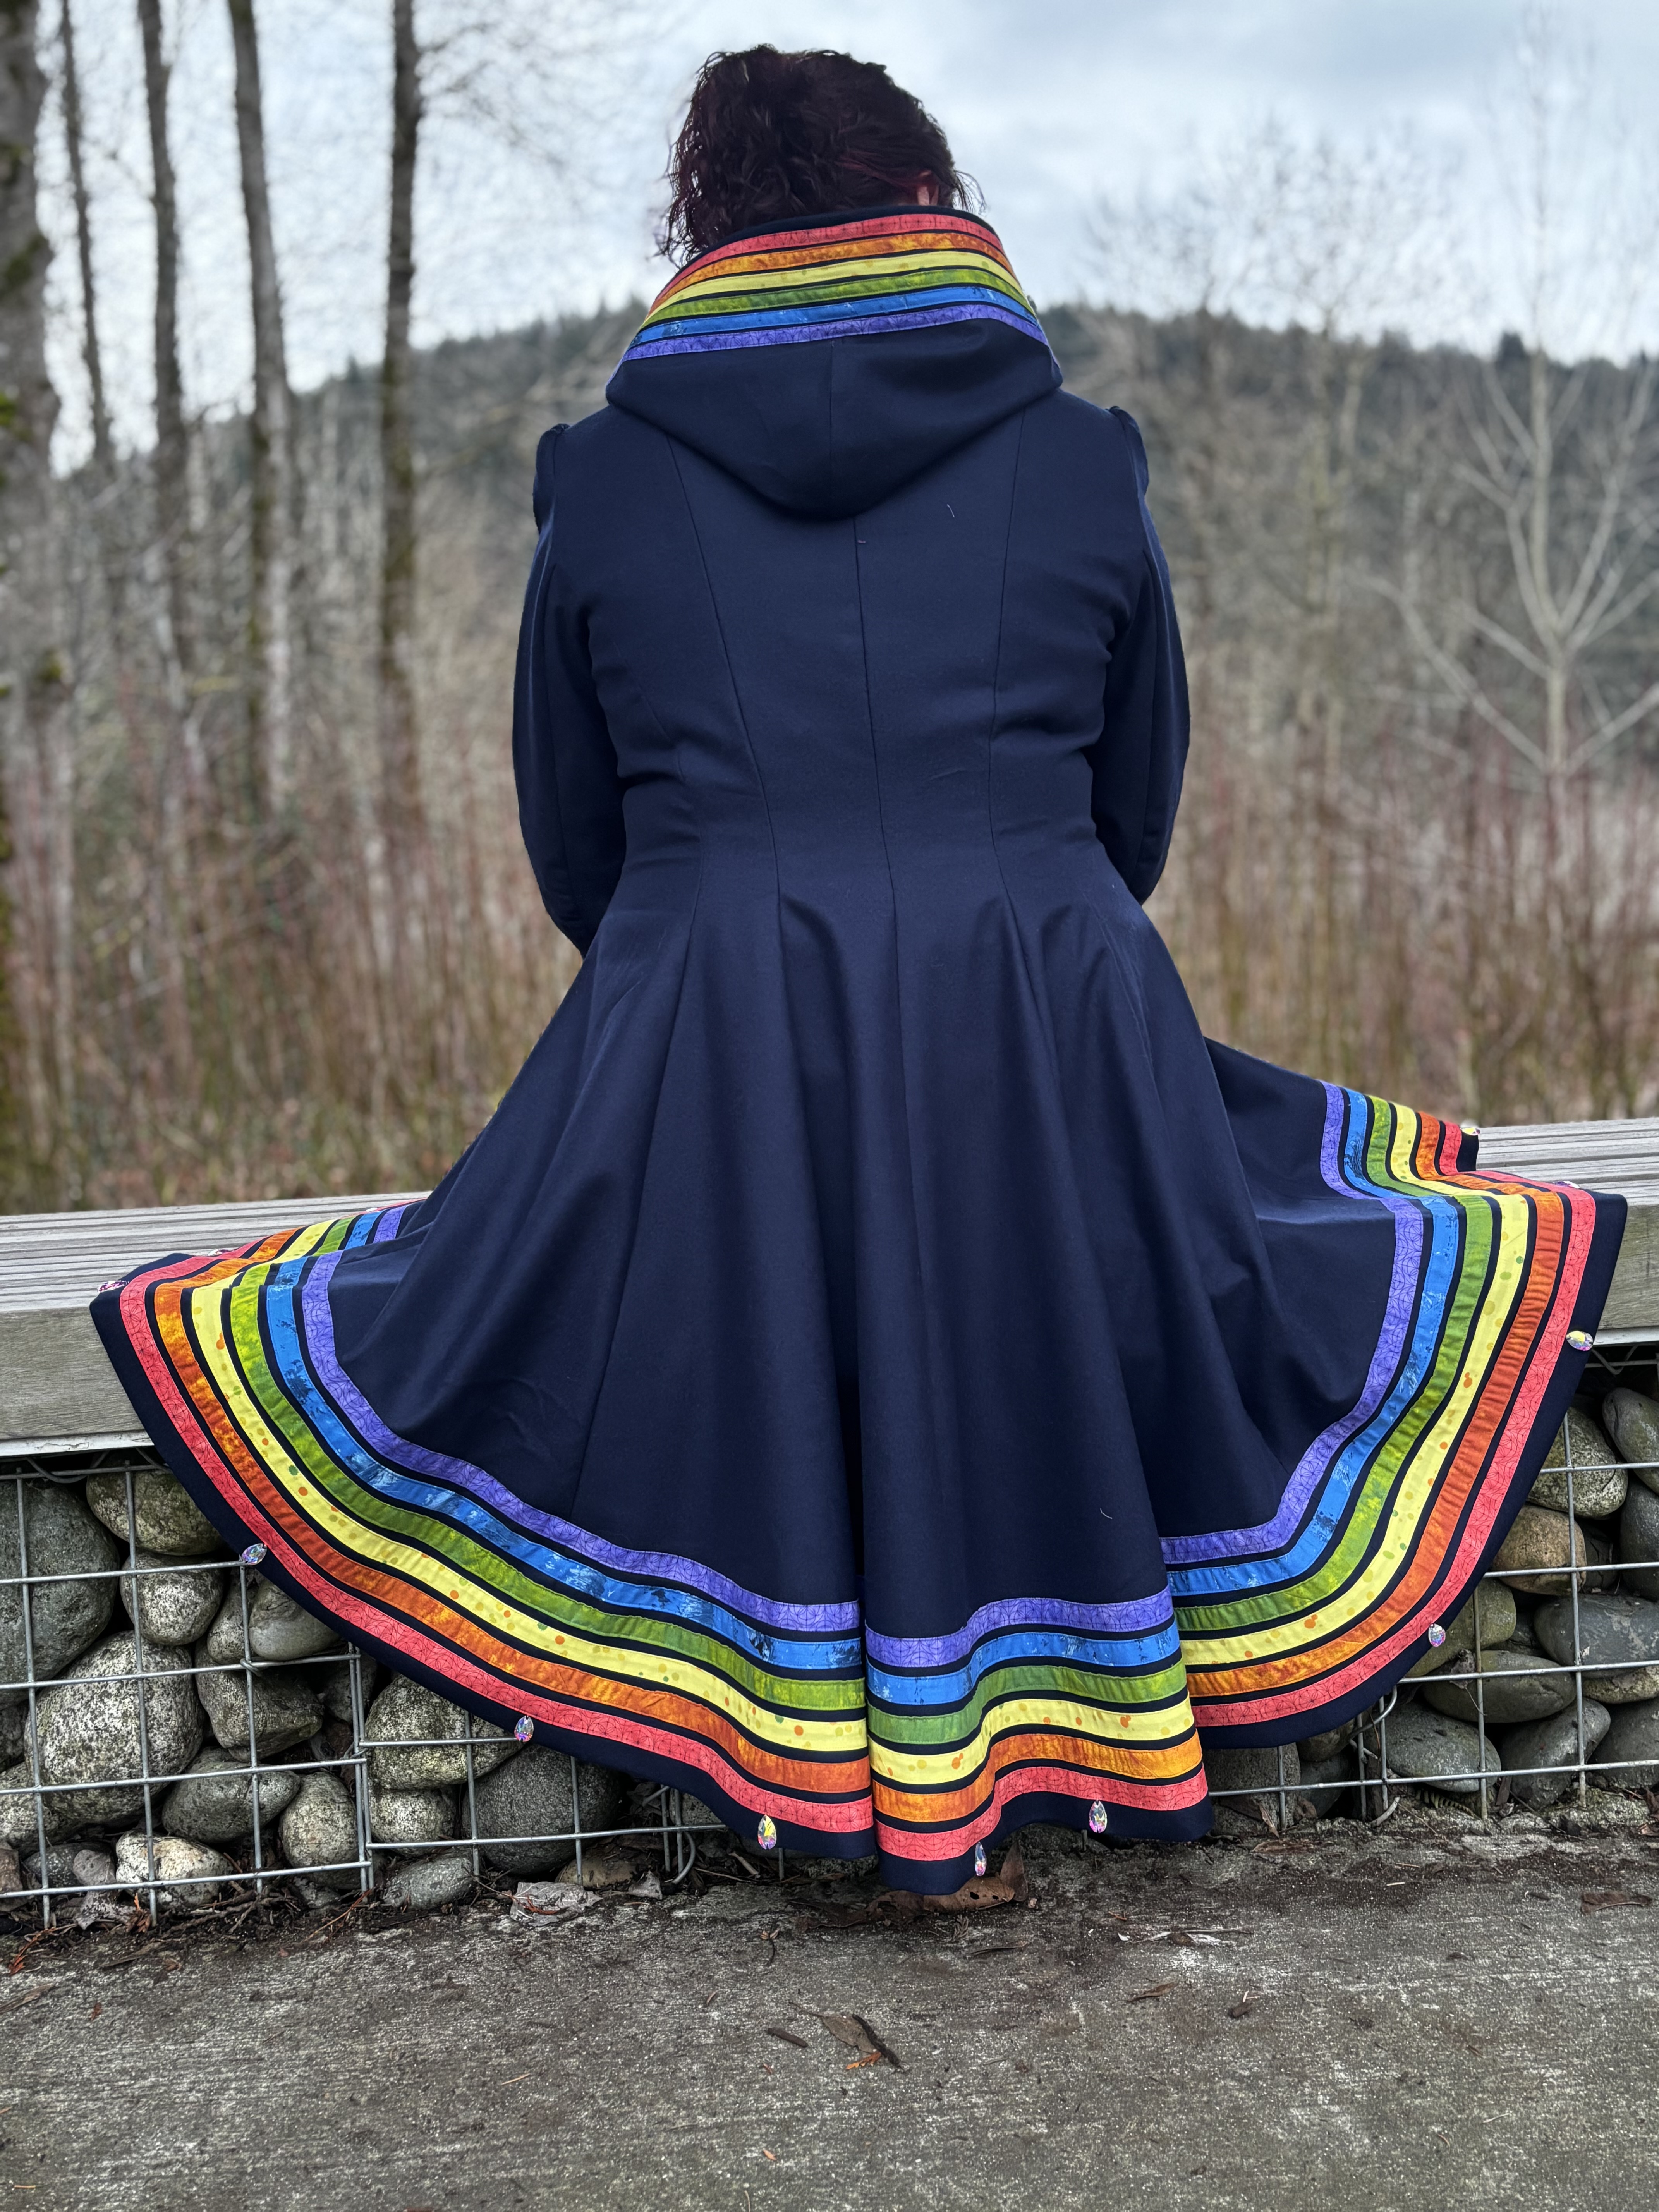
The coat took the most time. Its a princess seam high-low that I’ve been itching to make since I picked up the pattern. I used one of my Hue prints for the hood lining. The main coat is lined with a Kaffe sateen wideback from my LQS. The 108″ wideback from Hue wasn’t going to be ready in time, and because the jacket is a high-low, the lining would be visible.
I made over 200″ of 1/2″ and 1/4″ bias tape for each color. That felt like it took forever!
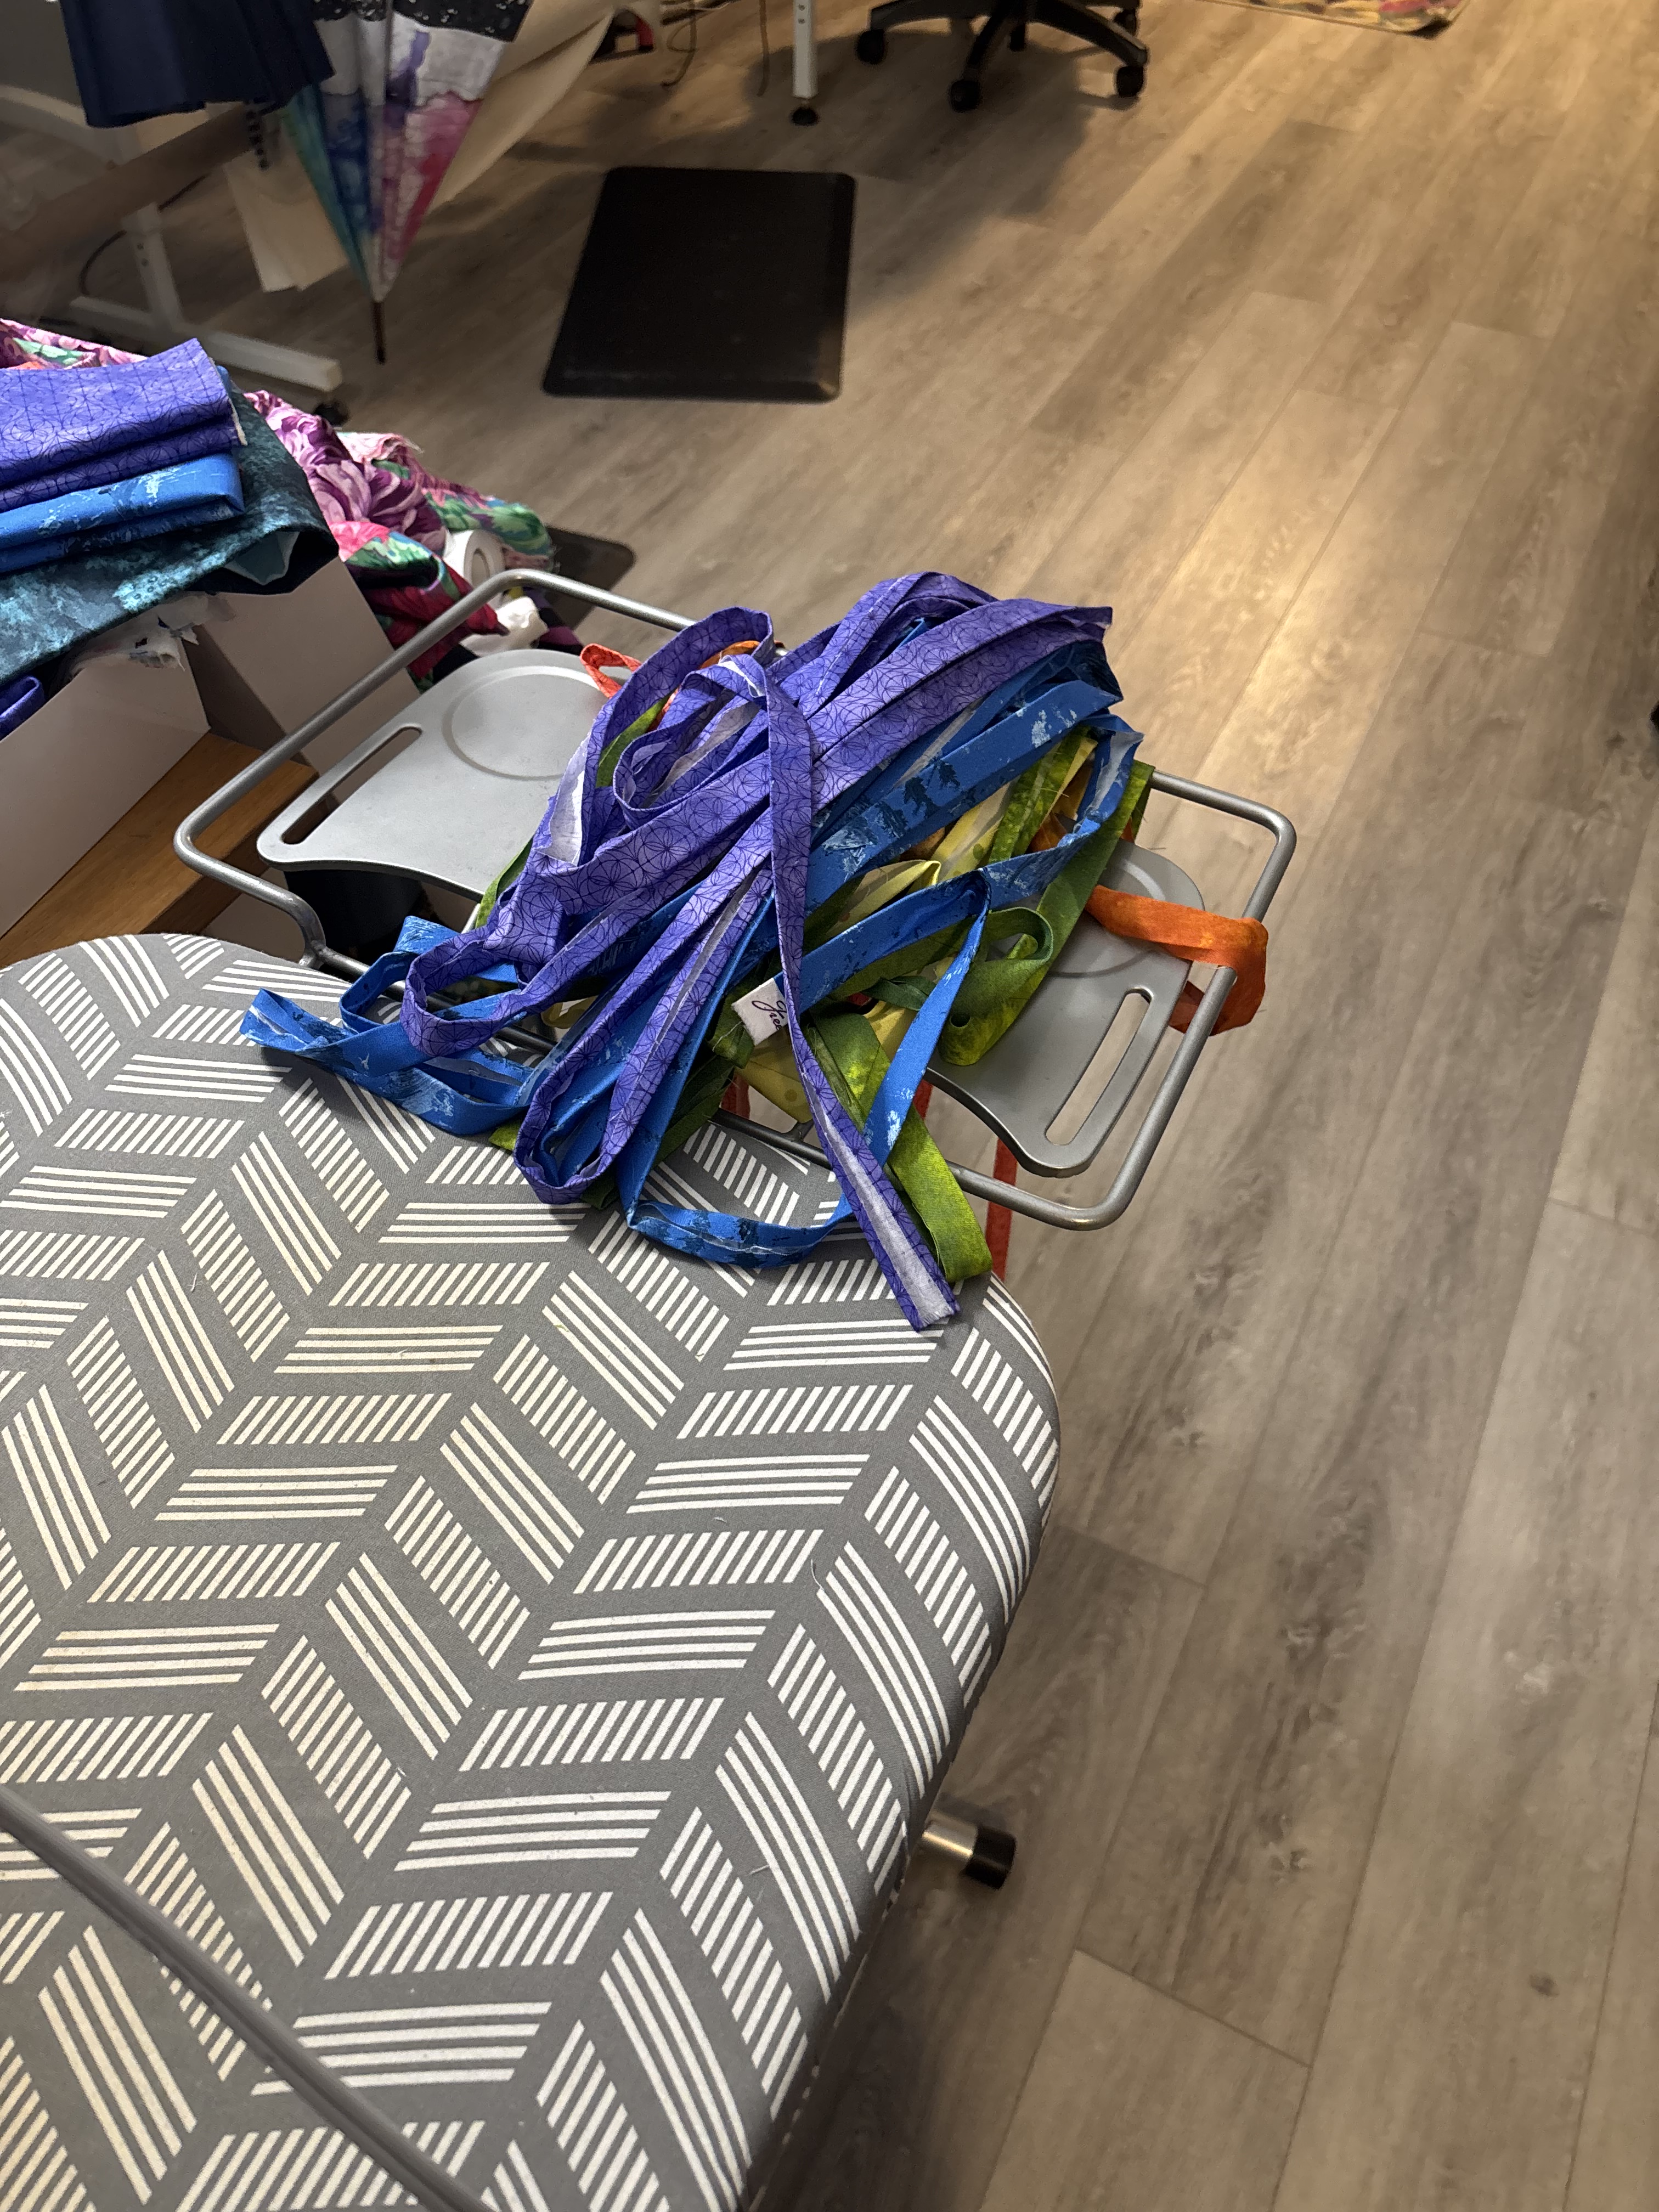
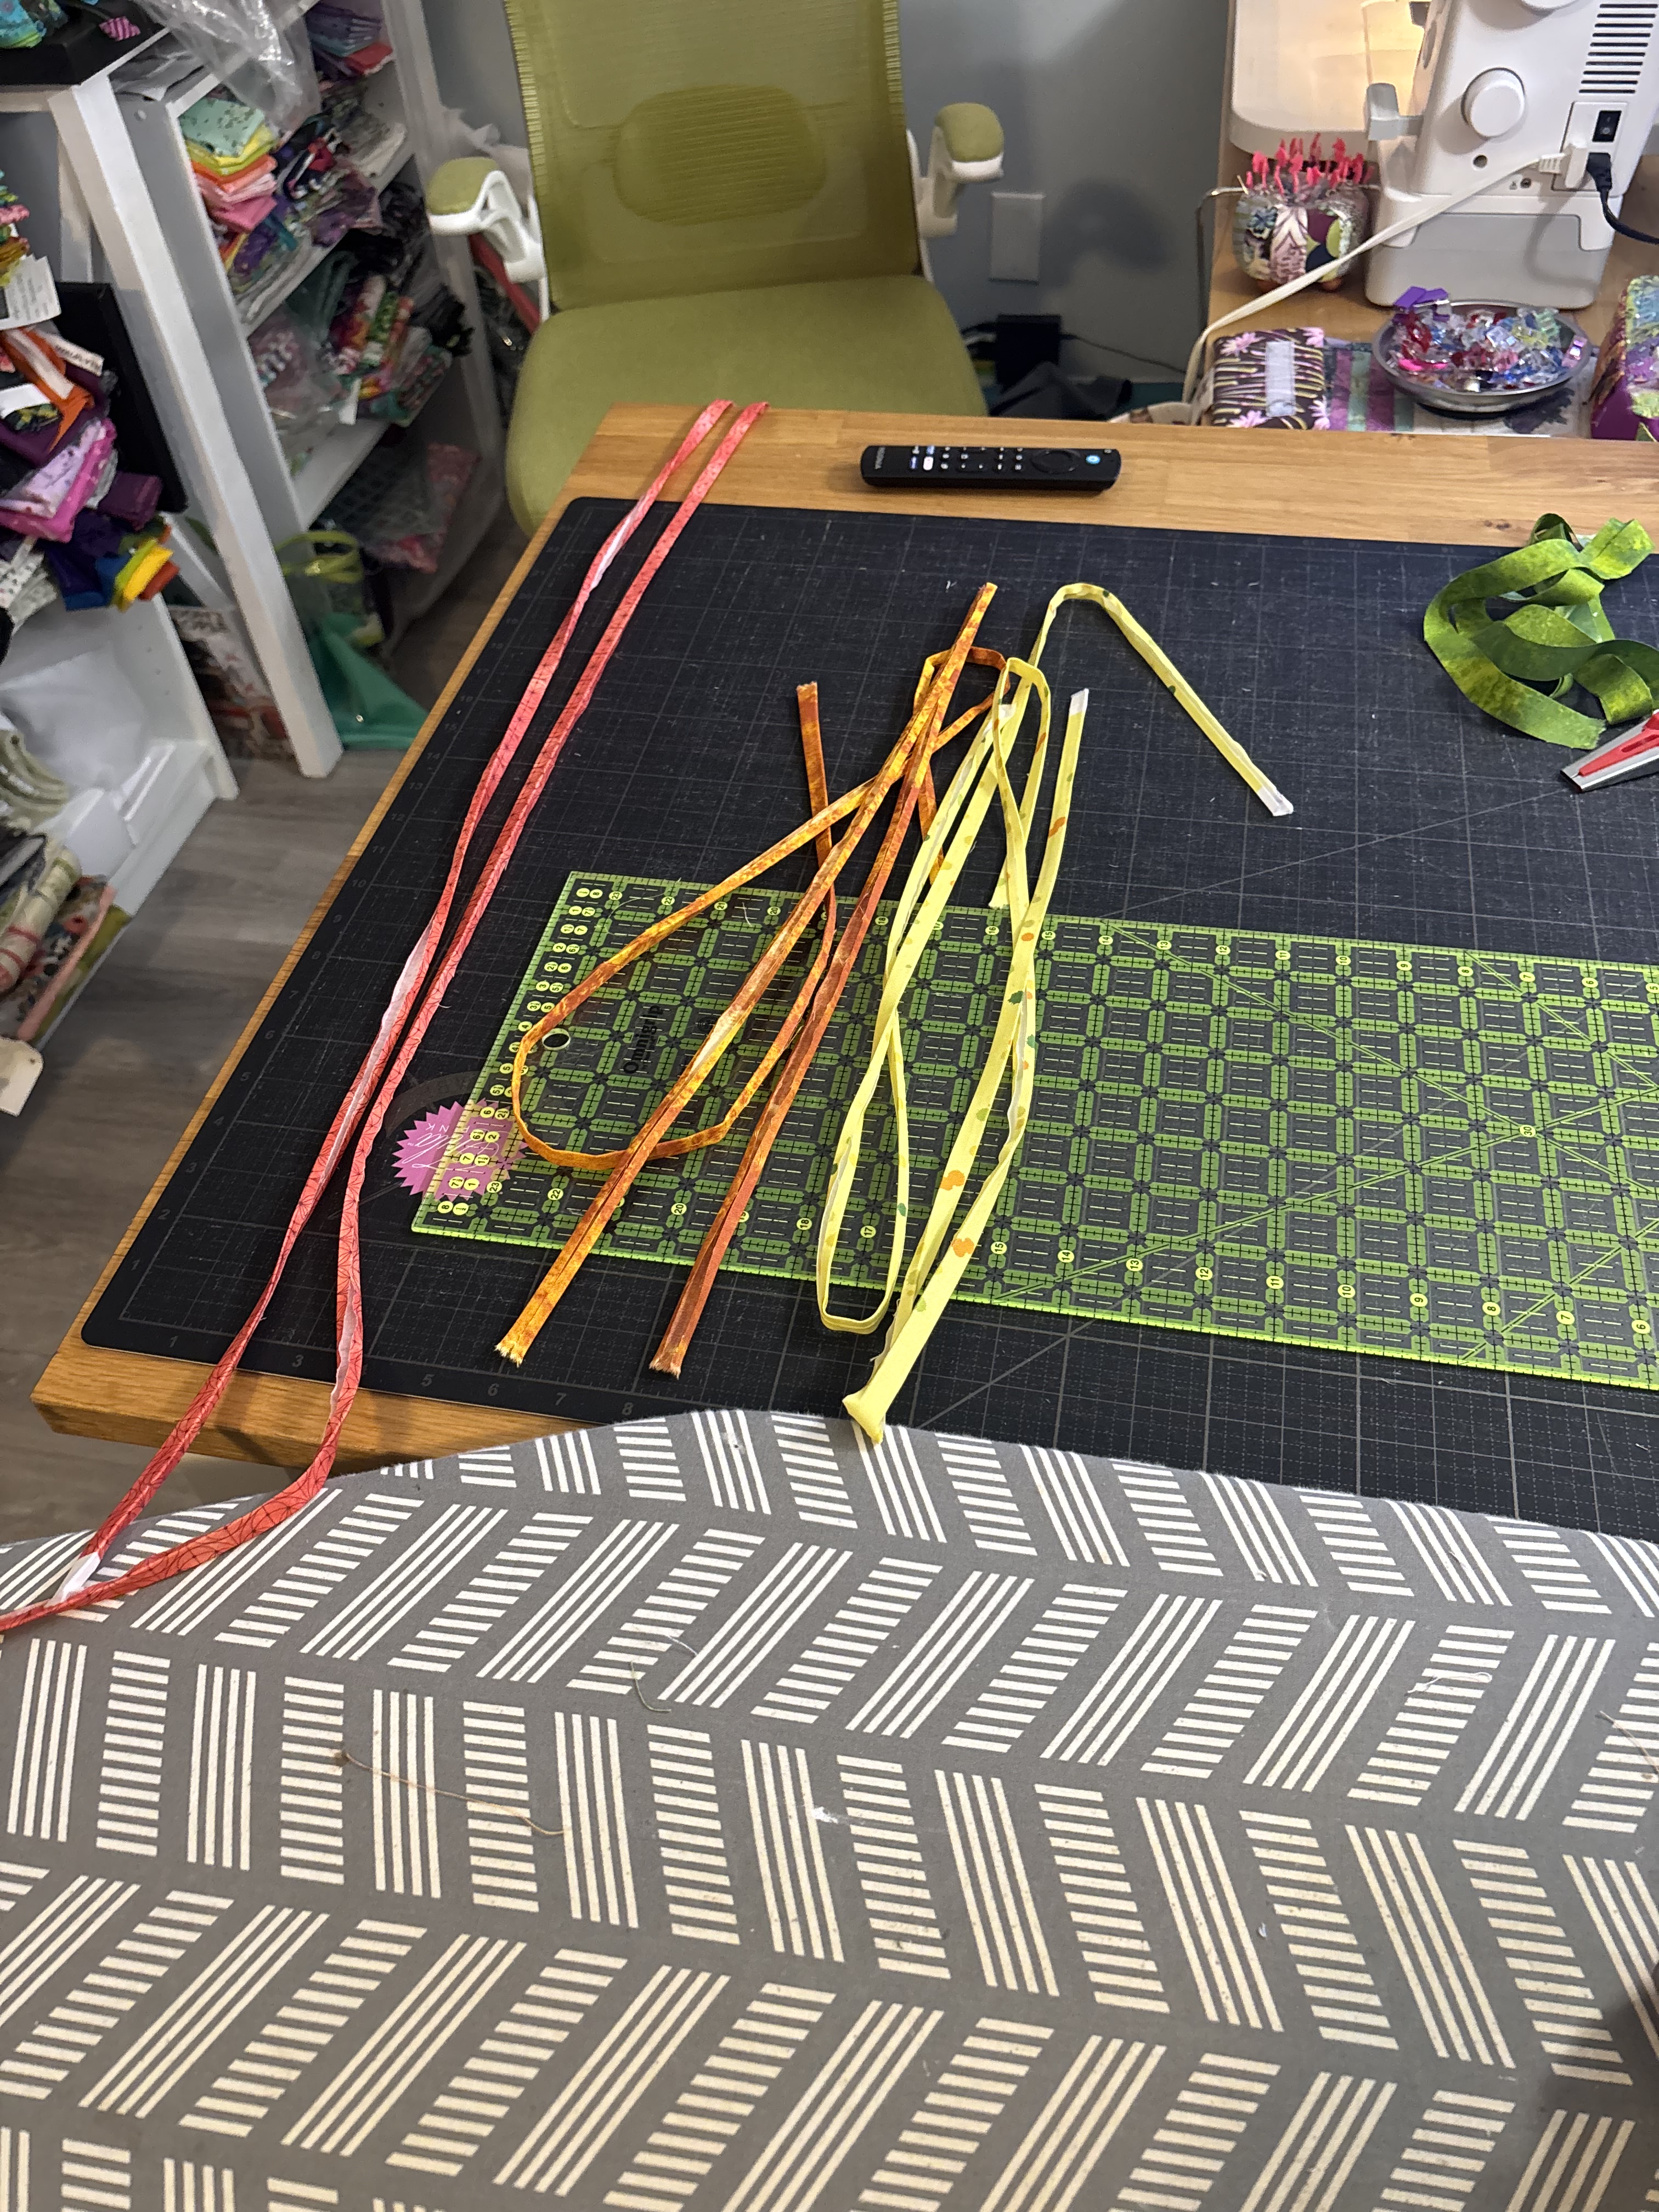
The 1/4″ tape went into the cuffs and hood.
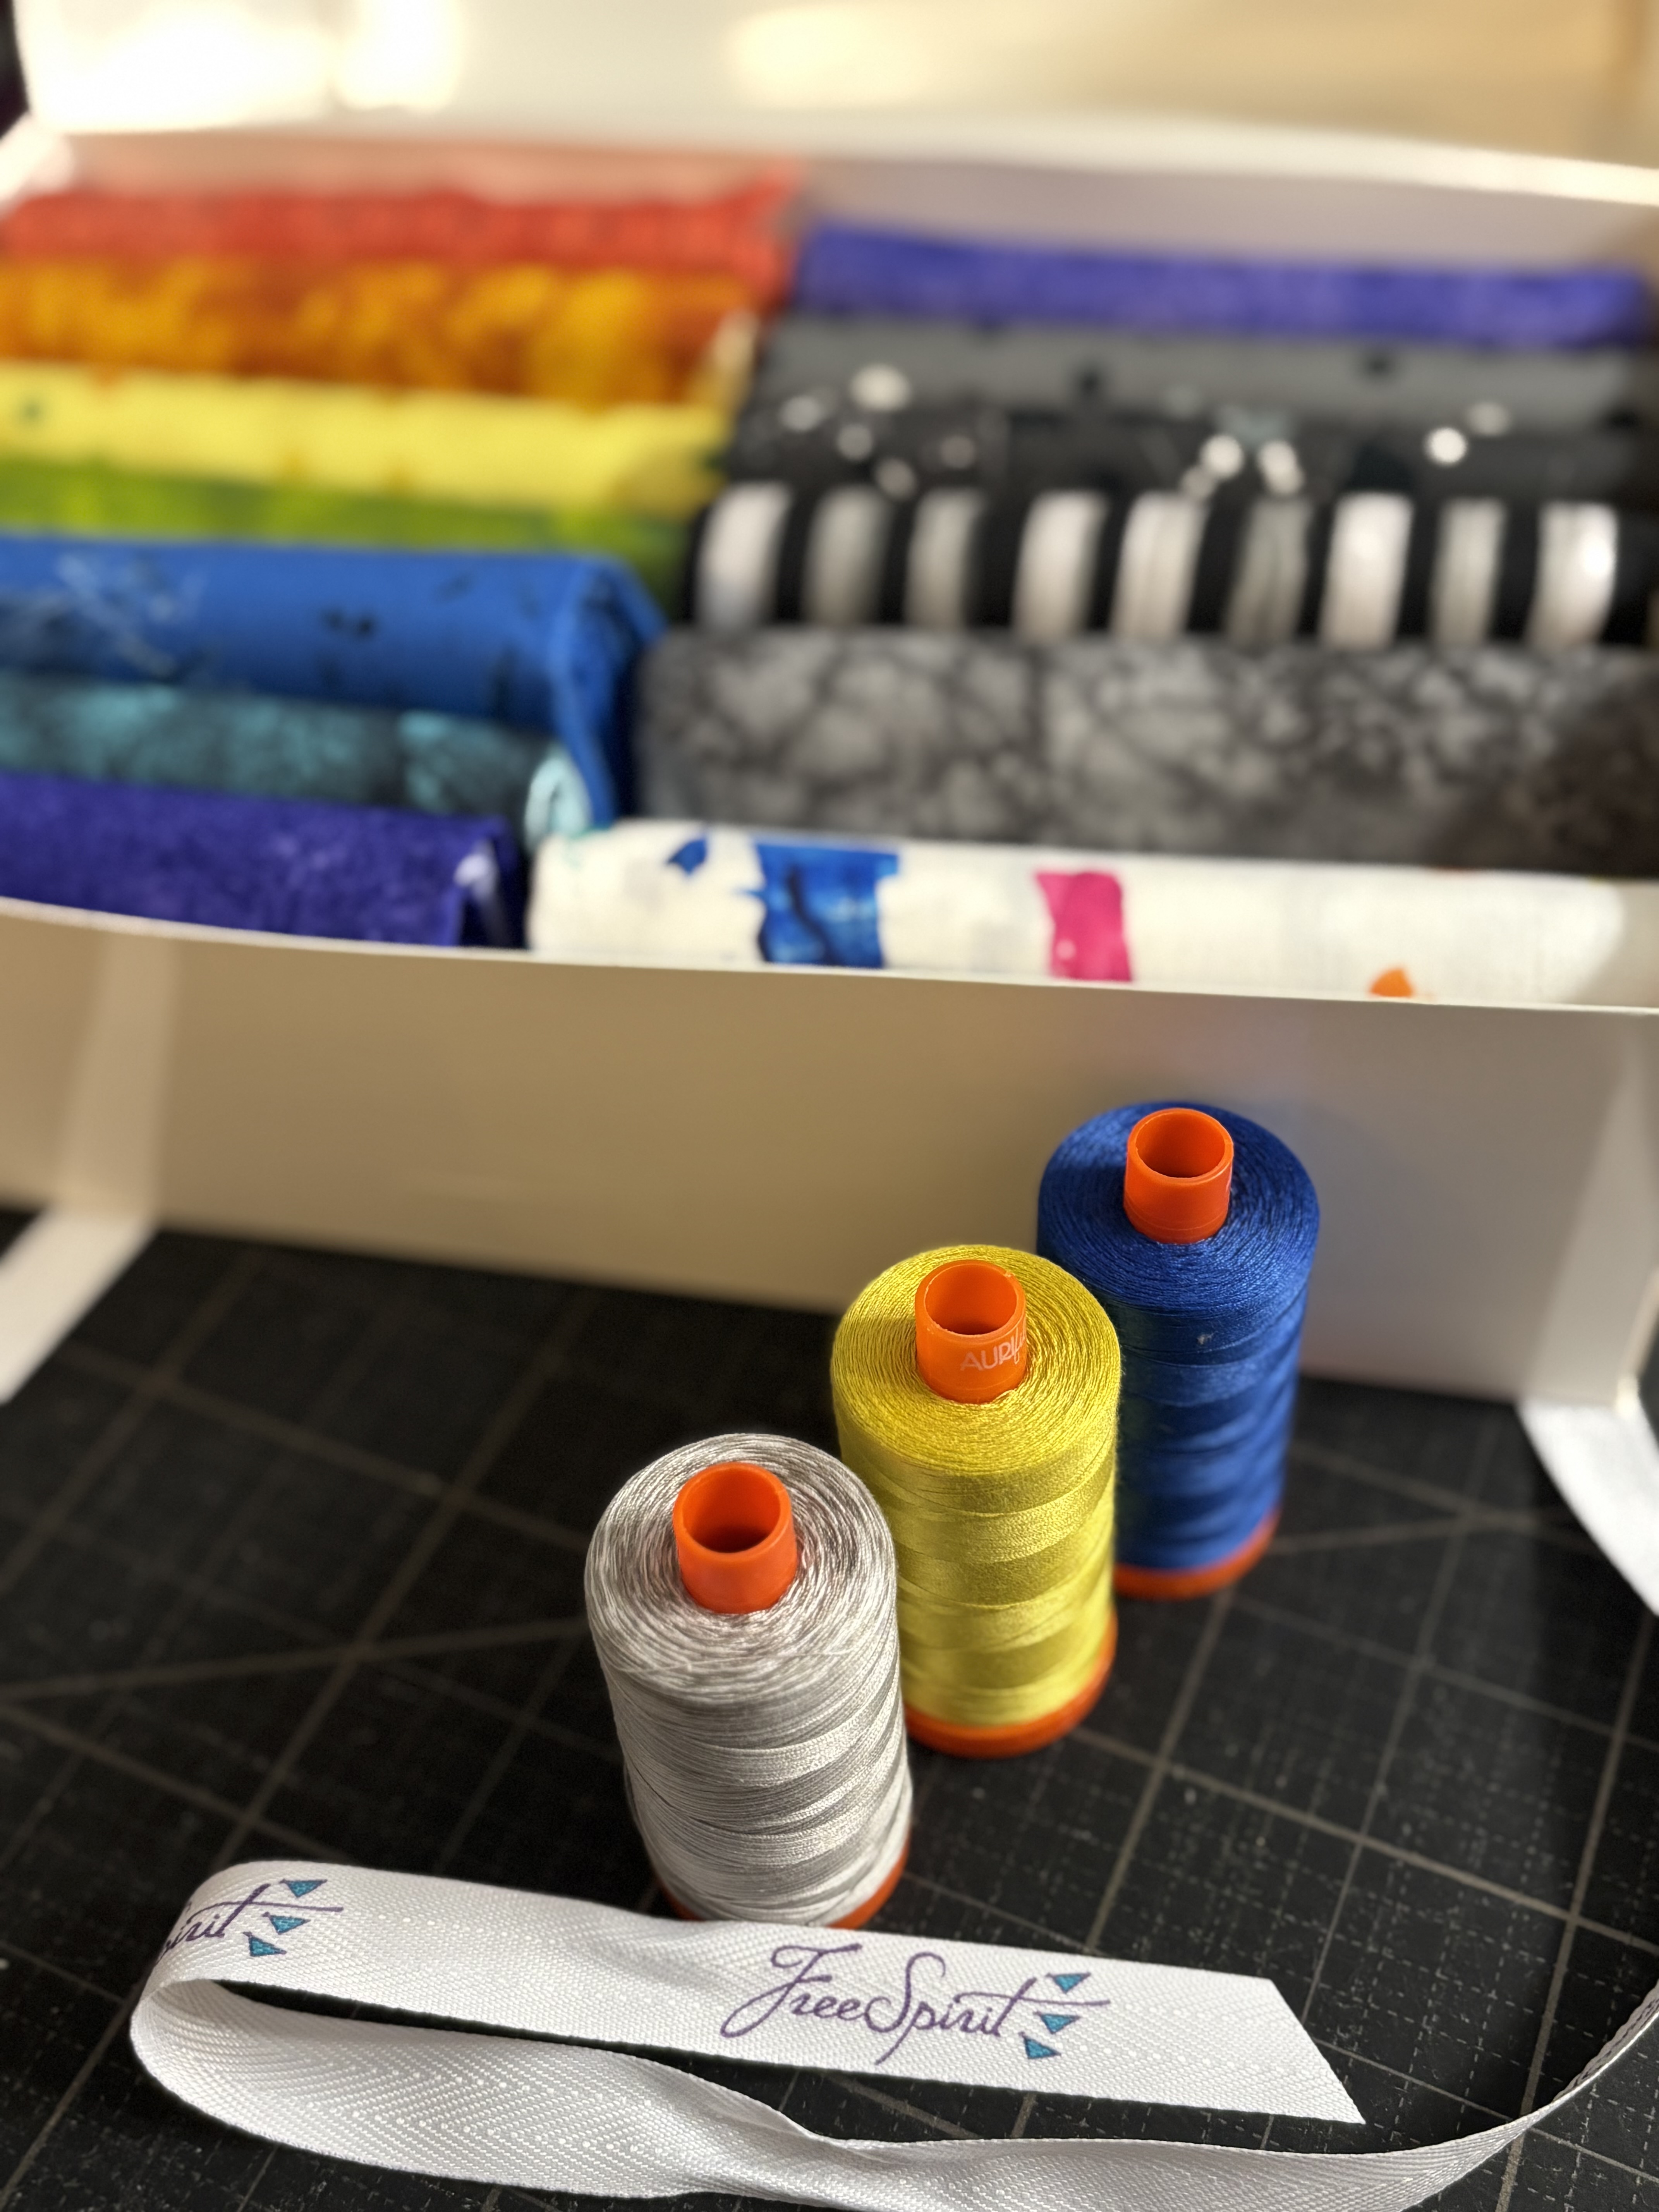
The 1/2″ tape was used on the hem. I used every single bobbin I had. It was a ton of sewing, but I emptied every bobbin I own at one point, and had to wind a new one. It was a great way to use up all the small amounts of thread, and it made the inside of the coat extra colorful. I know no one is going to see it, but I know its there, and it makes me so happy!
My machine only has a straight stich, so I got to dust off a skill from eons ago, and made welt buttonholes. I used some gorgeous gold buttons from my stash to finish the coat. I may still switch them out for gold stars if I can find them in the correct size. My favorite cartoon growing up was Rainbow Bright, and the more I worked on the coat, the more I realized it was channeling Rainbow Brights outfit, which made all the stripes worthwhile.


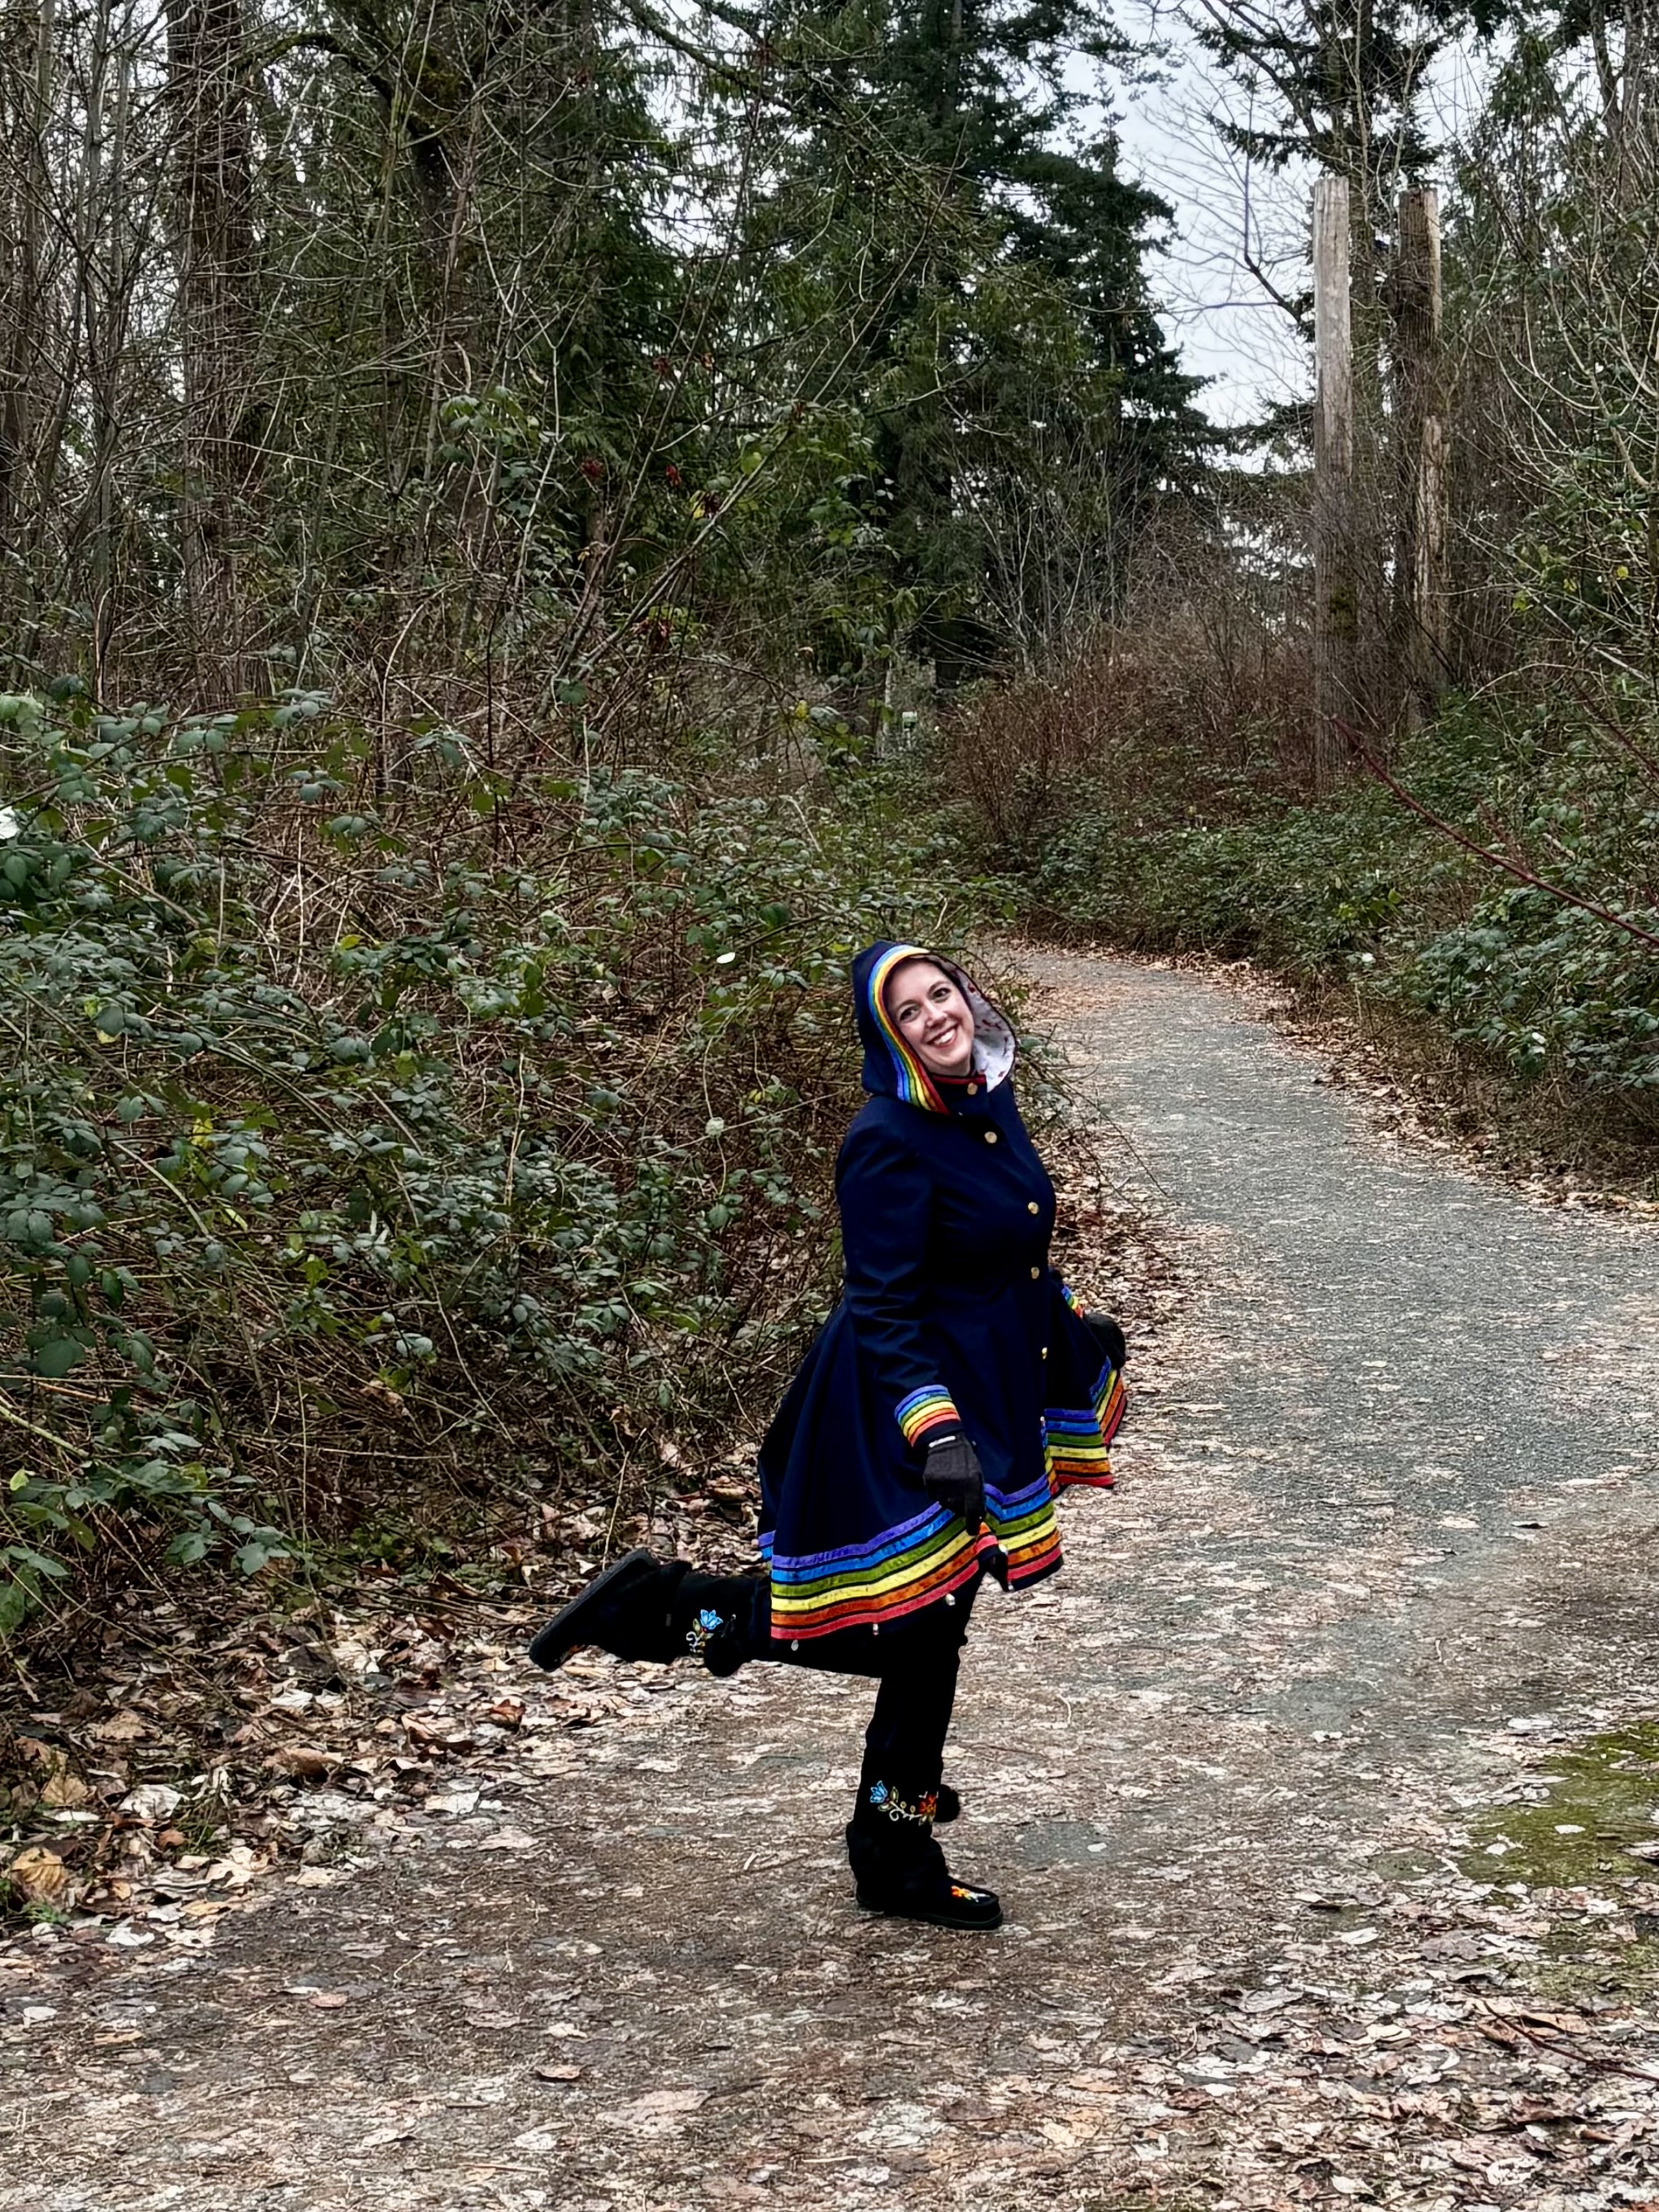
I love my coat! It makes the days a little bit brighter!
Happy stitching,